
Would you like to use your digital frame in portrait instead of the more common landscape orientation?
It takes you two minutes.
Tested with: Raspberry Pi 5 running OS Bookworm November 2024 with Wayland and labwc compositor. Updated from the old instruction set. Thanks to Adam and Paddy!
The Pi3D PictureFrame image viewer
If you are a regular reader of my blog, you will know that I unequivocally recommend the Pi3D PictureFrame software as my preferred Raspberry Pi image viewer.
If you don’t, visit “How I added smooth crossfading image transitions to my Raspberry Pi digital picture frame” or “How to build the best Raspberry Pi digital picture frame with Bookworm Wayland” to get started.
Portrait orientation on a Raspberry Pi
To change to portrait mode, you need to know the resolution of your display in pixels. For example, HD is 1920x1080px, and 4K is 3840x2560px.
If you are unsure, run
wlr-randrin Terminal, and you’ll see a list of resolutions where this line with (current) is the one that gives you the answer:
1920x1080 px, 23.976000 Hz (current)The first thing is to amend the start_picframe.sh file.
Add the following two lines at the bottom so that your entire file looks like this:
#!/bin/bash
source /home/pi/venv_picframe/bin/activate  # Activate Python virtual environment
picframe &  # Start Picframe in the background
sleep 5
wlr-randr --output HDMI-A-1 --mode 1920x1080 --transform 270
If you have another resolution, enter the value instead of 1920x1080.
The open configuration.yaml and find this section (rather at the top)
  display_w: 1080                         # width of display surface (null->None will use max returned by hardware)
  display_h: 1920                         # height of display surface
Again, enter your resolution in there.
That’s all there is.
Restart with sudo reboot and it should look like this:
I believe the Pi3D wizards will implement the option of displaying two landscape images when the whole frame is in portrait orientation at a later stage, just like you can already display two portrait images when PictureFrame is in landscape orientation.
Conclusion
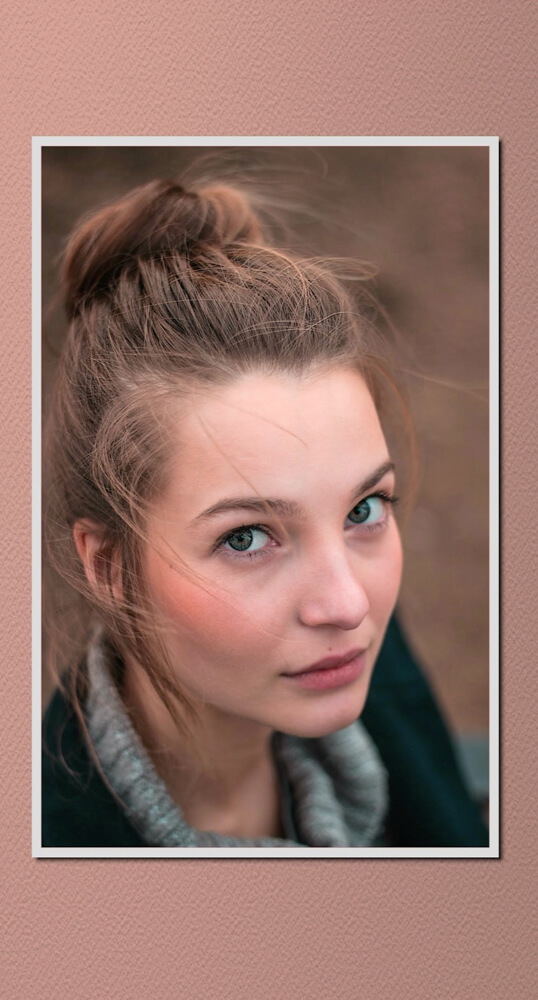
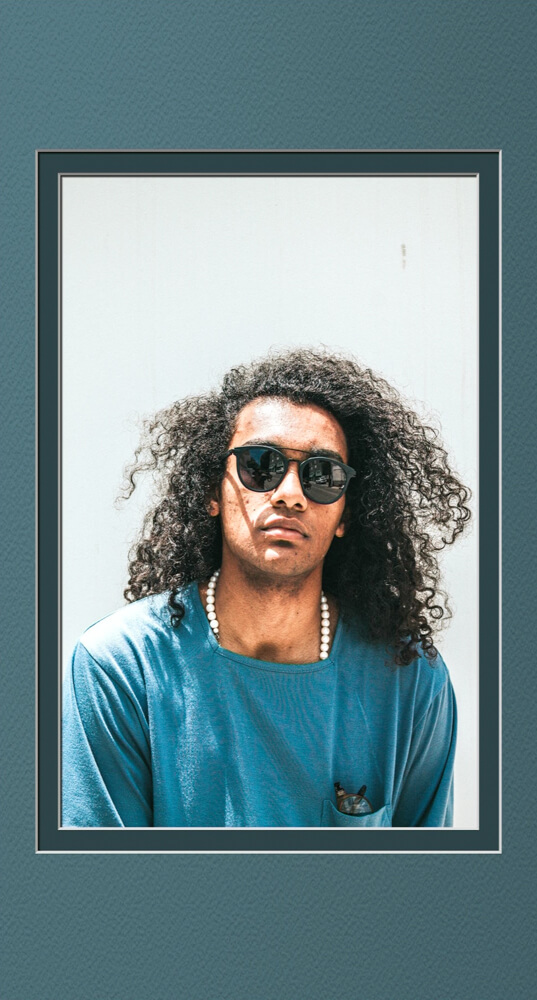
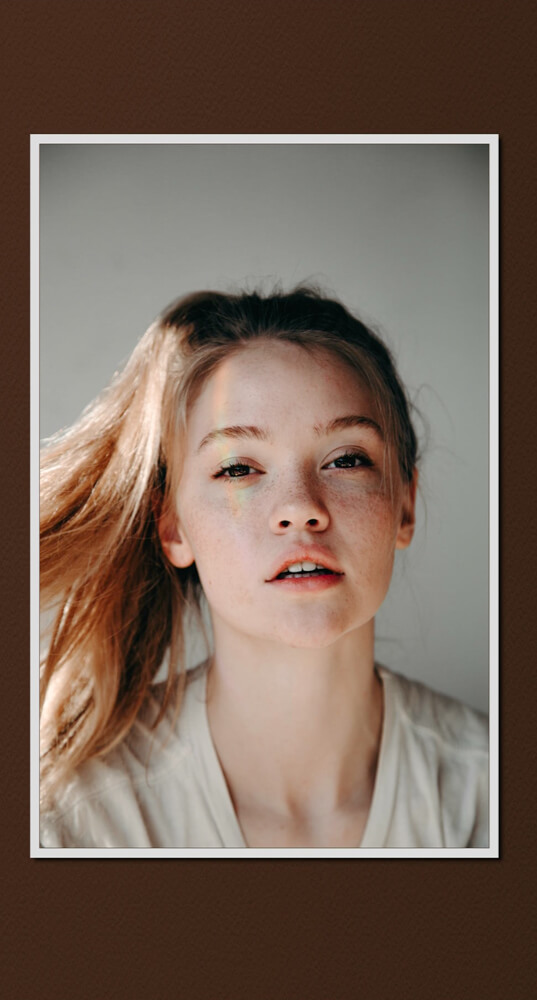
If you are focused on people photography, having the portrait option with your digital frame can be really nice.
Give it a try!
Was this article helpful?
Thank you for your support and motivation.
Related Articles
- How to automatically resize images to fit your digital picture frame
- Personalizing Pi3D PictureFrame: How to localize your photo geodata in any language
- How to automatically remove duplicate images from your Pictures folder (2024 Edition)
- How to only show portrait photos on your Raspberry Pi photo frame