This will probably be a niche article for a small audience, but that’s the fun of a blog like this: You can dive into all kinds of nerdy stuff.
Tested on a Raspberry Pi 5 with Bookworm Wayland, November 2024, on the pi3d stack. Not re-tested since.
Where this stands in 2026. picframe3 does portrait pairs itself —
portrait_pairsis a setting, and it knows which of your photographs are upright because it records that when it indexes them. What it does not have is an orientation filter: you can narrow the slideshow by folder, tags, place, date range, rating and free text, but there is no “portrait only” switch. So the sorting script below still has a job on a picframe3 frame, with one change at the end: instead of pointing the frame at a different directory in a config file, you sort the photographs into a Portrait Orientation subfolder and then use picframe3’s folder filter — in the web UI, over MQTT, or from Home Assistant — to show only that folder. Everything aboutconfiguration.yamlfurther down applies to pi3d only; picframe3 has no such file.
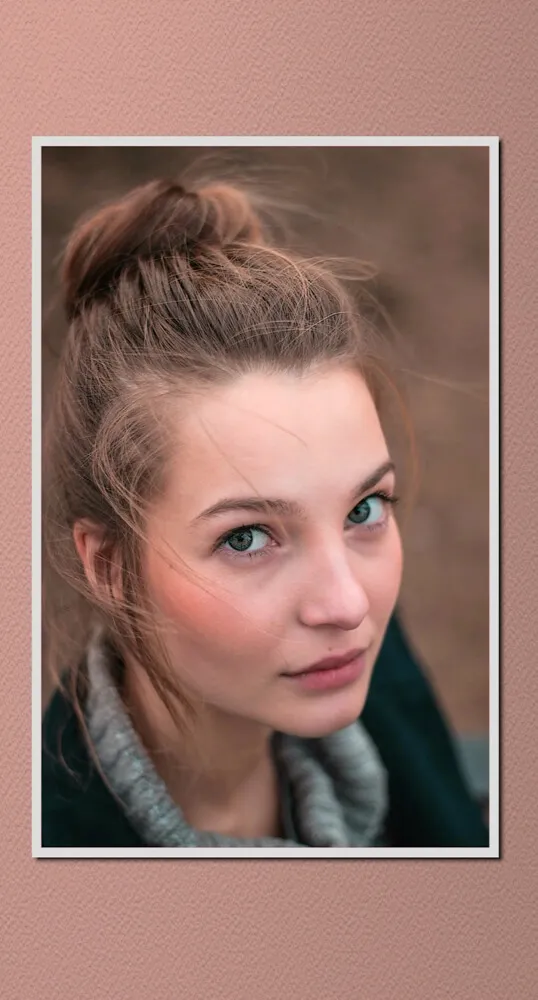
Pi3D PictureFrame allows portrait pairs, two photos in portrait mode presented side by side when the frame has a landscape orientation.
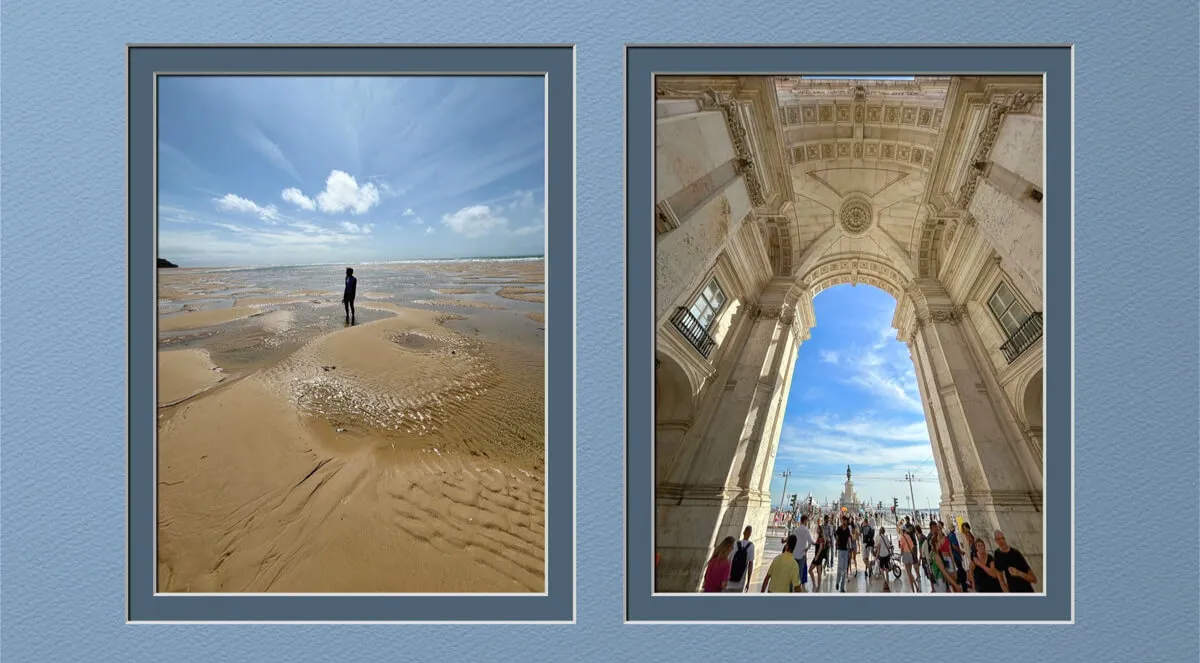

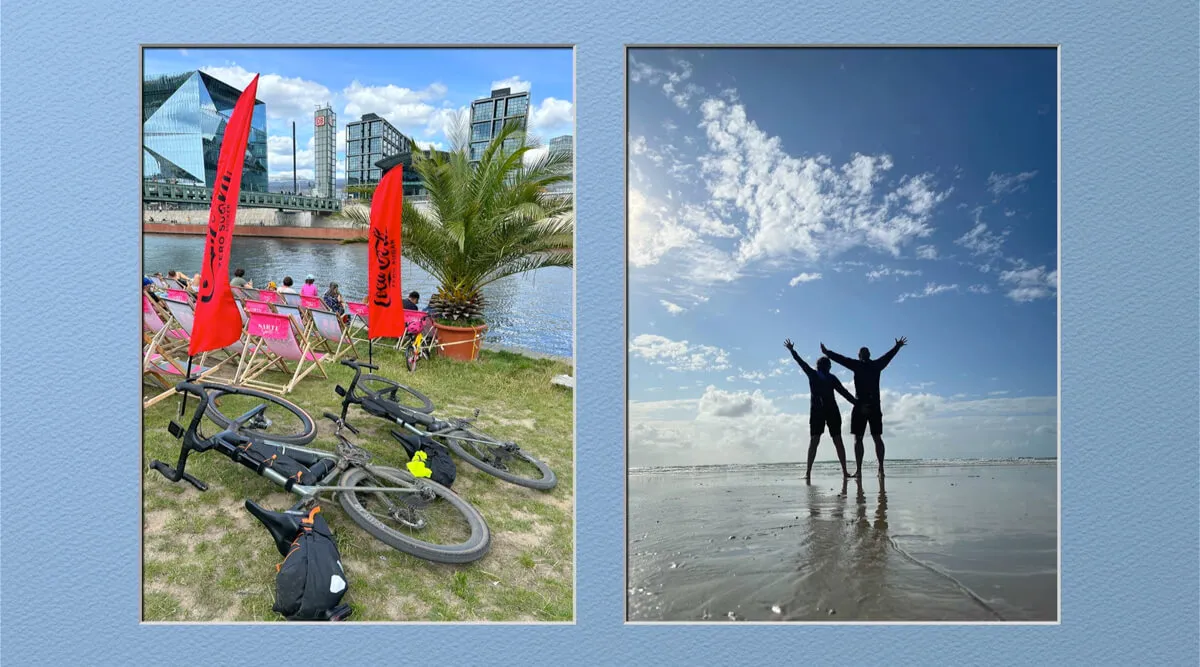
So, I thought it would be nice to have a simple function that would automatically sort the images you add to your Pictures folder into Portrait, Landscape, and Square so you can choose to display only one.
Equally, when you mount your digital frame in portrait orientation, it would be nice to only show portrait photos. The landscape photos in portrait mode look very small.
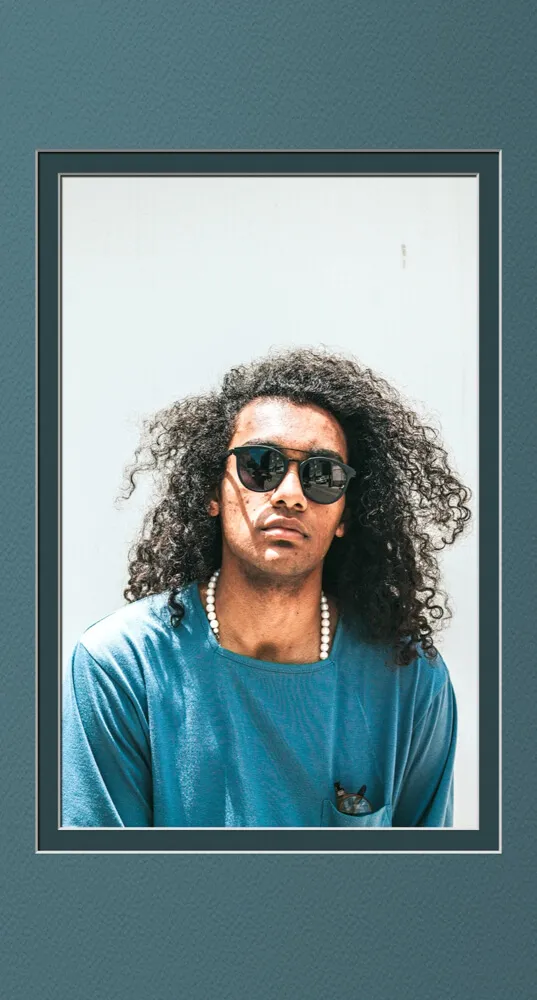
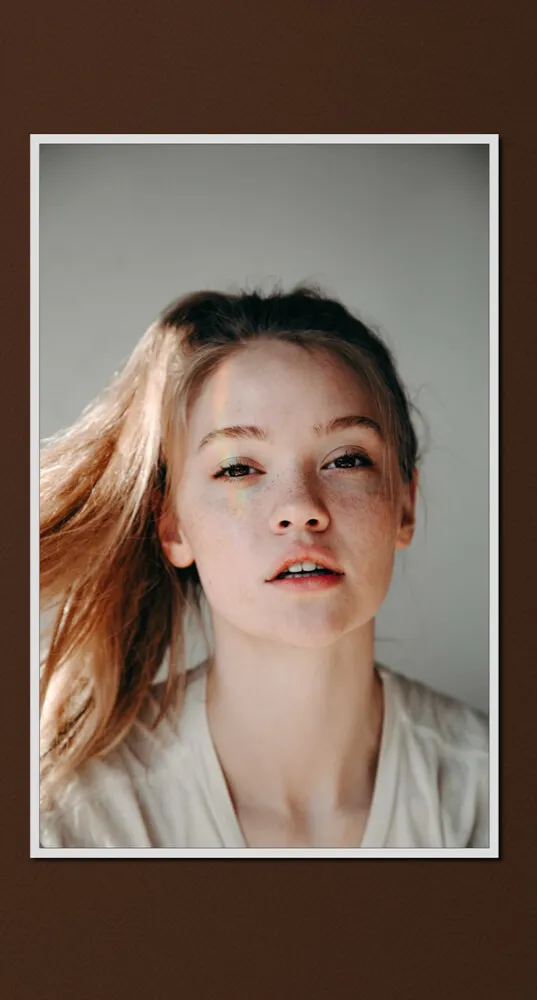
So, here is a Python script that sorts the photos you drop into the Pictures folders and a service that starts at launch to keep the script running.
You can then choose with Home Assistant or through MQTT or HTTP commands to show only the portrait directory. It would be really cool if you could swivel your frame into portrait or landscape orientation.
The Python script for sorting
Create a script either with an editor like Sublime or with
nano sort.py
(No sudo — it is a file in your own home directory.)
and paste this text into the file. Change the pictures_folder line before you run it — it ships with a placeholder, and the script will stop on the first line that touches the disk if you leave it as it is. This is a real bug that has been in this article since I published it; my apologies to anyone who copy-pasted and got a traceback.
import os
import shutil
import time
from PIL import Image, UnidentifiedImageError
from watchdog.observers import Observer
from watchdog.events import FileSystemEventHandler

# Define paths
# CHANGE THIS to your own picture folder, e.g. os.path.expanduser("~/Pictures")
pictures_folder = os.path.expanduser("~/Pictures")
portrait_folder = os.path.join(pictures_folder, "Portrait Orientation")
landscape_folder = os.path.join(pictures_folder, "Landscape Orientation")
square_folder = os.path.join(pictures_folder, "Square Images")

# Create folders if they don't exist
os.makedirs(portrait_folder, exist_ok=True)
os.makedirs(landscape_folder, exist_ok=True)
os.makedirs(square_folder, exist_ok=True)

# Set to track skipped files
skipped_files = set()

def is_file_complete(file_path, wait_time=1):
    """
    Check if a file is fully copied by comparing its size multiple times with a delay.
    """
    for _ in range(3):  # Check 3 times to ensure completion
        initial_size = os.path.getsize(file_path)
        time.sleep(wait_time)
        final_size = os.path.getsize(file_path)
        if initial_size == final_size:
            return True
    return False

def classify_image(file_path):
    try:
        if is_file_complete(file_path):
            with Image.open(file_path) as img:
                width, height = img.size
                if width > height:
                    destination = landscape_folder
                elif height > width:
                    destination = portrait_folder
                else:
                    destination = square_folder
                shutil.move(file_path, destination)
                print(f"Moved {file_path} to {destination}")
            # Remove from skipped files if it was previously skipped
            if file_path in skipped_files:
                skipped_files.remove(file_path)
        else:
            print(f"File {file_path} is still being copied. Adding to skipped list.")
            skipped_files.add(file_path)
    except UnidentifiedImageError:
        print(f"Cannot identify image file {file_path}. Adding to skipped list.")
        skipped_files.add(file_path)
    except Exception as e:
        print(f"Error processing {file_path}: {e}")

def classify_images_in_folder():
    for filename in os.listdir(pictures_folder):
        file_path = os.path.join(pictures_folder, filename)
        if os.path.isfile(file_path) and filename.lower().endswith(".jpg"):
            classify_image(file_path)

class ImageHandler(FileSystemEventHandler):
    def on_created(self, event):
        if event.is_directory:
            return
        if event.src_path.lower().endswith(".jpg"):
            classify_image(event.src_path)

    def on_moved(self, event):
        if not event.is_directory and event.dest_path.lower().endswith(".jpg"):
            classify_image(event.dest_path)

    def on_modified(self, event):
        if not event.is_directory and event.src_path.lower().endswith(".jpg"):
            classify_image(event.src_path)

def retry_skipped_files():
    """
    Retry classifying files that were previously skipped due to incomplete copying
    or unidentifiable errors.
    """
    for file_path in list(skipped_files):  # Iterate over a copy of the set
        if os.path.exists(file_path):
            print(f"Retrying {file_path}")
            classify_image(file_path)

if __name__ == "__main__":
    # Initial classification
    classify_images_in_folder()

    # Set up the observer
    observer = Observer()
    event_handler = ImageHandler()
    observer.schedule(event_handler, path=pictures_folder, recursive=False)
    observer.start()

    try:
        while True:
            retry_skipped_files()  # Periodically retry skipped files
            time.sleep(5)  # Adjust this sleep time as needed
    except KeyboardInterrupt:
        observer.stop()
    observer.join()
Save and close.
Make the file executable with
chmod +x ~/sort.py
(Raspberry Pi OS no longer creates a default pi account, so ~ is safer than /home/pi throughout.)
Install watchdog
Python has a wonderful function that triggers a command when a new file is detected in a directory.
But to make it work in the script, you first need to install it with
source venv_picframe/bin/activate
pip install pillow watchdog
Two notes. Since Bookworm, a pip install outside a virtual environment is refused with error: externally-managed-environment, so activating the environment first is no longer optional. And on a picframe3 frame there is no venv_picframe — make a separate one for this script rather than installing into the frame’s own environment:
python3 -m venv ~/venv_sort
~/venv_sort/bin/pip install pillow watchdog
then use ~/venv_sort/bin/python wherever this article says /home/pi/venv_picframe/bin/python.
Now you can try the script if it works by entering
python sort.py
Create the system service
To always have script running in the background, create a system service file for the script with
sudo nano /etc/systemd/system/sort_pictures.service
Paste the following content into the file
[Unit]
Description=Sort Pictures Service
After=network.target

[Service]
ExecStart=/home/your-username/venv_picframe/bin/python /home/your-username/sort.py
WorkingDirectory=/home/your-username
Restart=always
User=your-username

[Install]
WantedBy=multi-user.target
Replace your-username with your actual user name. Save and close.
Then type (line by line) to activate the service
sudo systemctl daemon-reload

sudo systemctl enable sort_pictures.service

sudo systemctl start sort_pictures.service
Check with
sudo systemctl status sort_pictures.service
the status of the service to confirm it’s running.
Now, drop a few images into your Pictures folder.
The script should move them to the designated subdirectories according to their dimensions. One limitation worth knowing: it only looks at files ending in .jpg. A library with .jpeg, .png, .heic or video files in it will be sorted only in part — add those extensions to the three endswith(".jpg") checks if you need them.
Portrait Options
Two things you can try out now.
One is to change the mounting of your frame to portrait if that is easily possible and change the settings in the Pi3D PictureFrame. Follow the instructions in “How to use your Raspberry Pi digital picture frame in portrait orientation“.
If you can’t do that, you want to try out portrait pairs by changing this line in configuration.yaml to
portrait_pairs: True
To show only the photos in portrait orientation, either change the default Pictures directory in configuration.yaml, or set the directory through Home Assistant if you have that installed.
Or you can temporarily remove the “Landscape” and “Square” directories from the main Pictures directory.
On picframe3 it is simpler. There is no configuration.yaml to edit. Once the script has sorted your photographs, open the frame’s web page, go to the filter panel and pick the Portrait Orientation folder — it shows you how many pictures that selects before you apply it. The same folder filter is available over MQTT and as a Home Assistant entity, so a button on a dashboard can switch between upright and everything. Portrait pairs are a setting on the same frame, so you can have both: pairs on a landscape panel, or portrait-only when you turn the frame on its side.
Enjoy!
Was this article helpful?
Thank you for your support and motivation.