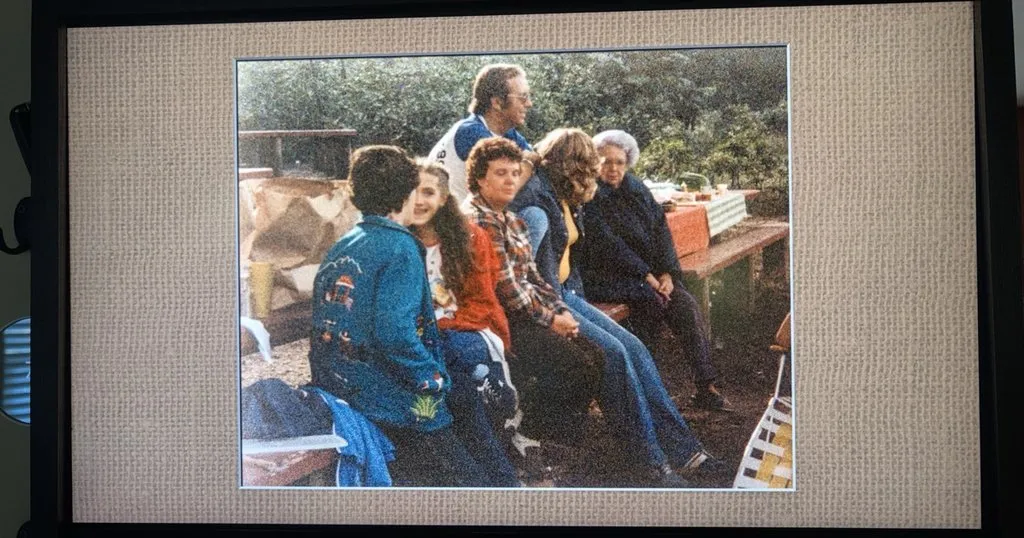
Building a custom digital picture frame with a Raspberry Pi and software like pi3d / picframe is one of the most satisfying weekend DIY projects you can tackle. But almost everyone runs into the exact same frustration once the hardware is hanging on the wall:
At 2:00 AM, the living room is lit up like a football stadium.
If your Pi runs the latest version of Raspberry Pi OS (Bookworm) with the lightweight Labwc desktop, controlling your screen using standard Linux commands can be surprisingly tricky. Traditional tools like xrandr don't work under modern Wayland display servers, and turning the monitor output off via display-manager tools often causes rendering software like pi3d to freeze, crash, or reload as a blank black screen.
Even worse, many HDMI computer monitors or TVs simply ignore hardware brightness commands sent from a Pi.
The solution is a combination of two lightweight tools: wlopm (to sleep and wake the screen safely) and Gammastep (to smoothly dim the display in software).
Here is a step-by-step guide to setting up automated night-dimming and screen shutoff.
Why I Had to Find Another Way
I set up this frame following the pi3d PictureFrame guide for the Pi 2, 3, 4 and 5, and for the schedule I started with the article on turning your digital picture frame on and off at fixed times. That is where I ran into issues.
My frame is built around a small, old TV. I bought it for my kids probably 15 years ago. Since it isn't a monitor (or because it's old), it wouldn't accept any DDC/CI write commands, only read. So dimming the panel itself from the Pi was out, and I went the software route instead.
Then wlr-randr got in the way. On Bookworm with Wayland (using either Wayfire or Labwc), wlr-randr --output ... --off completely unmaps the DRM display output. When the display is re-enabled with --on, Wayland creates a fresh surface, but pi3d / picframe loses its EGL/OpenGL drawing context and fails to rebind to the newly created surface.
So I ended up using wlopm to put the screen into sleep/standby and to wake it up, and Gammastep, which can adjust the color temperature and, more importantly, the brightness.
What We Are Building
We will set up a basic, automatic routine that:
- Dims the screen to 30% brightness at 9:00 PM (soft evening viewing).
- Puts the monitor into deep sleep at 10:30 PM (saves power overnight without crashing the photo frame software).
- Wakes the monitor at 7:00 AM at 80% brightness (ready for the morning).
At the end of this post there is an advanced routine if you also want to have different times for the weekend.
Step 1: Open the Terminal
Log into your Raspberry Pi desktop and launch the Terminal application (the small black-box icon on the top taskbar), or connect to your Pi via SSH from your computer.
Step 2: Install the Tools
We need two small background utilities:
- Gammastep: A tool that controls screen brightness and color temperature at the compositor level.
- wlopm: A Wayland output power manager that toggles monitor standby modes without unmapping the display.
Type this command into the terminal and press Enter:
sudo apt update && sudo apt install -y gammastep wlopm
Step 3: Create the Automation Script
We will create a helper script named frame-display.sh.
First, make sure your user's personal program folder exists:
mkdir -p ~/.local/bin
Now, open the built-in text editor called nano to create our script file:
nano ~/.local/bin/frame-display.sh
A blank blue/black editor window will appear. Copy and paste the following block of code directly into the terminal window:
#!/bin/bash
# Frame display & brightness manager for Labwc
# If desired you can change the brightness % for the dimming and brightening by changing the variables in the script body.
# An example of changing the dimming from 30% to 40%:
# gammastep -O 6500K -b 0.3 >/dev/null 2>&1 &
# gammastep -O 6500K -b 0.4 >/dev/null 2>&1 &

export XDG_RUNTIME_DIR="/run/user/$(id -u)"
export WAYLAND_DISPLAY="${WAYLAND_DISPLAY:-wayland-0}"

ACTION="$1"
OUTPUT="HDMI-A-1"

case "$ACTION" in
  dim30)
    # Stop any active dimmer, then dim to 30% in the background
    killall gammastep 2>/dev/null
    gammastep -O 6500K -b 0.3 >/dev/null 2>&1 &
    ;;
  off)
    # Put display to sleep without breaking the pi3d surface
    wlopm --off "$OUTPUT"
    ;;
  on80)
    # Wake the monitor back up
    wlopm --on "$OUTPUT"
    sleep 2
    # Apply 80% brightness
    killall gammastep 2>/dev/null
    gammastep -O 6500K -b 0.8 >/dev/null 2>&1 &
    ;;
  reset)
    # Safety switch: Wake screen and return to 100% full daylight
    wlopm --on "$OUTPUT"
    killall gammastep 2>/dev/null
    gammastep -x >/dev/null 2>&1
    ;;
  *)
    echo "Usage: $0 {dim30|off|on80|reset}"
    exit 1
    ;;
esac
How to Save and Exit Nano
- Press Ctrl + O on your keyboard, then press Enter (this writes the file to the drive).
- Press Ctrl + X to exit the editor and return to the normal command line.
Step 4: Make the Script Executable and Test It
By default, Linux treats newly created text files as plain documents. You have to give the system permission to run it as a program.
Run this command:
chmod +x ~/.local/bin/frame-display.sh
Now, test each command live to make sure your frame responds:
- Test Dimming:
~/.local/bin/frame-display.sh dim30
Your screen should immediately darken to 30% without freezing your terminal prompt.
- Test Turning the Screen Off:
~/.local/bin/frame-display.sh off
The monitor should go into standby mode.
- Test Waking Back Up:
~/.local/bin/frame-display.sh on80
The screen turns back on, and your photo slideshow continues running cleanly without artifacts or freezing.
Step 5: Automate with Cron (Basic Schedule)
Now that our script handles the heavy lifting, we can tell the Raspberry Pi to run it on a strict clock using cron (Linux's built-in task scheduler).
Open your personal cron table:
crontab -e
(If this is your first time opening it, the terminal will ask you to pick an editor. Press 1 and press Enter to select nano.)
Use your keyboard arrow keys to scroll all the way to the very bottom of the file. Paste these lines:
# 9:00 PM - Dim screen to 30%
0 21 * * * $HOME/.local/bin/frame-display.sh dim30
# 10:30 PM - Turn screen off for the night
30 22 * * * $HOME/.local/bin/frame-display.sh off
# 7:00 AM - Wake screen up at 80% brightness
0 7 * * * $HOME/.local/bin/frame-display.sh on80
Understanding the Cron Format
The numbers at the start of each line follow the rule Minute Hour Day Month Day-of-Week, which uses a 24-hour clock:
0 21 * * *means: At minute 0 of hour 21 (9:00 PM in 24-hour time), every day.30 22 * * *means: At minute 30 of hour 22 (10:30 PM).0 7 * * *means: At minute 0 of hour 7 (7:00 AM).
Save and close the file by pressing Ctrl + O, Enter, and then Ctrl + X.
Advanced: Weekday vs. Weekend Schedule
To take into account going to bed earlier during the week and staying up longer on the weekends, use the 5th column of cron (Day of Week): 0 is Sunday, 1-5 is Monday through Friday, and 6 is Saturday.
Because weekend late nights occur on Friday and Saturday nights, the screen turns off later on those nights (12:30 AM). In addition, mornings on Saturday and Sunday sleep in later (8:30 AM).
Open your cron editor:
crontab -e
Replace the schedule at the bottom with the following split schedule:
# ==========================================
# WEEKDAYS (Sunday night through Thursday night / Mon-Fri mornings)
# ==========================================
# 9:00 PM (Sun-Thu): Dim to 30% for winding down
0 21 * * 0-4 $HOME/.local/bin/frame-display.sh dim30
# 10:30 PM (Sun-Thu): Turn screen off for work/school nights
30 22 * * 0-4 $HOME/.local/bin/frame-display.sh off
# 7:00 AM (Mon-Fri): Wake up at 80% on weekday mornings
0 7 * * 1-5 $HOME/.local/bin/frame-display.sh on80

# ==========================================
# WEEKENDS (Friday & Saturday nights / Sat-Sun mornings)
# ==========================================
# 10:30 PM (Fri-Sat): Dim to 30% later in the evening
30 22 * * 5,6 $HOME/.local/bin/frame-display.sh dim30
# 12:30 AM (Fri-Sat late night): Turn screen off
30 0 * * 6,0 $HOME/.local/bin/frame-display.sh off
# 8:30 AM (Sat-Sun): Wake up later at 80% on weekend mornings
30 8 * * 6,0 $HOME/.local/bin/frame-display.sh on80
How the Days Line Up
- 0-4 (Sunday through Thursday nights): Matches the evenings preceding a workday, cutting off the screen earlier at 10:30 PM.
- 1-5 (Monday through Friday mornings): Wakes the frame early (7:00 AM) for workdays.
- 5,6 (Friday and Saturday nights): Delays dimming until 10:30 PM when people are still socializing or relaxing.
- 6,0 at 12:30 AM (Saturday and Sunday early mornings): Because 12:30 AM technically falls on the next calendar day, running on days 6,0 catches the late nights following Friday and Saturday.
- 6,0 at 8:30 AM (Saturday and Sunday mornings): Keeps the frame asleep longer while people sleep in.
Understanding Why "Ordinary" Dimming Commands Hang
You can execute the Gammastep command by itself, but it causes issues. Don't do this! I did, and that's why I'm including this information here, because it took me a while to figure out what was what. So this is just so you know:
gammastep -O 6500K -b 0.3
Your screen will dim, but you'll notice something annoying: your terminal seems frozen, and the regular command prompt won't come back.
This happens because Gammastep runs as an active background guard keeping the screen colors adjusted. If you interrupt it with Ctrl+Z, it pauses the process while keeping a lock on the display output, which causes error messages like "zero outputs support gamma adjustment" later on.
To make Gammastep behave in automation, every command needs to:
- Clear out any old Gammastep process (
killall gammastep). - Run detached in the background using an ampersand (
&).
My Frame, and What's Next
I've built three of these frames so far, and the people I gave them to love them.
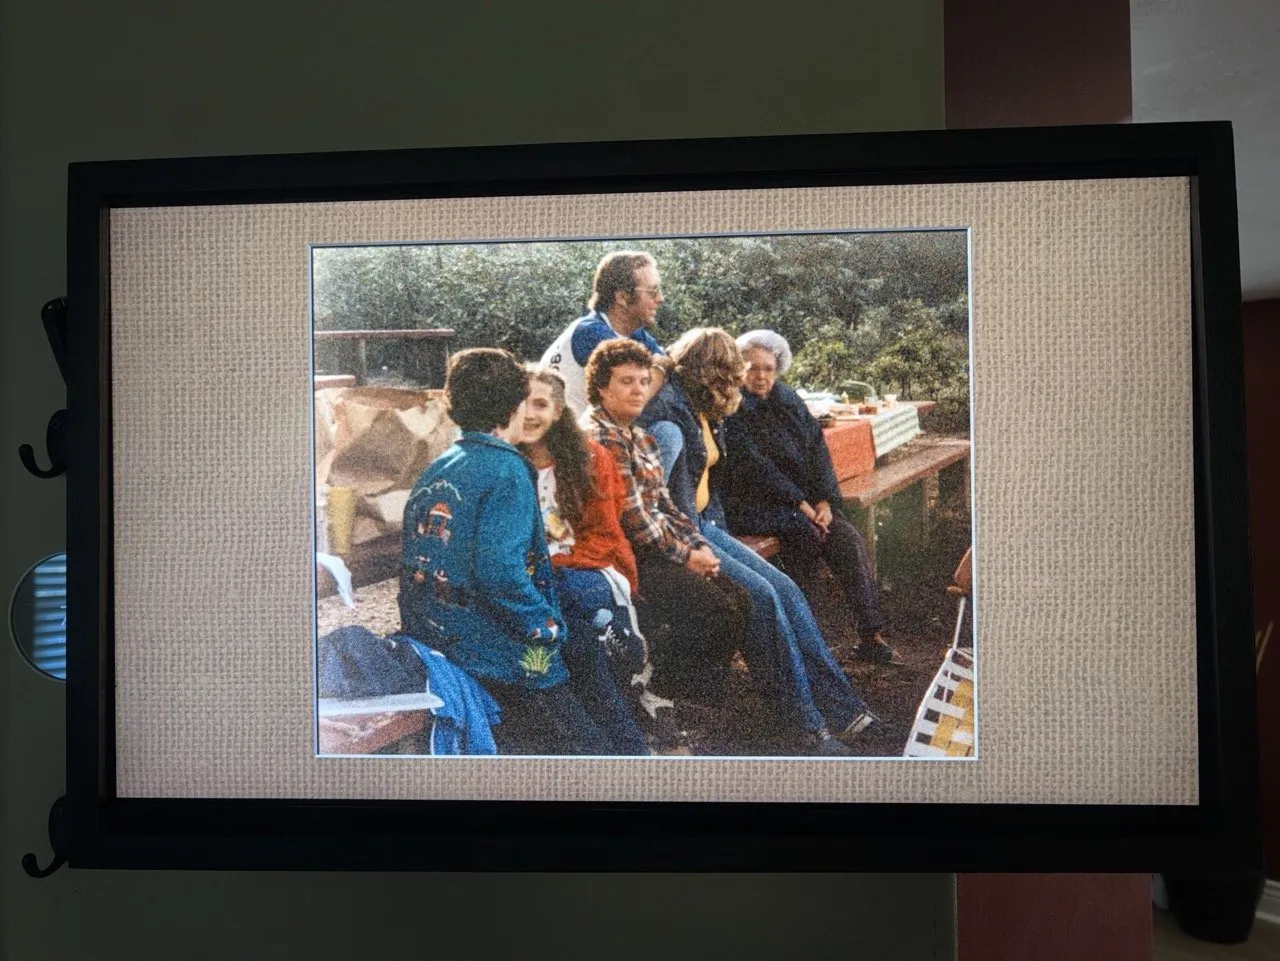
On this one I didn't mat the picture to 3:2. Once I saw two portrait photos pop up side by side, I kept it that way: a landscape fills the wide screen nicely, and portraits come in pairs. It has me thinking that for my next build I'll hang two frames next to each other, one just for portraits and the other for landscapes.
For that next build I also plan on removing the screen entirely from its housing and using an HDMI controller board to power and interact with it. I will (hopefully) be powering both the screen and the Pi via a single thin, sticky-back and paintable power cord, based on the one the Memento Photo Frame used to sell as an accessory before the company went under. I'll report back once I'm successful, if I can find the time!
Was this article helpful?
Thank you for your support and motivation.