
In this blog, I present solutions for various features that you can include in your digital picture frame project.
I am often asked for recommendations, so in this article, I will show which hardware and software I am personally using for my living room photo frame.
I will update this article whenever there is a change and provide the links to my posts with step-by-step instructions.
For me, the big update in 2021 was the move to a large 32-inches 4K frame. While the original 24-inch project had a perfect 16:10 aspect ratio, the 4K has the size and the resolution.
Hardware
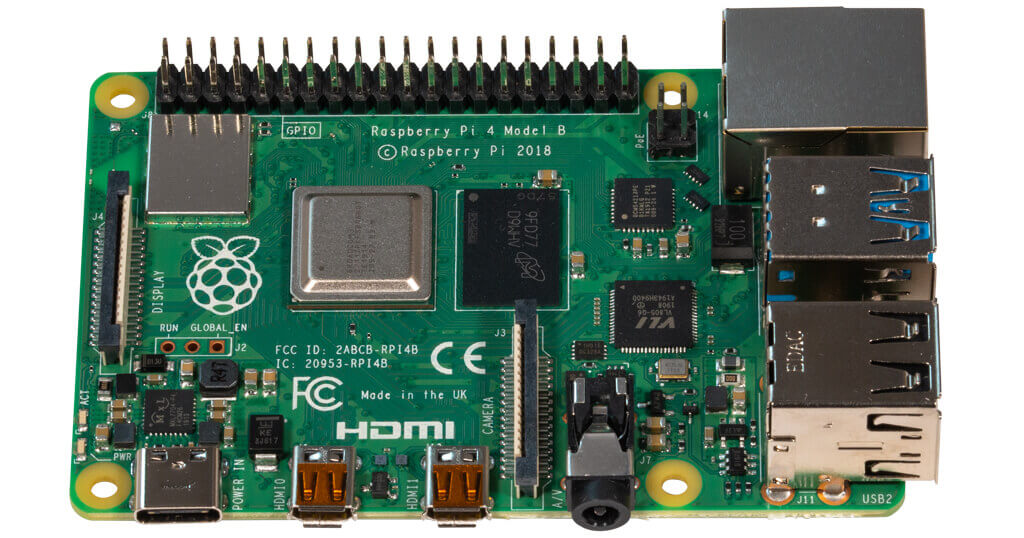
I use a Raspberry Pi 4 with 4GB RAM and a 128GB A2 SanDisk Extreme Pro SD card. A 64GB SD card would be plenty, but the 128GB model is often the same price and reduces the wear.
Read about the advantages of the Raspberry Pi for digital picture frame projects. An overview of the various Raspberry Pi Models is here.
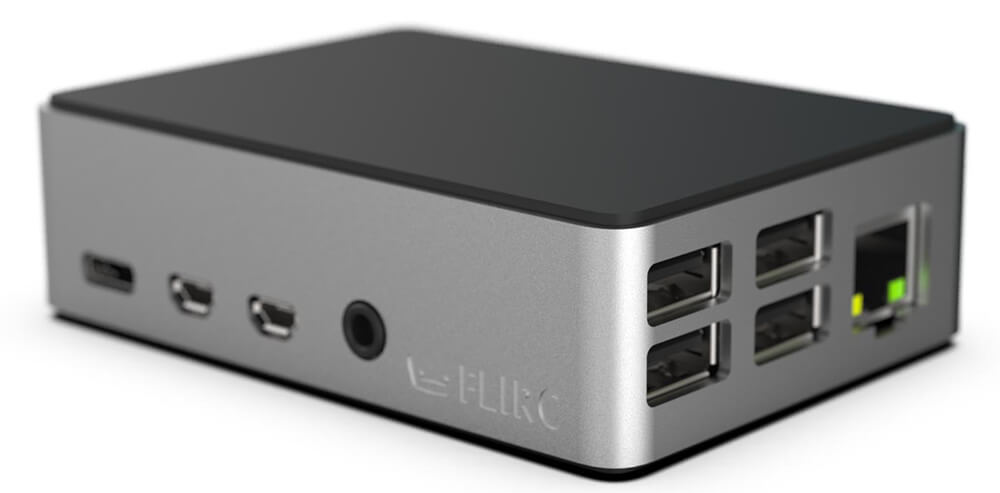
As a case, I use Flirc cases for all my Raspberry Pis because of their superior passive cooling technology.
The display is a 32-inch BenQ PD3200 4K monitor in 16:9 format with 3840 x 2160 pixels.
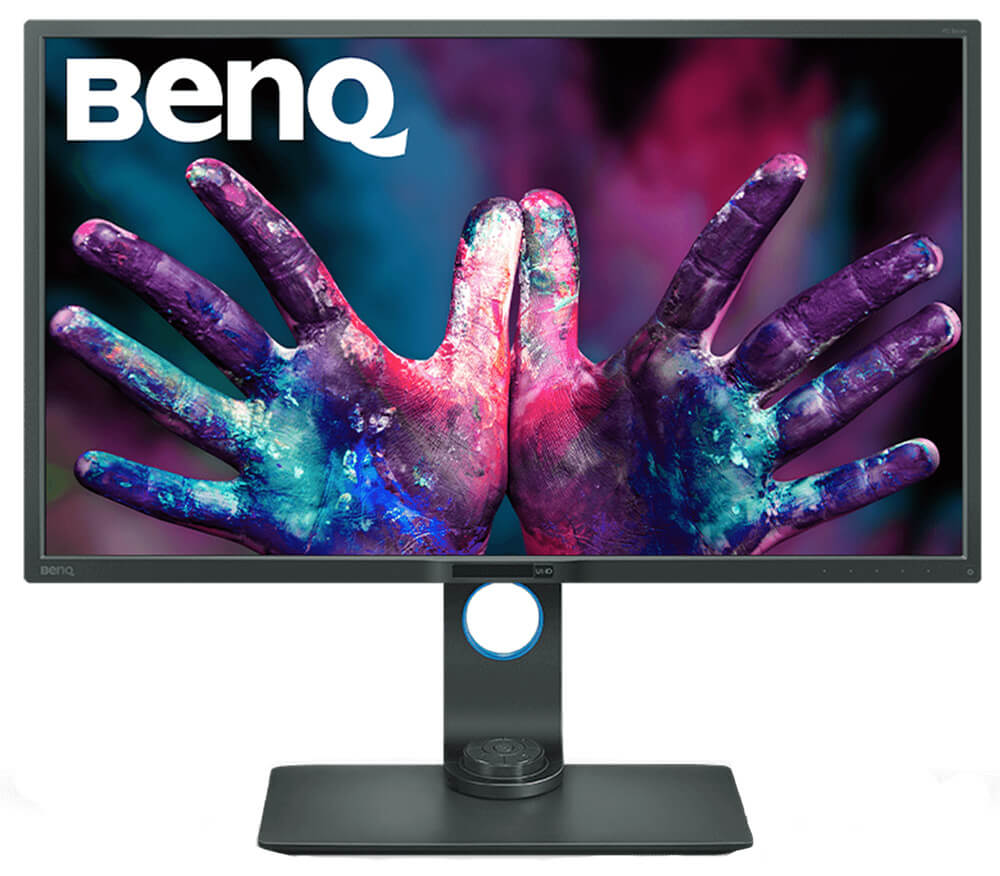
I had a black anodized aluminum frame custom-made in a frame shop. More about this project is here.
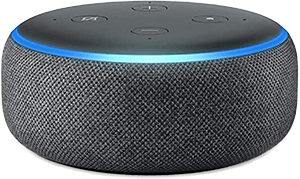
The Amazon Echo Dot is not something I have bought especially for this project, but I found it easy and convenient to use it to voice-control my digital frame. And often, these devices are heavily discounted. More on what you can do with it, here.
Operating system

When you have a Raspberry Pi, you choose the Raspberry Pi OS unless you have some special use cases that require an alternative. In my case, it’s Raspberry Pi Bookworm.
Here is my script to get you going in less than ten minutes.
Networking
I use SAMBA for network sharing with a config file customized for macOS computers.
Photo Management
While I am very excited about rclone to connect the Raspberry Pi to Dropbox, I am back to Syncthing since I use the Duplicates Finder script. Unfortunately, rclone/Dropbox is unidirectional at the moment, which doesn’t work with Duplicates.
The Syncthing folder is shared across several computers so everyone can add or remove images on their regular system.
Image viewer
It’s no surprise that I use Pi3D PictureFrame, the completely rewritten version with crossfading transitions, set to a fade delay of 10 seconds and an image duration of 200 seconds. I also use the geolocation and matting features.
I am processing my photos in Adobe Lightroom and exporting them in the pixel dimensions of the 4K screen (3840 x 2160).
Home Automation and Remote Control
I have a Raspberry Pi 4 running exclusively Home Assistant with the Nabu Casa service connecting it with Amazon Echo. Through the PictureFrame Home Assistant integration, I can completely remote control and create smart photo filters.
This enables me to set up Routines in the Alexa app that are activated by voice commands and trigger a Home Assistant script that sends MQTT messages picked up by the picture frame.
Nabu Casa is the only service that is not free, at US$5 per month, but it also supports the ongoing development of Home Assistant, which is outstanding software. And I need Nabu Casa for the Alexa interface.
I also have many automations in Home Assistant that, e.g., turn the frame off when no one is home.
Also, in the Home Assistant dashboard, I get the number of images on my picture frame, and I can trigger any of the scripts if I don’t want to talk to Alexa.
MQTT
I had some reliability issues with external cloud-based MQTT providers, so I installed Mosquitto on the picture frame.
Other useful software and tips I use or follow
I have set my Raspberry Pi to 2.4 GHz because the connection is more stable.
To check and fix a broken WiFi connection, do this.
Another useful WiFi connection fix around power management.
For testing purposes, I got myself an HDMI video capture card.
To have a temperature sensor shown in Home Assistant.
Conclusion
This is my current mix of hard and software for the digital picture frame in our living room, which enjoys a high WAF—a key issue for any electronic device!
It requires little or no maintenance… unless, of course, I find new things to add and to experiment with!
Was this article helpful?
Thank you for your support and motivation.
Related Articles
- How I built a digital picture frame with a Raspberry Pi
- Beginner’s guide to Pi3D PictureFrame’s configuration.yaml file
- Install the Pi3D PictureFrame software with one click (2026 Edition, Raspberry Pi 2/3/4/5)
- How to build the best Raspberry Pi digital picture frame with Bookworm Wayland (2025 Edition, Pi 2/3/4/5)