The Pi3D PictureFrame 2021 release came with astounding matting features that are especially interesting if you have images that do not have the same aspect ratio as your digital picture frame.
This article will explain how this new feature works, the options, and how to set it up in PictureFrame 2021.
Works with Raspberry Pi 2, 3, 4, and 5 on Raspberry Pi OS Bookworm.
What is matting
In the picture framing industry, a mat (or “matte”, or “mount” in British English, or “Passepartout” in many non-English-speaking countries) is a thin, flat piece of paper-based material included within a picture frame. It serves as additional decoration and performs several other, more practical functions, such as separating the art from the glass.
The above paragraph has been borrowed verbatim from Wikipedia because it’s just a perfect definition, and I could certainly not have said it better.
A matte in a frame generally increases the value perception of a framed image.
With digital picture frames, you see it less often because you want to make the image as big as the screen to use the precious LED real estate to show your photos.
However, since all larger displays today are widescreen, e.g., 16:9 and smartphones and DSLRs are still shooting in 4:3 or 3:2, you will often see black bars known as pillar boxes. Alternatively, the photos will be blown up to fill the screen resulting in a cropping of up to 20%.
Introducing the new matting feature of PictureFrame
During the refresh of PictureFrame in early 2021, Jeff Godfrey devised a solution to create flexible mats for images of different aspect ratios featuring different styles of floating and more traditional mats.
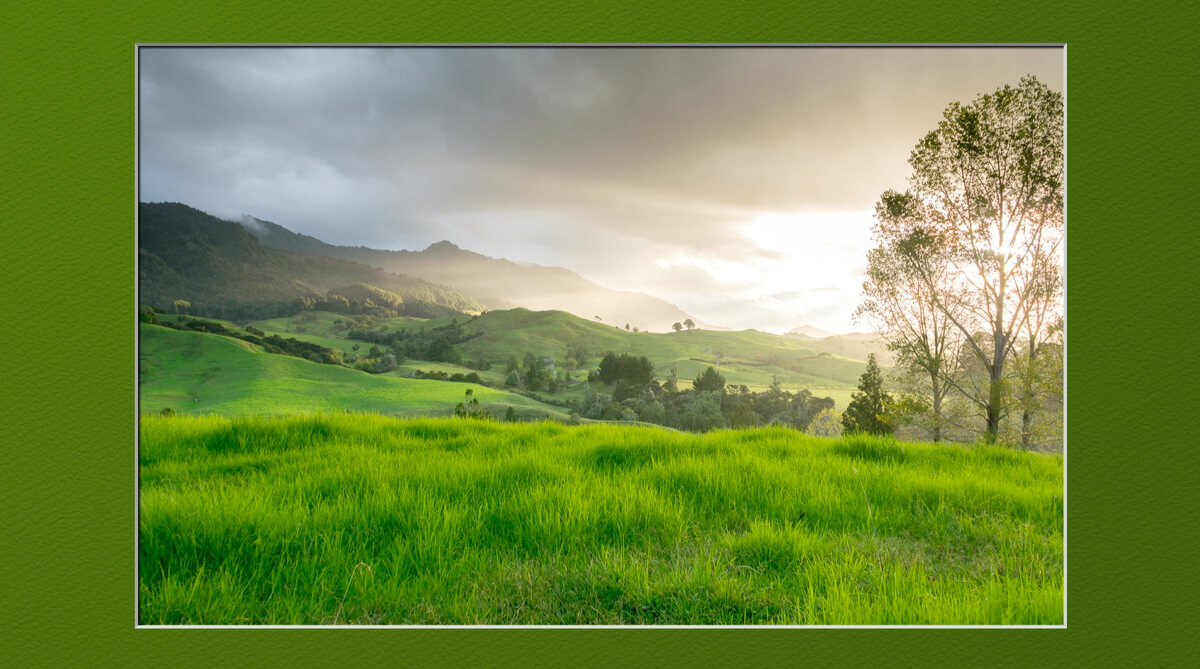
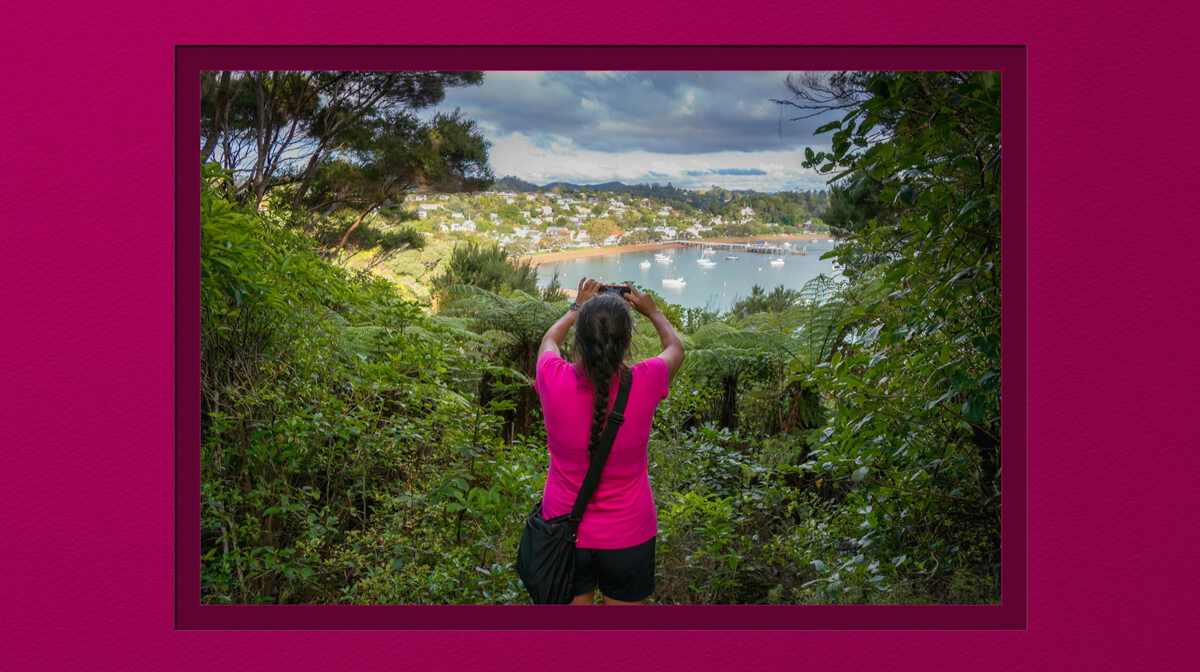
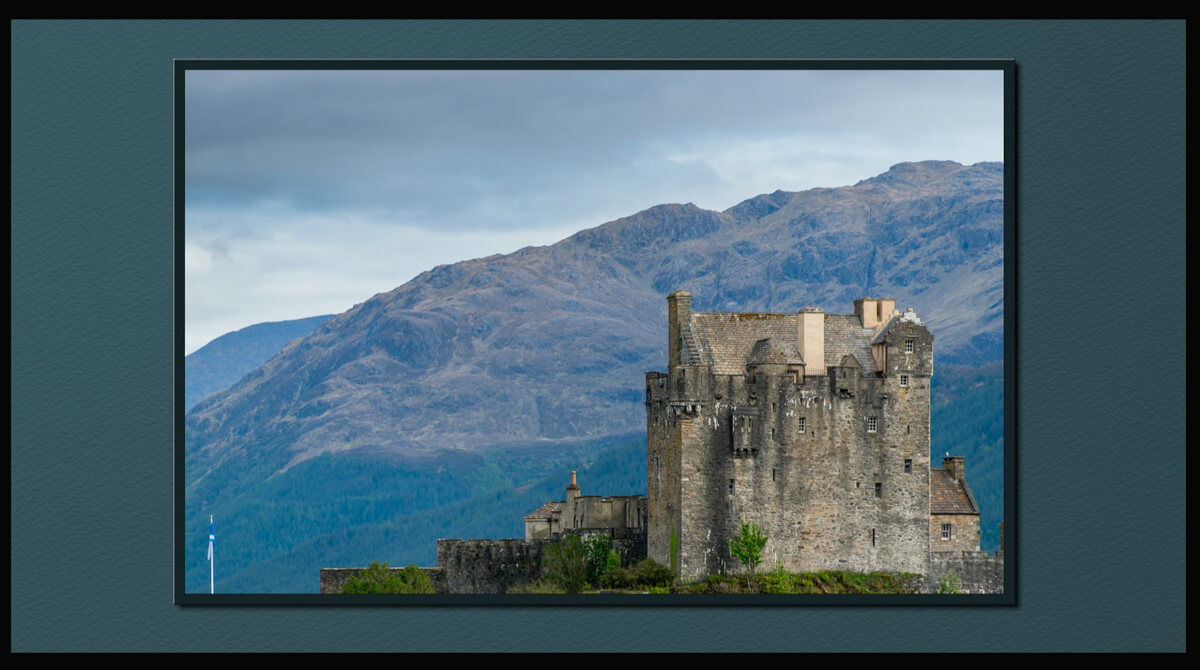
But he didn’t stop there. To make the matting more interesting, he wrote a script to analyse the dominant color of each photo and use that color for the matte.
This creates the most astounding effects, similar to the Philips Ambilight feature on TVs.
The color is determined by taking three randomly selected pixels initially then grouping all the pixels by how close they are to each of those three. Then the three RGB values are taken as the average of each group, and the process is repeated. After a few cycles, the colors partition themselves into groups of similar colors which are then sorted according to how non-grey they are. Obviously, it does depend on what the initial pixels are, but quite often, the mean of each cluster ‘migrates’ towards the same value.
This means that the mat color may sometimes be different even for the same image.
How to enable the new matting feature
Go to /home/pi/picframe_data/config and open the configuration.yaml file.
In the Viewer section, you either generally enable the matting feature with
mat_images: Trueor deactivate it with
mat_images: FalseBut there is also a third option.
If you enter a numerical value between 0.01 and 0.99 like
mat_images: 0.05your image will only be matted if the difference between the aspect ratio of the display and the aspect ratio of the current image is a least 5%.
This means that images that correspond exactly to the aspect ratio of your display will not be matted. If the difference is 5% or more, it will be matted.
This setting is great because it allows you to accept some cropping when the screen is completely filled with an image. But as soon as it reaches a certain threshold, the matte appears.
I would guess that a value of around 0.05 would achieve that.
The mat styles
The mat style is defined in
mat_type: null“null” means all styles will be shown.
Currently, there are six different styles (“mat_type”) included.
They are called:
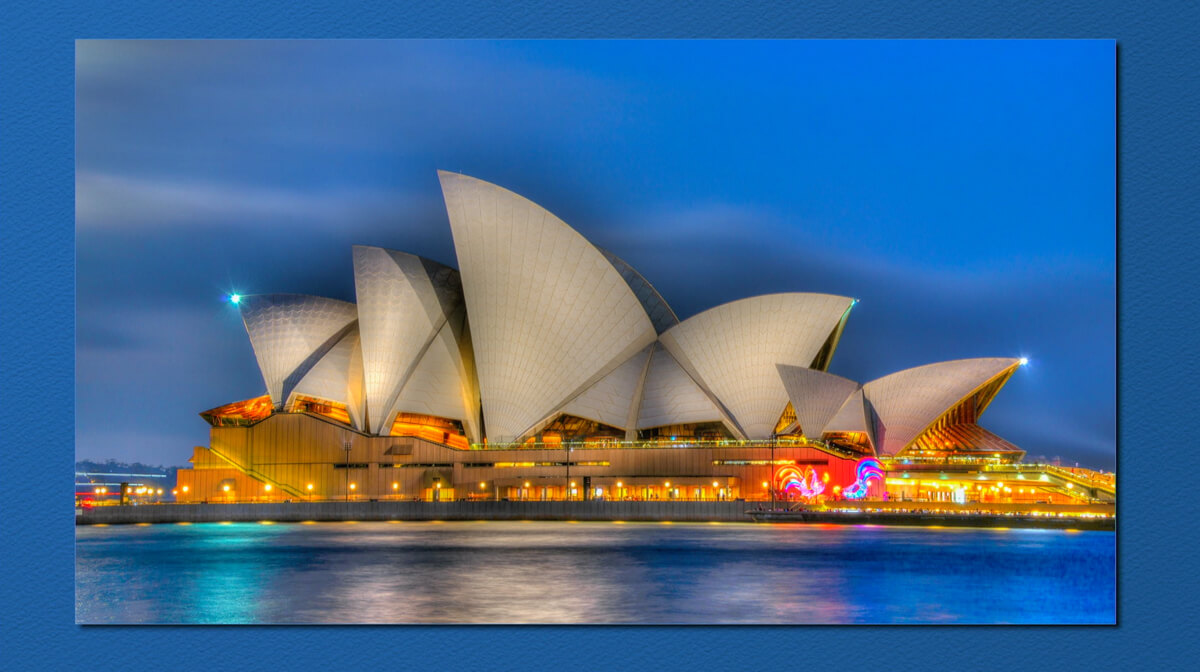
float which creates a 3D floating effect. It looks very nice and light.
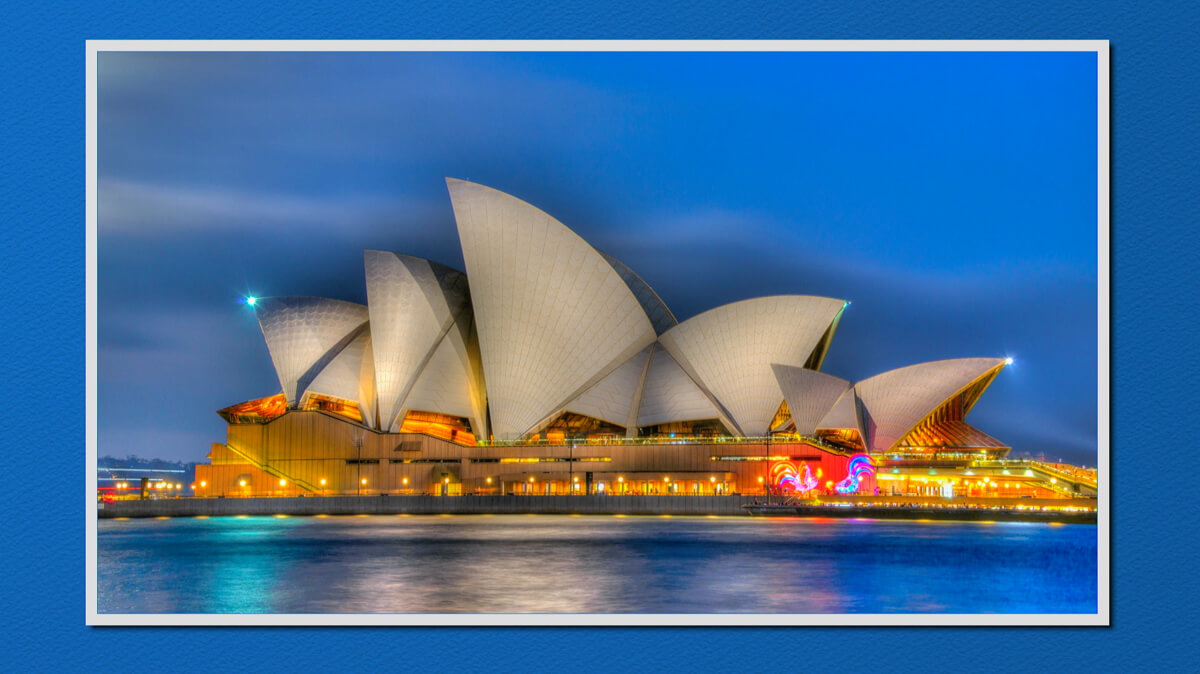
float_polaroid which combines the floating effect with a kind of Polaroid-style frame or even like the old black & white photos that come with a white frame.
float_color_wrapThis is another style based on the simple float style. However, in this case, the image is wrapped with a subtly highlighted, colorized frame reflecting light coming from the left.

single_bevel A single mat with a simple but very elegant bevel-cut style.
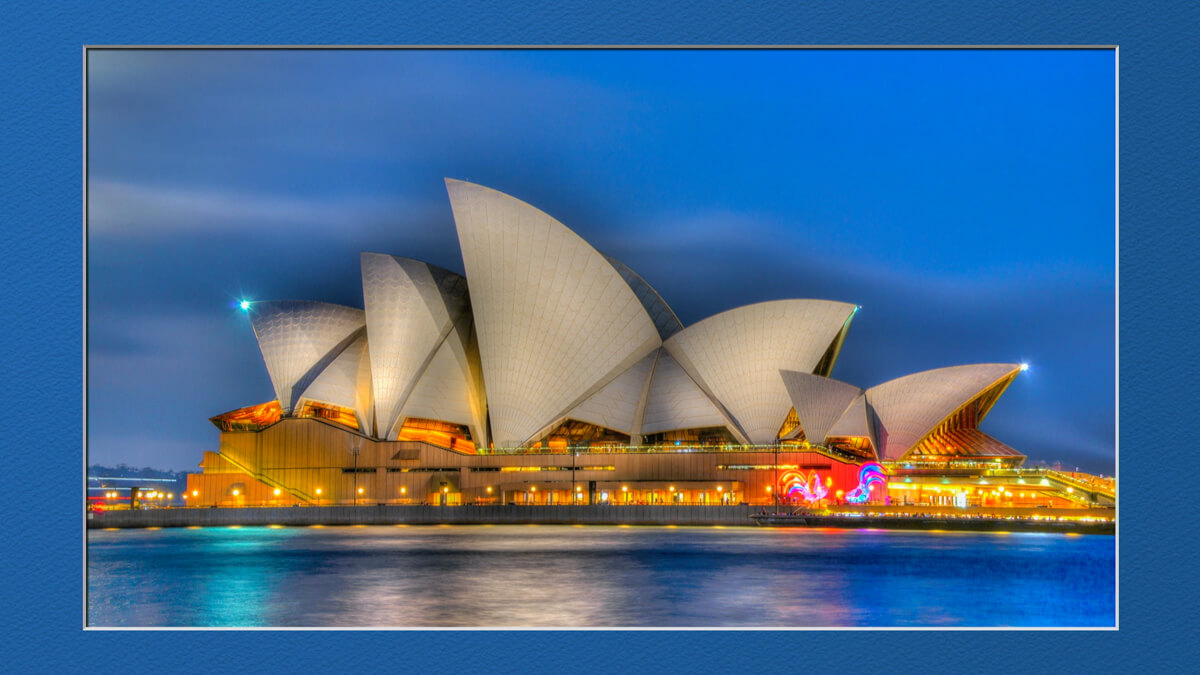
double_bevel A more traditional double mat with a bevel-cut style.

double_flatA simple broader frame with the image is placed directly on top of the inner mat rather than being behind (or floated above). I believe the industry term for this is “shadow gap”.

You can also simply list the styles you want to use. So, for example, if you don’t like two of the styles, you can set “mat_type” to a string that contains the four styles, you do like. The styles listed in the string will be chosen from at random during matting.
This is how it would look like if you only want the floating mats:
mat_type: "float float_polaroid float_color_wrap"The mat colors
The mat colors can be defined manually but you probably don’t want to change anything.
Instead, let PictureFrame 2021 unfold its magic and have the software determine a suitable matte color based on the dominant color of the image.
I don’t know how Jeff managed to do it, but the match between the image and the matte color comes out perfect nine times out of ten, as shown in the examples on this page.
If you want to achieve a particular look, look at the PictureFrame Wiki, where you get all the information to define every little detail of the matte setup.
For mere mortals like me, the default setting is as perfect as it gets!
The mat background
The texture background of the mat is specified in this folder
mat_resource_folder: "/home/pi/picframe_data/data/mat" # Folder containing mat image filesIt’s a JPG file with a dimension of 2.250 x 2.000 pixels, and should you want to experiment with different textures, you just put your file in this directory and change it in configuration.yaml.
Other options
In the model section of configuration.yaml you have an option called
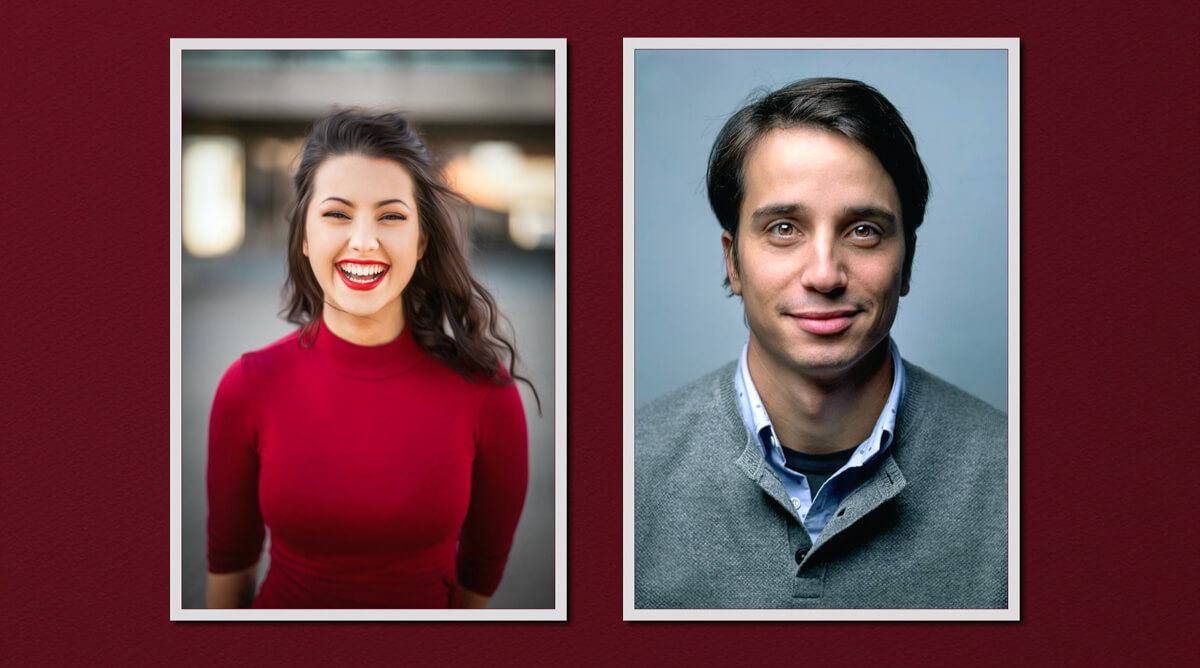
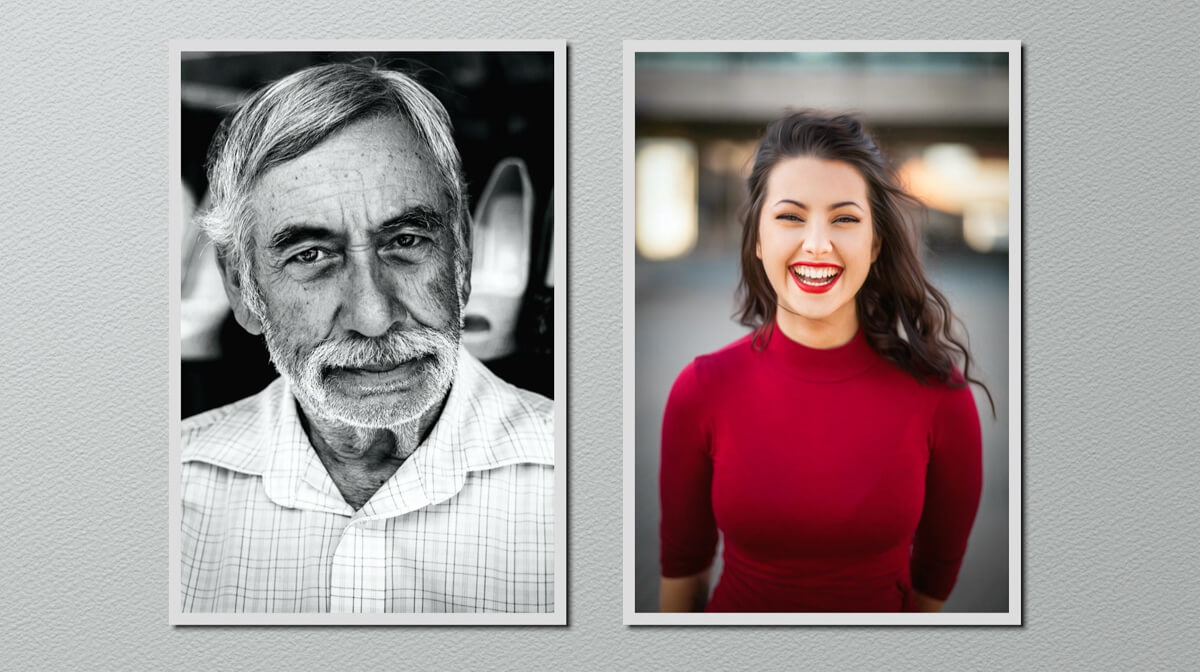
portrait_pairs: Truewhich, if set to “True” will show two portrait images side by side, obviously provided that the picture frame is in landscape orientation.
In this case, the automatic color selection of the matte is calculated from the left image of the portrait pair.
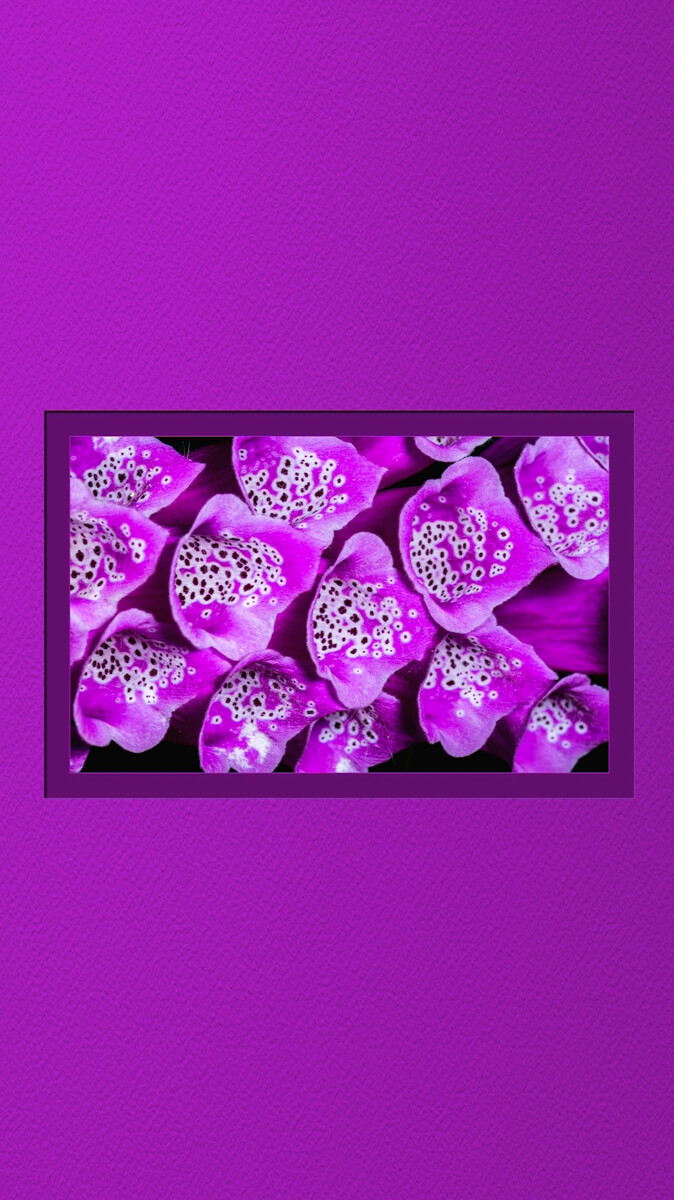
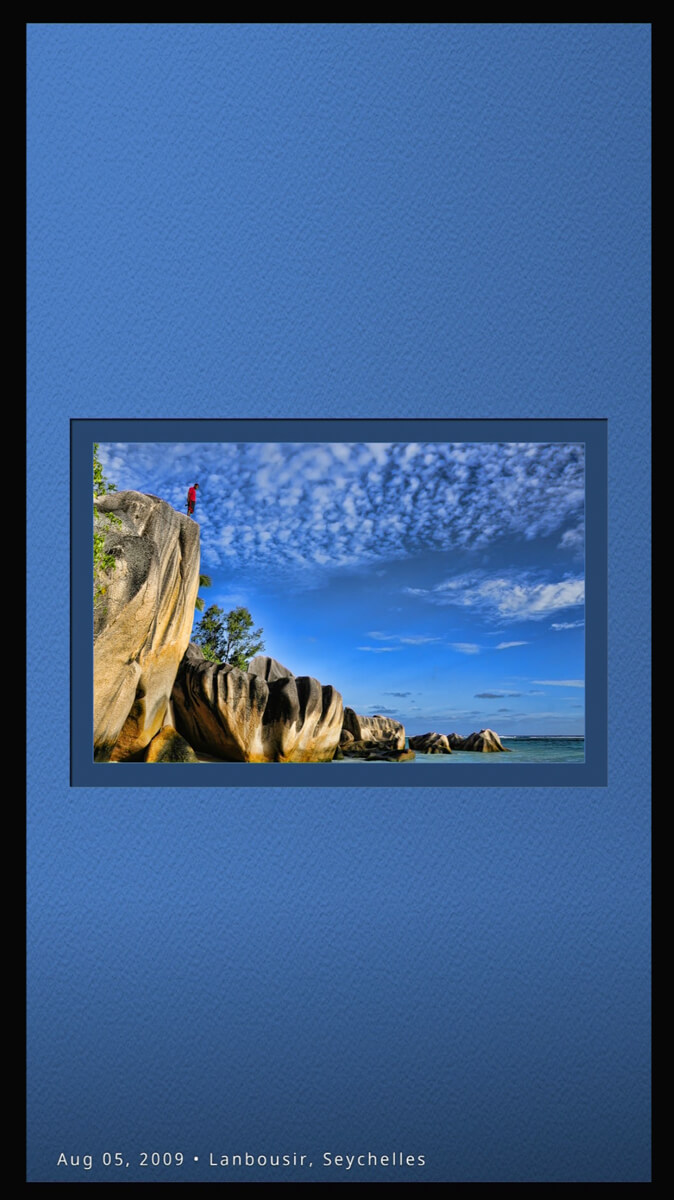
The matting also works fine when the picture frame is in portrait mode.

Conclusion
Automatic matting is a remarkable new feature of PictureFrame 2021. It is amazing how fittingly Jeff’s algorithm picks the right color in most cases and how stunning the image often looks.
This feature even got me thinking if I could enjoy a 16:9 aspect ratio display without modding it into a 3:2 or 16:10 frame. That would make things quite a bit easier.
A matte will reduce the viewing size of your image, but it does add a higher perceived value.
You should definitely give it a try.
Was this article helpful?
Thank you for your support and motivation.
Related Articles
- How to fully integrate your Raspberry Pi digital picture frame into Home Assistant even showing the current image
- How to pause, go back or delete an image on your Raspberry Pi digital picture frame with a simple Alexa voice command
- The ultimate Pi3D PictureFrame FAQ Page – All the questions, all the answers and more
- How to automatically resize images to fit your digital picture frame