Let’s be a bit nerdy here. No, you don’t need to monitor the CPU temperature of your Raspberry picture frame. It’s not getting very hot in the first place.
But wouldn’t it be nice, if you could? Well, if it’s possible, why not do it!
In this article, I will show how you measure the CPU temperature and send the value via MQTT to Home Assistant, where is it is shown in the dashboard.
You could, of course, put together a script that uses the temperature value to shut down the photo frame if it gets too hot and has some real use. Well, let me explain to you the basics, and you take it from here.
The following instructions assume that you are running Home Assistant and that you have installed an MQTT broker like Mosquitto on your Raspberry Pi.
If you are not familiar with this technology, please read my article “Control your digital picture frame with Home Assistant’s wifi presence detection and MQTT” first.
Tested with: Raspberry Pi OS March 2021 version, Raspberry Pi 2, 3, and 4.
The python script to measure the temperature
So, the first step is to add the following Python script to the home directory of your Raspberry Pi digital picture frame.
This script is triggered every five minutes by systemd. More on this below.
Open your file editor. Copy & paste the content below it and save it as send_cpu_temp.py.
#!/usr/bin/env python3

import paho.mqtt.client as mqtt
import subprocess

client = mqtt.Client()
#client.username_pw_set( "" , "" )

client.connect("localhost", 1883, 60)

# Announce that the frame is available
client.publish("frame/cpu_temp/available", "online", qos=0, retain=True)

# CPU temperature
cpu_temp = subprocess.run(['vcgencmd', 'measure_temp'], stdout=subprocess.PIPE).stdout.decode('utf-8') # measure CPU temperature
cpu_temp_value = cpu_temp[5:9] # cut temperature from result
cpu_temp_value_int = int(round(float(cpu_temp_value), 0)) # convert string into number, round and make integer
print(cpu_temp_value_int)

client.publish("frame/cpu_temp", cpu_temp_value_int, qos=0, retain=True)
The cpu temperature is published via MQTT in the topic “frame/cpu_temp”.
Launching the script every five minutes
To activate this script, we’ll use systemd. We want to measure the temperature every five minutes.
Enter
sudo nano /etc/systemd/system/send_cpu_temp.servicePaste the following text into the editor window.
[Unit]
Description=Send CPU Temp
After=multi-user.target

[Service]
Type=idle
User=root
ExecStart=/usr/bin/python3 /home/pi/send_cpu_temp.py
Restart=always
RestartSec=300

[Install]
WantedBy=multi-user.target
The value in “RestartSec=300” determines the wait period in seconds until the CPU temperature is measured again.
Save and close.
Now change the file permissions with
sudo chmod 644 /etc/systemd/system/send_cpu_temp.serviceand update the services with
sudo systemctl daemon-reload
sudo systemctl enable send_cpu_temp.service
Reboot.
Now we have to tell Home Assistant to pick up this sensor and display it on the frontend.
Setting up the temperature sensor in Home Assistant
Add this paragraph in configuration.yaml:
#MQTT Sensor
sensor:
  - platform: mqtt
    name: "cpu_temp_frame"
    state_topic: "frame/cpu_temp"
    unit_of_measurement: '°C'
    availability_topic: "frame/cpu_temp/available"
    payload_available: "online"
    payload_not_available: "offline"
Restart Home Assistant.
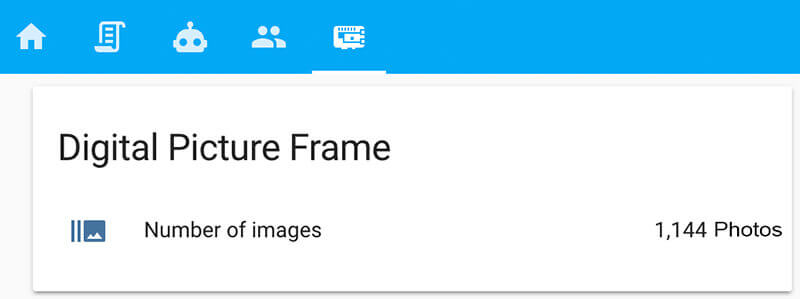
In the front end of Home Assistant, define the entity like in this example:
entities:
  - entity: sensor.cpu_temp_frame
    icon: 'thermometer'
    name: CPU Digital Picture Frame
Voilà, you should see the temperature in your dashboard.
Conclusion
This is another example of how you can connect your digital picture frame and your Home Automation system with simple MQTT messages.
Let me know what you think!
Was this article helpful?
Thank you for your support and motivation.
Related Articles
- Display the number of photos on your Raspberry Pi digital picture frame in Home Assistant
- Control your Raspberry Pi digital picture frame with Home Assistant’s WiFi presence detection and MQTT
- Date filtering doesn’t work? Check your photos for valid Exif date information
- How to fully integrate your Raspberry Pi digital picture frame into Home Assistant even showing the current image