I bought my first digital picture frame almost twenty years ago and have been a fan ever since.
Tested with: Raspberry Pi OS Bookworm January 2025 with Wayland and labwc compositor, Raspberry Pi Zero 2 W, 3, 4, and 5 (a normal Pi Zero won’t work, you’ll need at least the Pi Zero 2 W).
If you want to shortcut to the installation steps below, read my article “Install the Pi3D PictureFrame software with one click“, which automates everything below.
You should still read this article, though, because it contains a lot more background information!
If you like taking photos of people, animals, landscapes, or other things, you shouldn’t bury them on your phone. And please, don’t settle for one of those tiny photo frames.
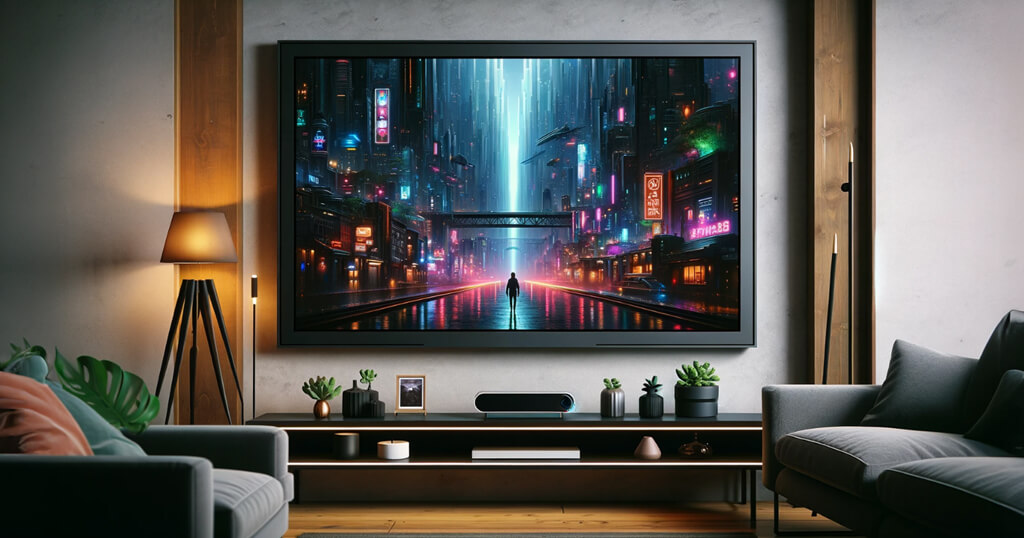
Instead, you should have a 24 or even 32-inch frame, ideally with a 4 K resolution, to enjoy them daily with your family or just for yourself.
But the best digital picture frame isn’t something you can buy. You have to build it yourself.
Over the years, I’ve reviewed many photo frames, and the difference in quality compared to a DIY frame is astounding.
Manufacturers often compromise to keep prices low and volumes high. Luxurious frames don’t sell enough and are quickly discontinued, leaving users with outdated software or cloud services.
And let’s be honest. Some high-end frames are just glorified TVs with unnecessary compromises or lack of features that you want in a picture frame.
Trust me, friends don’t let friends buy overpriced digital photo frames—they build their own.
Building your own frame isn’t just rewarding; it’s also fun and surprisingly easy.
However, be warned: once you dive into the world of custom digital frames, you might get hooked on tweaking and perfecting your setup. But hey, isn’t that what hobbies are all about?
This website has over a hundred articles. I started it to keep track of my own solutions and to give back to the incredibly helpful community. However, tech evolves, and sometimes, my old instructions become outdated due to software updates or system changes.
My previous photo frame project was built using the Raspberry Pi operating system Buster, which is now two generations old. The current version, Bookworm, brought changes that initially deterred me from upgrading.
However, with the help of amazing people like Paddy, Helge, and Jeff, it’s time for a fresh tutorial on building a Raspberry Pi-powered digital picture frame. As always, I am standing on the shoulders of these giants.
Believe me when I say this is still the best frame money can’t buy (off-the-shelf).
This frame features cross-fading transitions (the only ones you’ll ever need), incredibly clever and beautiful matting options for all formats, Home Assistant control, and no monthly cloud service fees because everything is on-premise. Plus, it’s built for stunning 4K resolutions.
Did I mention you can’t buy a frame like this in the market?
So, without further ado, here are the instructions for building a Raspberry Pi-powered digital picture frame that you can customize to your heart’s content. Let’s get started!
For more background, I recommend reading the original Raspberry Pi setup article and the background article on PictureFrame, the software that creates those wonderful image transitions.
Installation of Raspberry Pi OS
The easiest way to install Raspberry Pi is to download the Raspberry Pi Imager.
Select your Raspberry Pi model, and choose Raspberry Pi OS Bookworm Lite (64-bit) under “Operating System” and “Raspberry Pi (other)”.
Under “Storage”, select your SD card. Click “Next”, add your OS customization data, and enter some default settings, such as your Pi’s name (hostname), password, Wi-Fi, and language and time settings.
Don’t forget to check “Enable SSH” under “Services”.
Finish by clicking on “Write”.


Once you’re done, remove the SD card from your Mac/PC and insert it into your Raspberry Pi. Connect your power supply and wait for the boot process to finish.
In my original configuration article, there are a lot more details, so if you are struggling with this part, go back and take the time to read it.
Open a Terminal on your Mac/Linux/Windows machine.
Important: Do not attempt the following steps if a keyboard is connected to your Raspberry Pi. Instead, log in via SSH using a Terminal from another computer. It has been reported that the process does not work otherwise.
The first thing you need to do is find out the IP address of your newly installed Raspberry Pi.
You can do this with software like the Angry IP Scanner or Advanced IP Scanner (for Windows) but actually the easiest way is to just enter
arp -ain your Terminal and get a list of all your network devices. Find yours, which will look something like
pi5.fritz.box (192.168.178.74) at 2c:cf:67:3d:38:9f on en8 ifscope [ethernet]and then type the ssh command with your IP address like
ssh pi@192.168.178.74The default password is “pi” (or whatever you specified in the Raspberry Pi Imager).
Enter
sudo apt update && sudo apt upgrade -yto run the latest updates.
Then, install a few needed packages with (this is one line)
sudo apt install git libsdl2-dev xwayland labwc wlr-randr -yOpen the system configuration with
sudo raspi-configMake the following changes:
- Under 1 System Options -> S5 Boot -> B2 Console Autologin as ‘pi’ user
- Under 5 Localisation Options -> L1 Locale -> add whatever your country and language is. You might also want to add “en_US.UTF-8” to avoid the occasional (but harmless) error message.
Go back, finish, and reboot. Connect again via Terminal.
Installing Samba network settings
Install the file-sharing software using the SMB (SAMBA) network protocol. This allows you to access your Raspberry Pi on your network to add images and program files easily and remotely.
In Terminal, install Samba, add a user and your password
sudo apt install samba -y

sudo smbpasswd -a pi
Change the SAMBA config file with
sudo nano /etc/samba/smb.confI recommend deleting every line by typing CTRL + K. Just hold down the keys until all lines are deleted.
Then, copy and paste this text into the file:
[global]
security = user
workgroup = WORKGROUP
server role = standalone server
map to guest = never
encrypt passwords = yes
obey pam restrictions = no
client min protocol = SMB2
client max protocol = SMB3

#The following seven lines is finetuning for macOS users. I you are only using Windows, you don't need to include them. But they don't harm either.

vfs objects = catia fruit streams_xattr
fruit:metadata = stream
fruit:model = RackMac
fruit:posix_rename = yes
fruit:veto_appledouble = no
fruit:wipe_intentionally_left_blank_rfork = yes
fruit:delete_empty_adfiles = yes

[pi]
comment = Pi Directories
browseable = yes
path = /home/pi
read only = no
create mask = 0775
directory mask = 0775
Hit CTRL + O to write the file to disk, then CTRL + X to exit the editor.
If you have trouble with the Samba configuration, please look at my more detailed article here.
Finally, restart SAMBA:
sudo /etc/init.d/smbd restartYou should now see the name of your Raspberry Pi in your network. Connect to it using your username “pi” (in our example) and your password.
Whenever you reboot your Raspberry Pi, file sharing will automatically start.
Note: If you have a problem editing the SAMBA config file, look at this article.
Tipp: If you are working in a Windows environment, you may want to install the Web Services Discovery Daemon (wsdd), which is a small utility designed to make Samba shares (i.e., your Raspberry Pi) discoverable in Windows File Explorer.
This is what you have to do:sudo apt install wsdd
sudo systemctl enable wsdd
sudo systemctl start wsdd
Installing Pi3D PictureFrame
Now, install the best image viewer software that no money can buy, the one and only Pi3D PictureFrame!
You should definitely read the main article on this wonderfully handcrafted piece of software.
Please note that if your user name is not “pi,” you must insert your chosen user name instead of “pi.”
What is new with Bookworm is that it requires a virtual Python environment to prevent any unintended spillover from PictureFrame onto other Python applications.
Install the Python virtual environment with
mkdir venv_picframe

python -m venv /home/pi/venv_picframe

source venv_picframe/bin/activate
Now, install PictureFrame with
pip install picframeIf you see something like this, it’s a good sign.
Successfully installed IPTCInfo3-2.1.4 Pillow-11.0.0 PyYAML-6.0.2 defusedxml-0.7.1 ninepatch-0.2.0 numpy-2.1.3 paho-mqtt-2.1.0 pi-heif-0.20.0 pi3d-2.52 picframe-2024.11.1 pysdl2-0.9.16Configuring PictureFrame
Now configure PictureFrame. You will be asked three questions for the basic configuration settings. Just hit Enter to keep the default for now. You can always change these settings later.
mkdir {Pictures,DeletedPictures}

picframe -i /home/pi/
When
This will configure  /home/pi/picframe_data/config/configuration.yaml
To keep default, just hit enter
Enter picture directory [~/Pictures]:
Enter picture directory [~/DeletedPictures]:
Enter locale [en_US.UTF-8]:
appears, hit Return three times to accept the default. You can always change these settings later.
You don’t need to make changes in the configuration file at this point. But you probably want to customize it later. In that case, open it with
nano ~/picframe_data/config/configuration.yamland make your changes.
Starting PictureFrame
Starting PictureFrame is a bit more complex than before, but Helge did a great job hiding the complexity with a few scripts.
Enter
nano start_picframe.shand paste the paragraph below
#!/bin/bash
source /home/pi/venv_picframe/bin/activate # activate phyton virtual env
picframe &  #start picframe
Save and close and make the file executable with
chmod +x ./start_picframe.shYou can now test if PictureFrame works by entering
./start_picframe.shIf you can see the image below, you have successfully installed Pi3D PictureFrame on Raspberry Pi Bookworm!

You can ignore the error message ERROR:model.Model:error trying to set locale to en_US.UTF-8.
To stop the script, just enter sudo reboot in Terminal.
You could also look for the process number with ps aux | grep picframe and then kill xxx, with “xxx” being the “/home/pi/venv_picframe/bin/python3 /home/pi/venv_picframe/bin/picframe” process. But a reboot may just be easier for now.
Autostarting PictureFrame
To start PictureFrame at boot, create an autostart config file.
mkdir -p ~/.config/labwc

nano ~/.config/labwc/autostart
and paste the paragraph below
/home/pi/start_picframe.shNext, create an rc.xml config file with
nano ~/.config/labwc/rc.xmland paste the paragraph below
<windowRules>
    <windowRule identifier="*" serverDecoration="no" />
</windowRules>
Finally, create a user systems service to start picframe on boot
mkdir ~/.config/systemd/user/ -p

nano ~/.config/systemd/user/picframe.service
and paste this paragraph
[Unit]
Description=PictureFrame on Pi

[Service]
ExecStart=/usr/bin/labwc
Restart=always

[Install]
WantedBy=default.target
Enable the service and reboot. Don’t forget to connect your display before rebooting.
systemctl --user enable picframe.service

sudo reboot
Add a few pictures to the Pictures directory via the network from another computer (that is why you installed Samba), and they will appear after 200 seconds (the default setting, which you have probably not changed at this point.
Customize PictureFrame to your needs in the configuration.yaml file. For all the details about fine-tuning, read this article or the official wiki documentation.
Et voilà, you got Pi3D Picture Frame running with the latest Raspberry Pi operating system, Bookworm!
Your picture frame installation is now complete. But for tinkering (it never stops), knowing how to control the app’s launch manually is helpful. Here is what you need to know.
More on starting and stopping
Turning the picture frame script on and off is controlled by the systemctl service.
If you want to know more about how this works, I recommend my article, “The ultimate guide on using systemd to autostart scripts on the Raspberry Pi“.
Starting and stopping PictureFrame at boot
- Enable service
systemctl --user enable picframe.service - Disable service
systemctl --user disable picframe.service
This setting survives a reboot. If you choose the disable option, you will boot in the console only, and PictureFrame will not start automatically.
Manually starting and stopping PictureFrame
- Start service
systemctl --user start picframe.service - Stop service
systemctl --user stop picframe.service - Restart service
systemctl --user restart picframe.service
Conclusion
Congratulations! You have just built the best digital picture frame that no money can buy!
A big Thank You to Helge, Paddy, and all the forum members who have made this migration happen.
Was this article helpful?
Thank you for your support and motivation.
Related Articles
- Beginner’s guide to Pi3D PictureFrame’s configuration.yaml file
- Install the Pi3D PictureFrame software with one click (2025 Edition, Raspberry Pi 2/3/4/5)
- Which Raspberry Pi model should you get for your digital photo frame?
- Discover the complete hard- and software setup of my Raspberry Pi digital picture frame