“Alexa” and “Ok, Google” are probably one of the most often muttered words in many households these days. We have the Amazon Dot at home, and I wanted to use it to voice control our digital photo frame.
Luckily Home Assistant, the Home Automation software, has a service called Nabu Casa, which easily connects to Amazon and Google voice assistants.
In this article, I will describe how to turn your digital frame on and off using your voice and give a flavor for what’s possible.
Update, September 2026. The mechanism here — Home Assistant Cloud exposes a switch to Alexa, and an Alexa routine flips it — is unchanged and still the way I do this. Two details have moved: the Nabu Casa price and the Home Assistant menu, both corrected below. The Alexa app screenshots are from 2019 and the app has been redesigned more than once since; the steps are the same, the buttons look different. And the hardest part of this article used to be getting the switch into Home Assistant in the first place. On a Pi 4 or Pi 5, picframe3 does that for you: give it your broker details during setup and the frame appears in Home Assistant as a device with a light for the screen, a pause switch and next/previous buttons, with no YAML to write. Start at step “Set up a Nabu Casa account” below and skip the prerequisite article.
How Star Trek created Alexa
A long time ago, in a galaxy far away, Captain James T. Kirk started talking to his starship computer. The year was 1966, and ever since, people have been fantasizing about conversing with their computers, cars, and kitchen appliances.
Speech technology has proven a tough nut to crack. Still, in recent years lots of progress has been made with the introduction of Apple Siri, Amazon Alexa, and Google Assistant to just name the most popular ones.
Especially Amazon and Google have made their technology available for integration by many manufacturers of smart devices leading to huge unit sales numbers and ubiquity in households around the world.
Home Assistant, Nabu Casa, and a limited cloud
The widely popular home automation software Home Assistant is based on the premise that any data would be stored locally as opposed to sending all data to the cloud.
However, to integrate voice assistants, even Home Assistant has to send some data to Amazon or Google servers.
So the developer team came up with a separate service that they baptized “Nabu Casa”. Nabu Casa provides an open-source connection to Amazon Alexa and Google Assistant, and the team is working to build an end-to-end encrypted, remote interface.
In contrast to the free Home Assistant software, Nabu Casa carries a charge of US$6.50 per month (€7.50, or $65 a year), but this revenue serves to finance the ongoing development of Home Assistant. I like to think of it as a donation to support the great work that is being done here. It was $5 a month when I first wrote this.
Installation is done under Settings → Home Assistant Cloud and needs no explaining. (In 2019 this lived in a tab called “Configuration”.)
Connecting the dots in the Amazon Alexa App
Here is how you can make Dave, sorry, Alexa, turn your digital picture frame on and off.
It probably works very similarly for Google Home, but since we live in an Alexa world, I will give you the instructions for the Amazon Echo.
If you haven’t set up the on/off control of your digital picture frame in Home Assistant, please read my article “Control your digital picture frame with Home Assistant’s wifi presence detection and MQTT.” That article is from the era of hand-written MQTT switches in configuration.yaml, and Home Assistant has since removed platform: mqtt under switch: — so if you are on picframe3, let the frame’s own MQTT discovery create the switch instead and come straight back here.
If you have followed the steps in the article, you will have a switch called “Digital Picture Frame” (or whatever you called it) in Home Assistant.
Set up a Nabu Casa account; there is a free 31-day trial so that you can try this out before paying for anything.
Assuming that you have at least one Amazon Echo device at home, you will have the Amazon Alexa app installed on your iOS or Android device.
Go to “Devices” and then “Switches” and check if you can find your digital picture frame. (Click on the images to enlarge. These screenshots are from the 2019 Alexa app — the wording has survived the redesigns better than the layout has.)
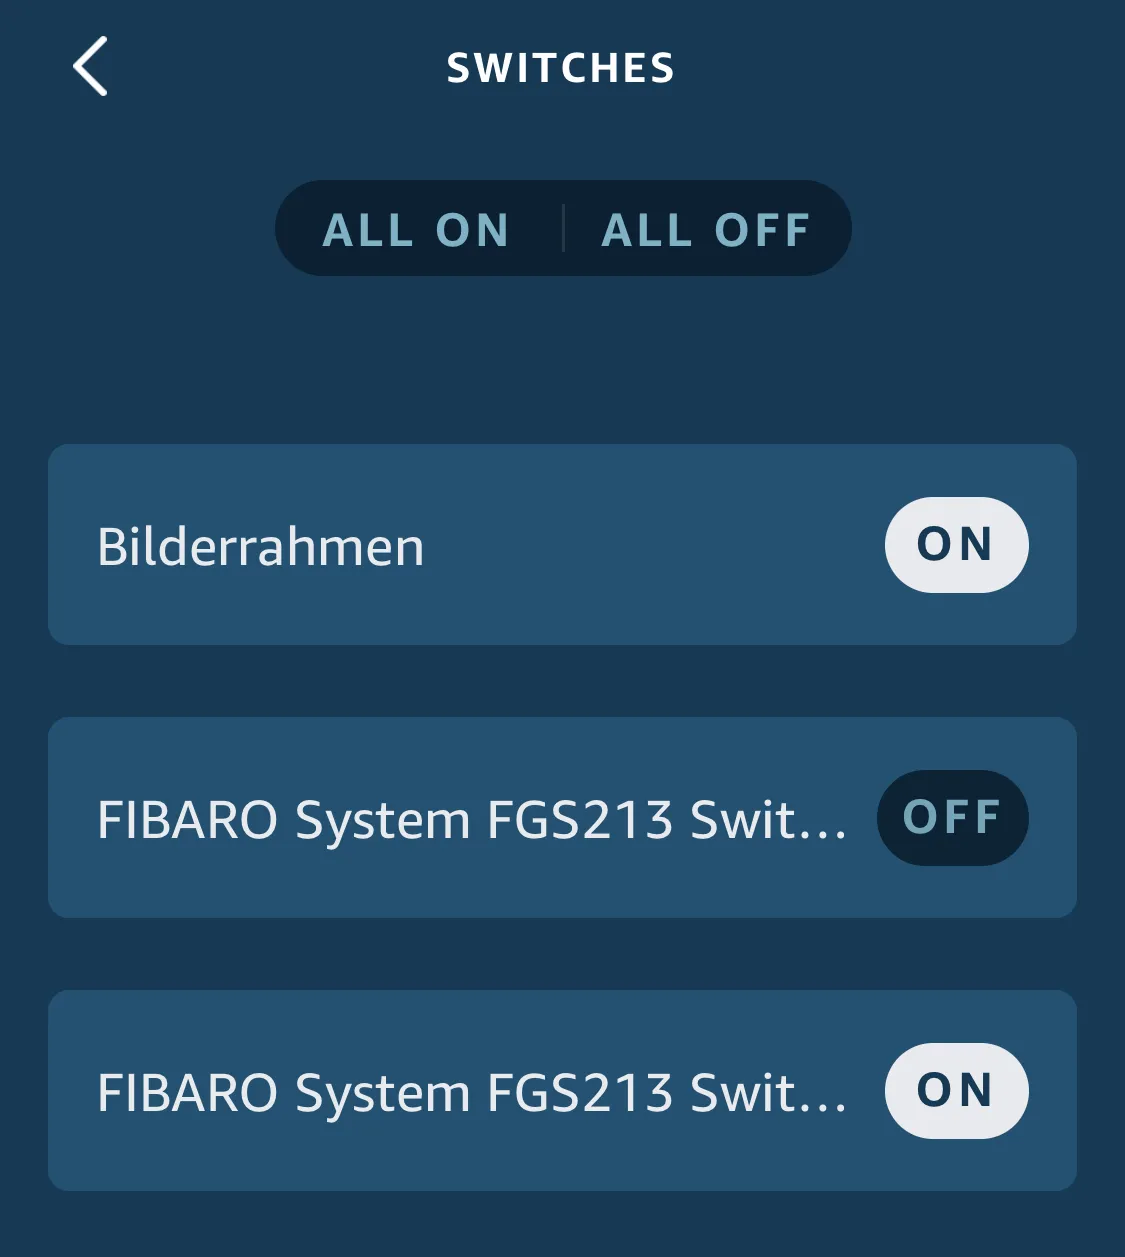
Tap it. In my example, “Bilderrahmen” is the German name for “Picture Frame”.
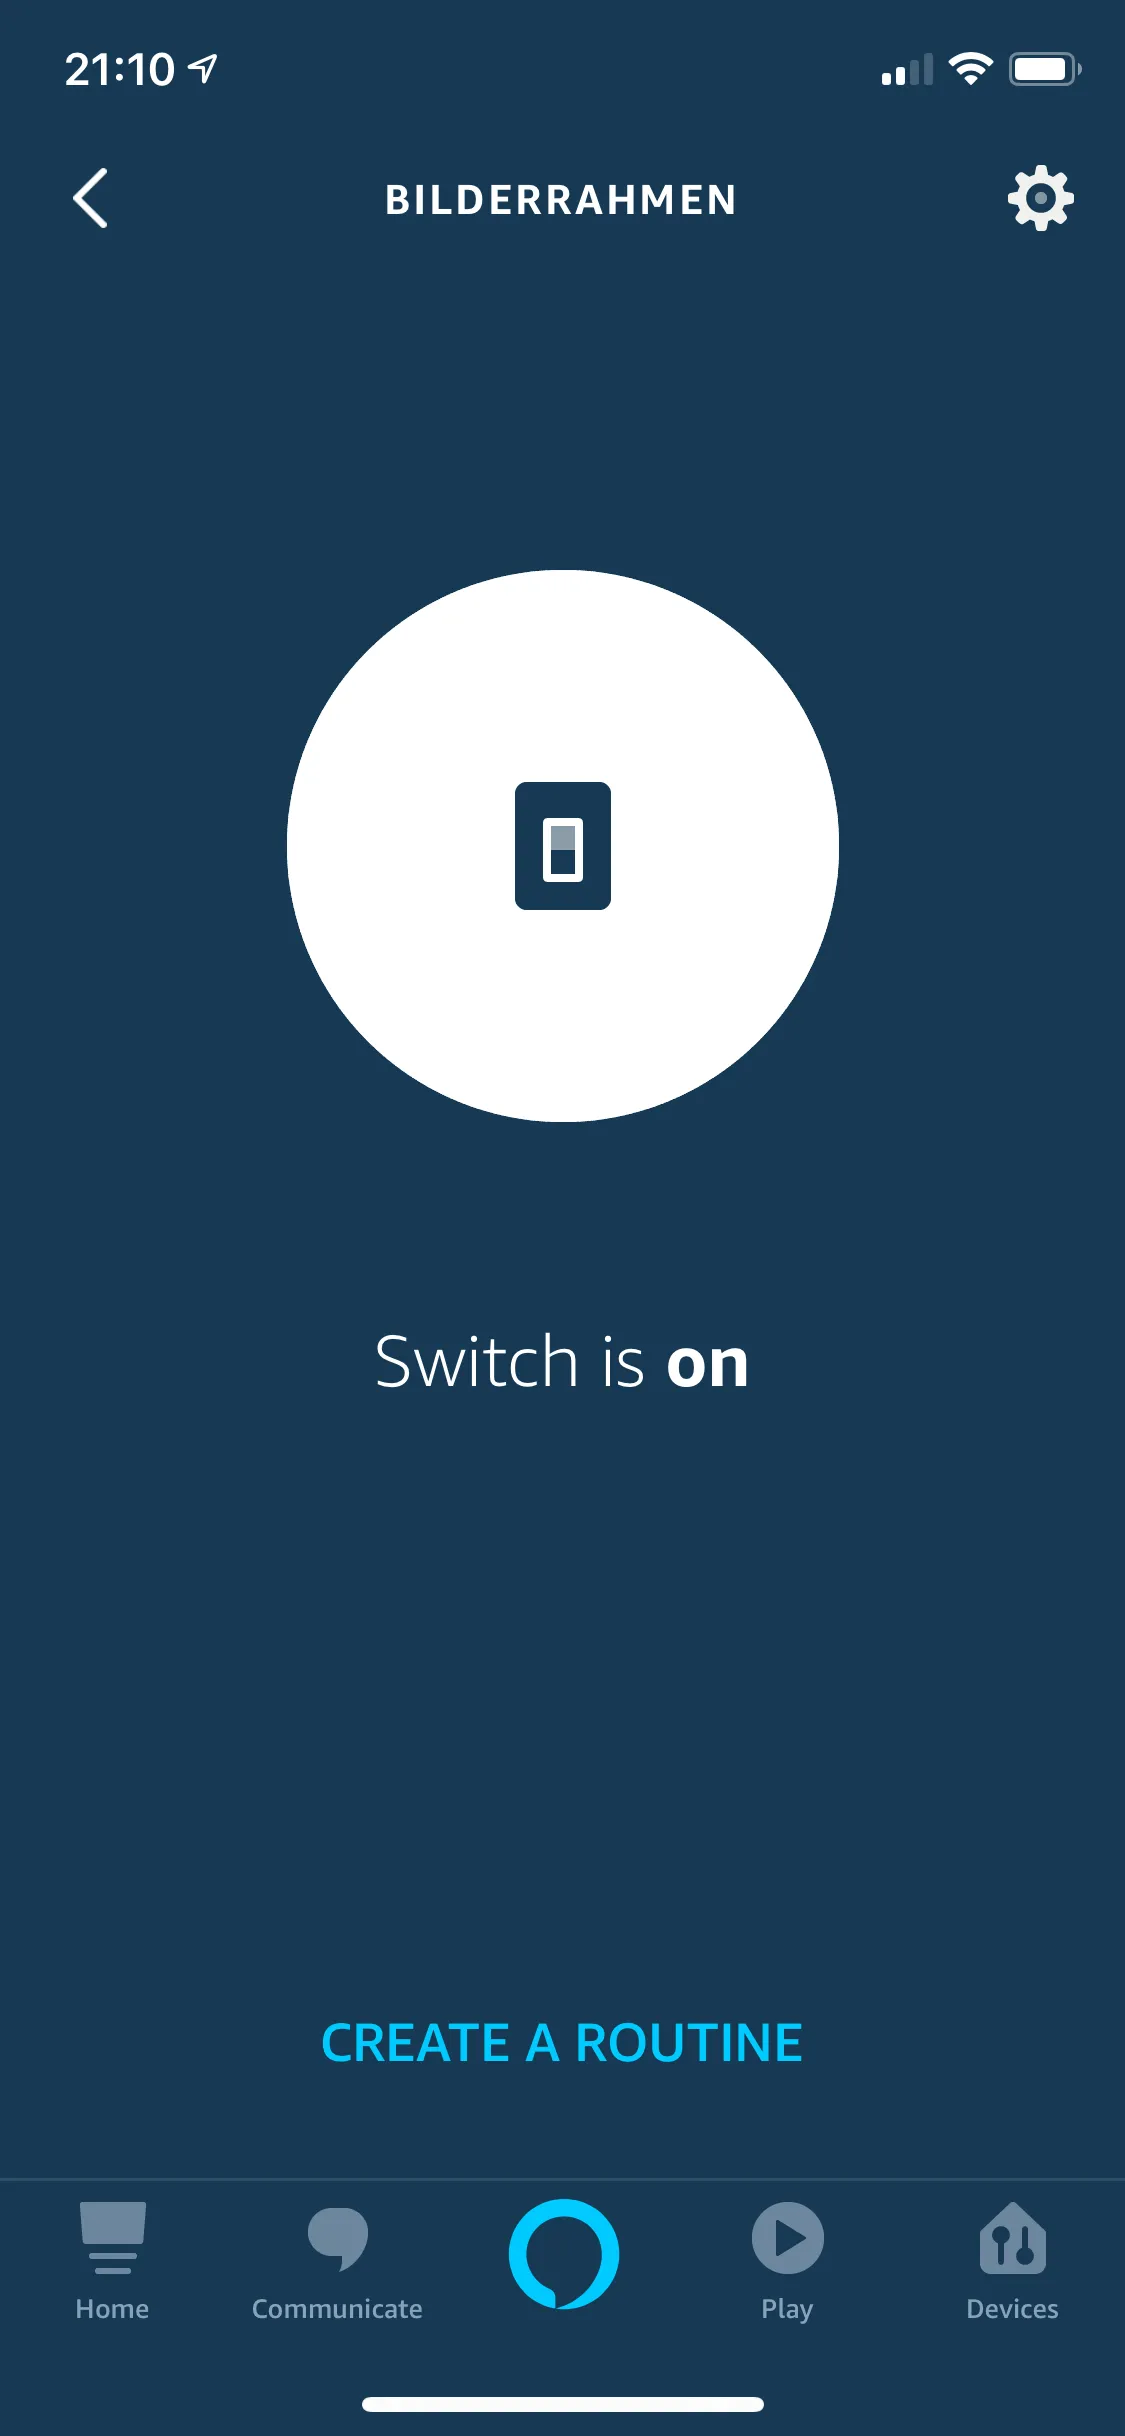
Click on “Create a routine.”Click on the “+” sign in the upper right corner.
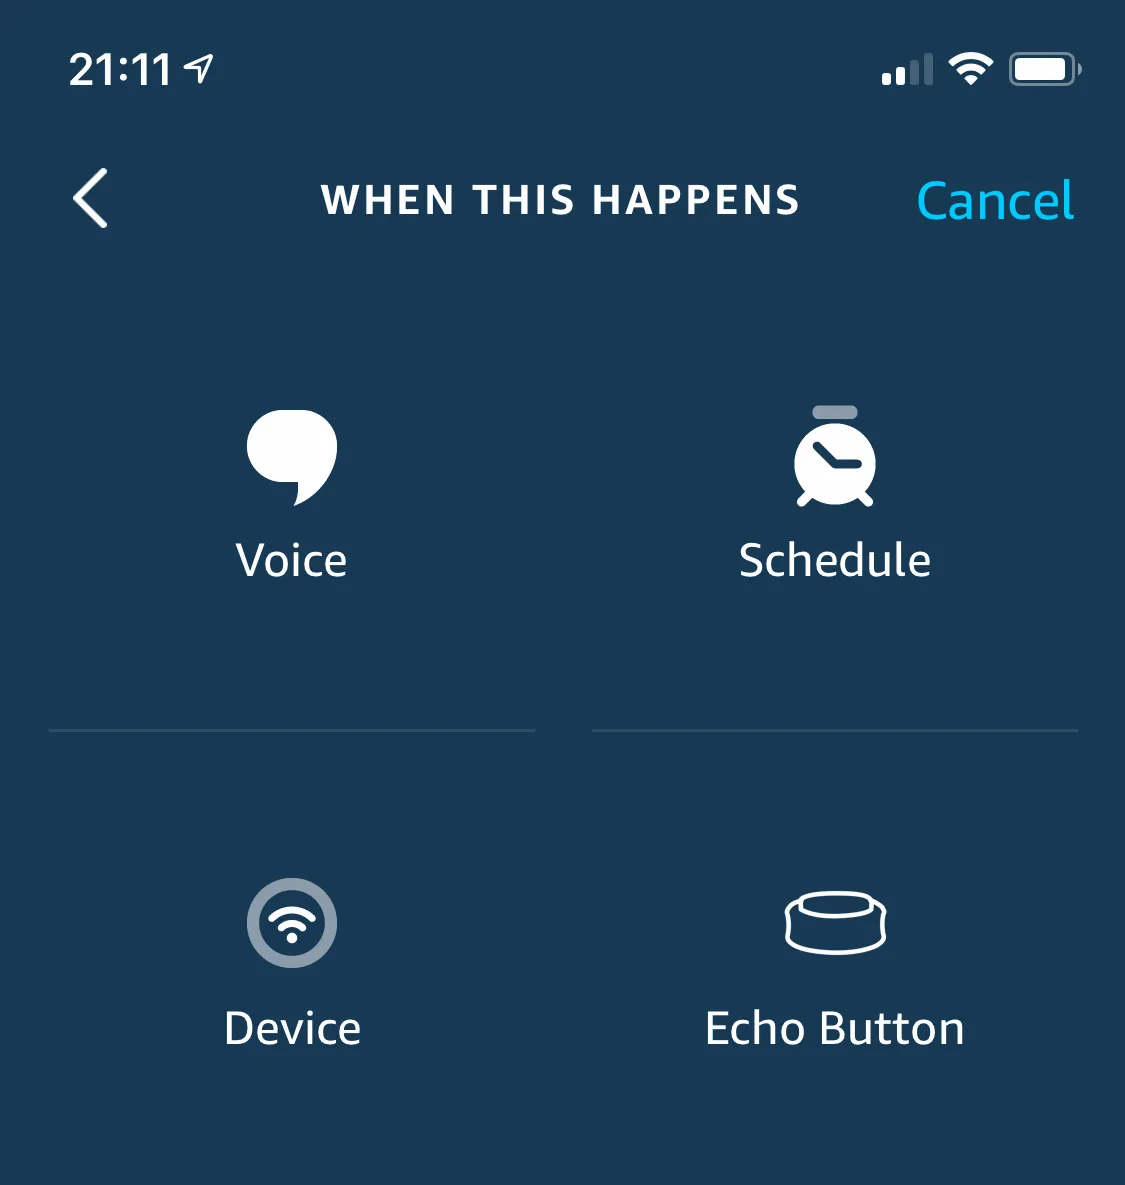
Click on “When this happens” and “Voice”.
Complete the command like, e.g., “Alexa, turn the frame on”
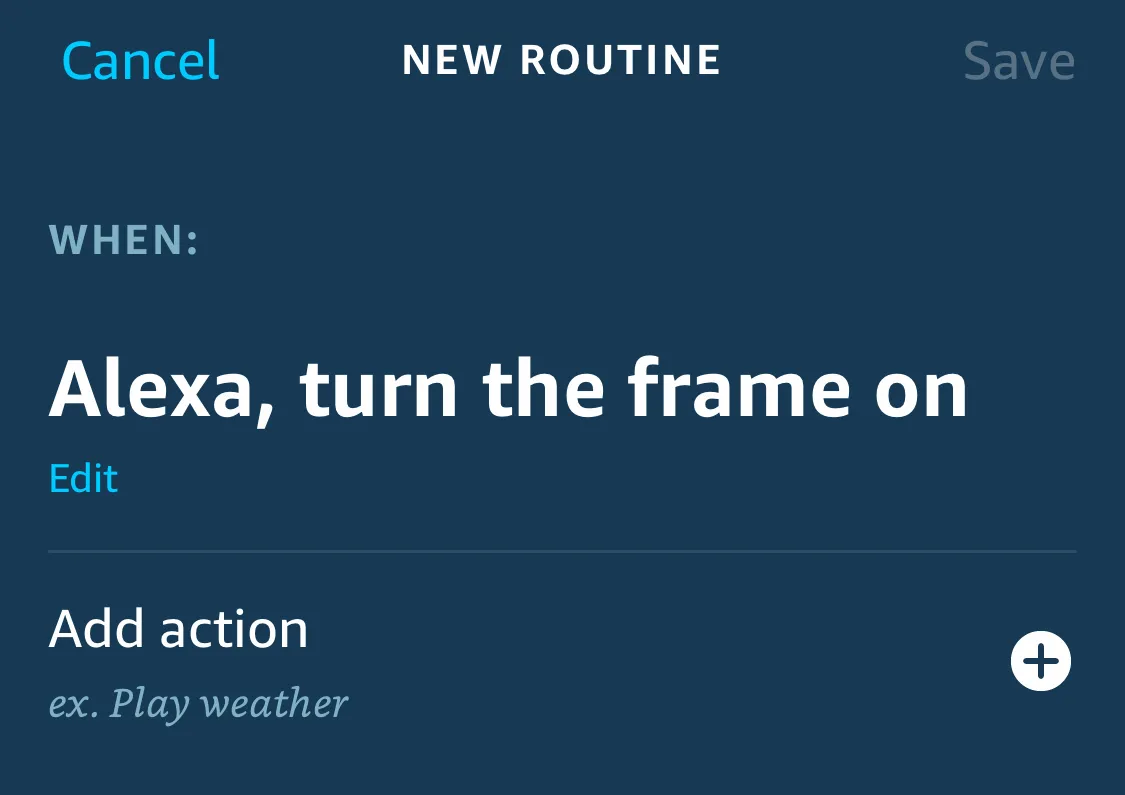
Click on “Add action”
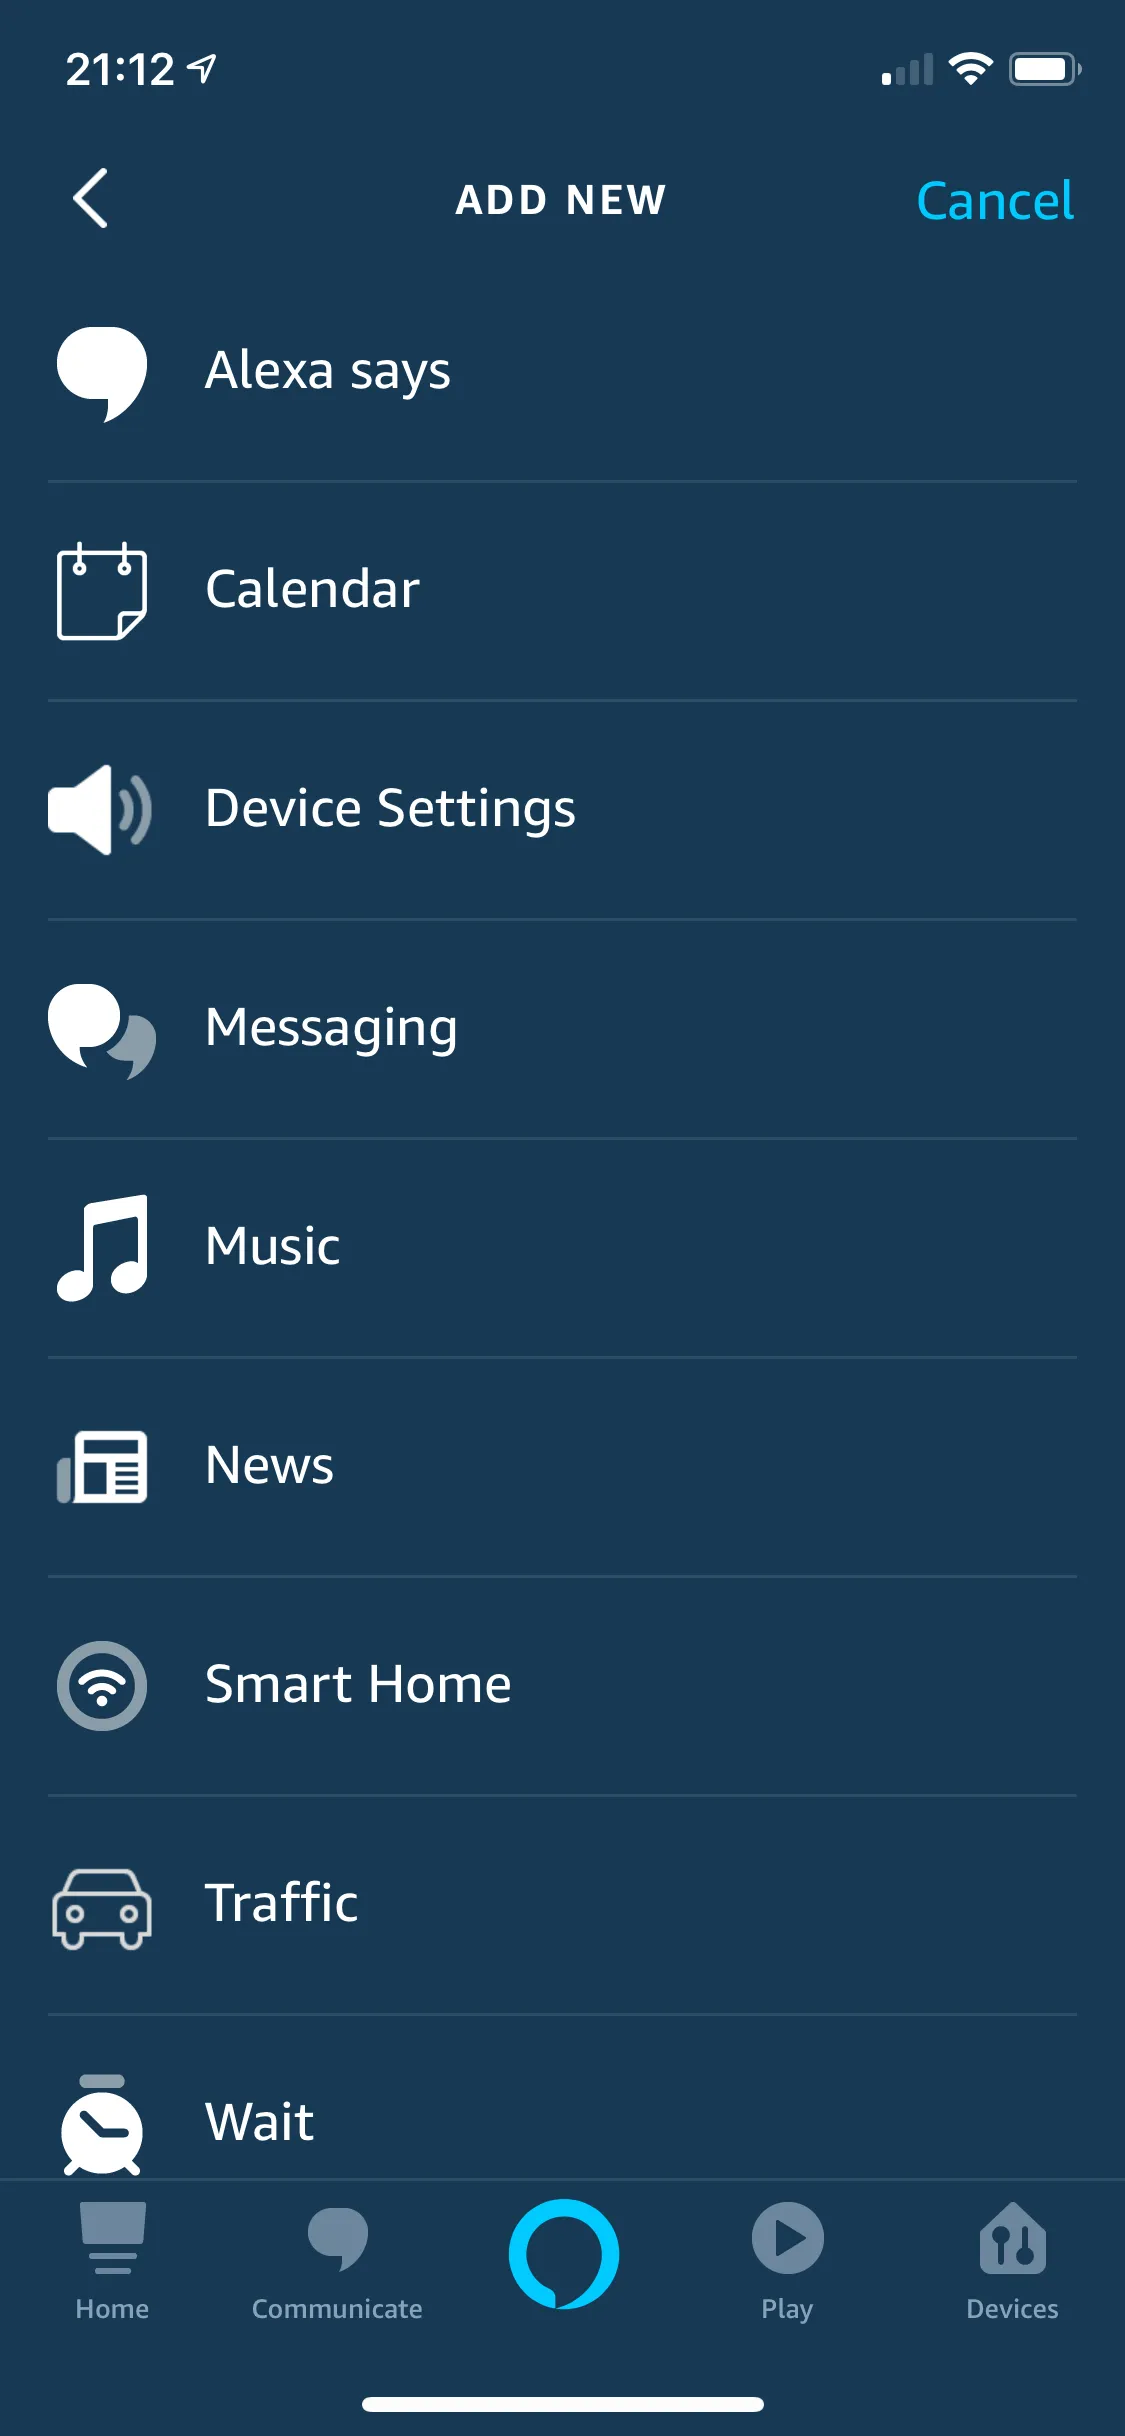
Click on “Smart Home”
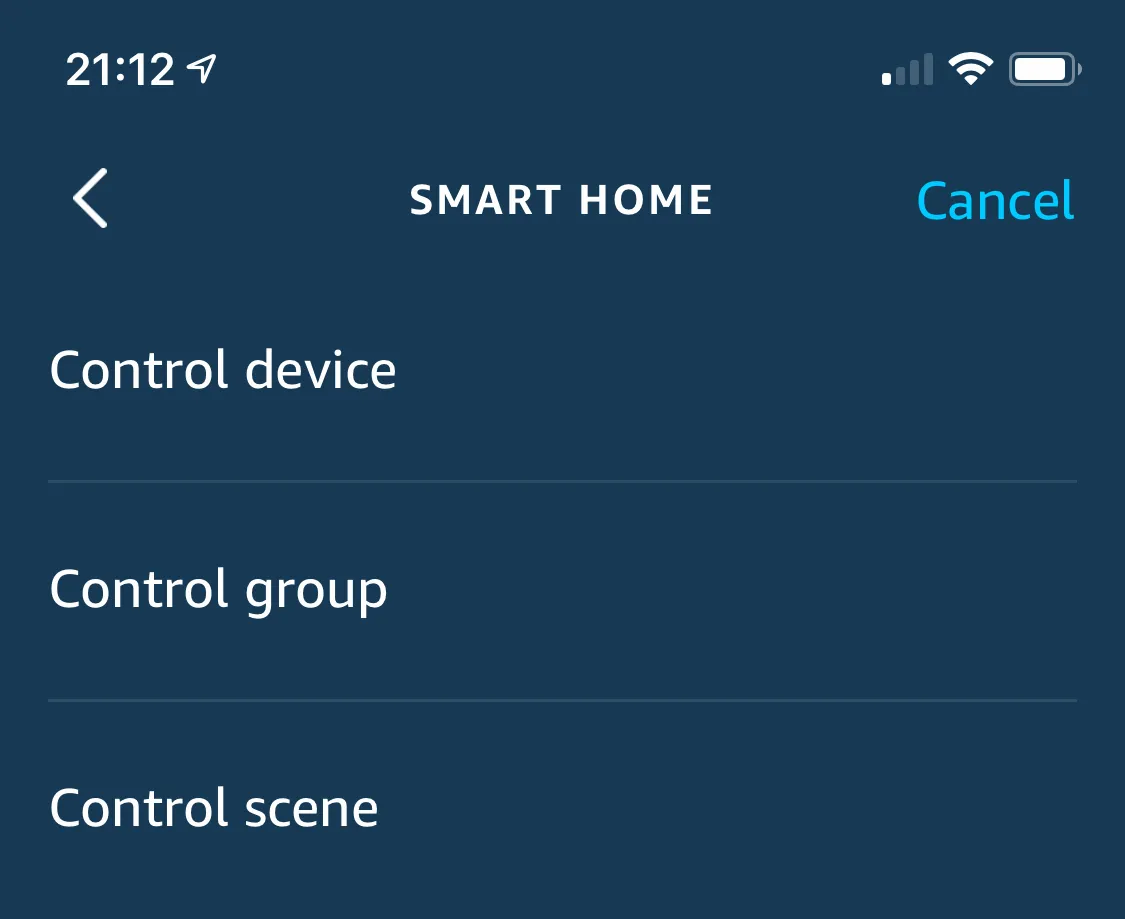
Click on “Control device.”
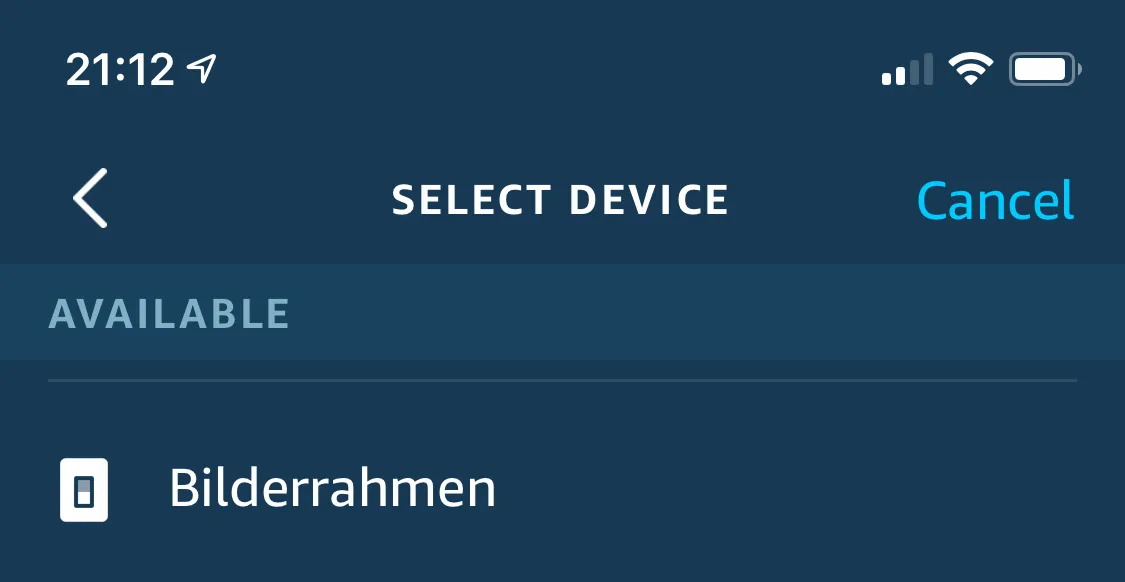
Select your frame device.
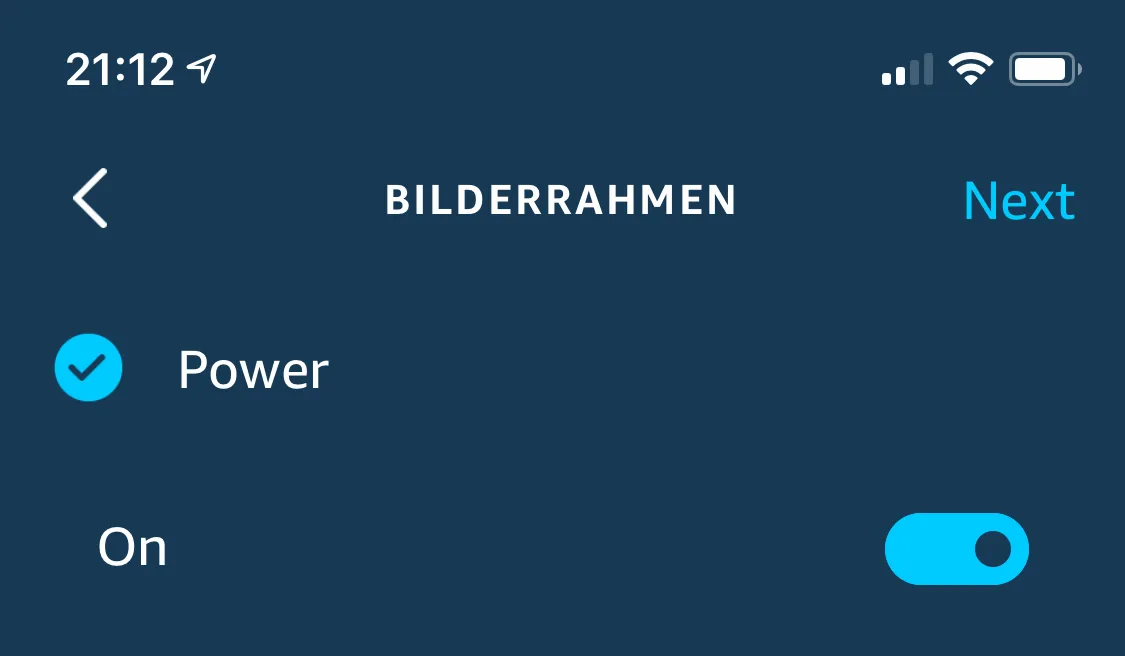
Specify if your command is to turn the digital picture frame on or off.
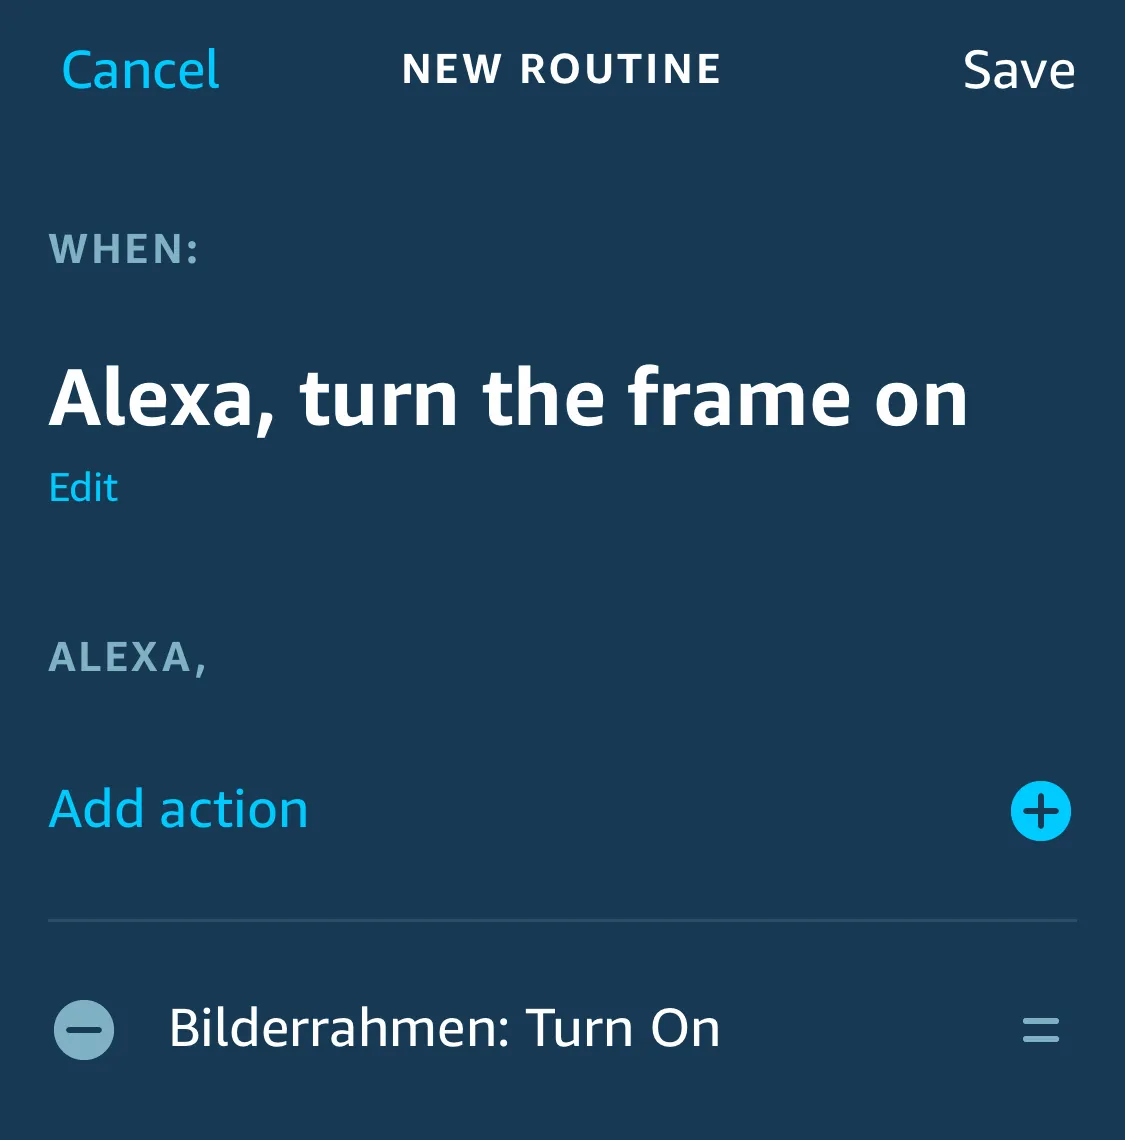
Continue, check, and save.
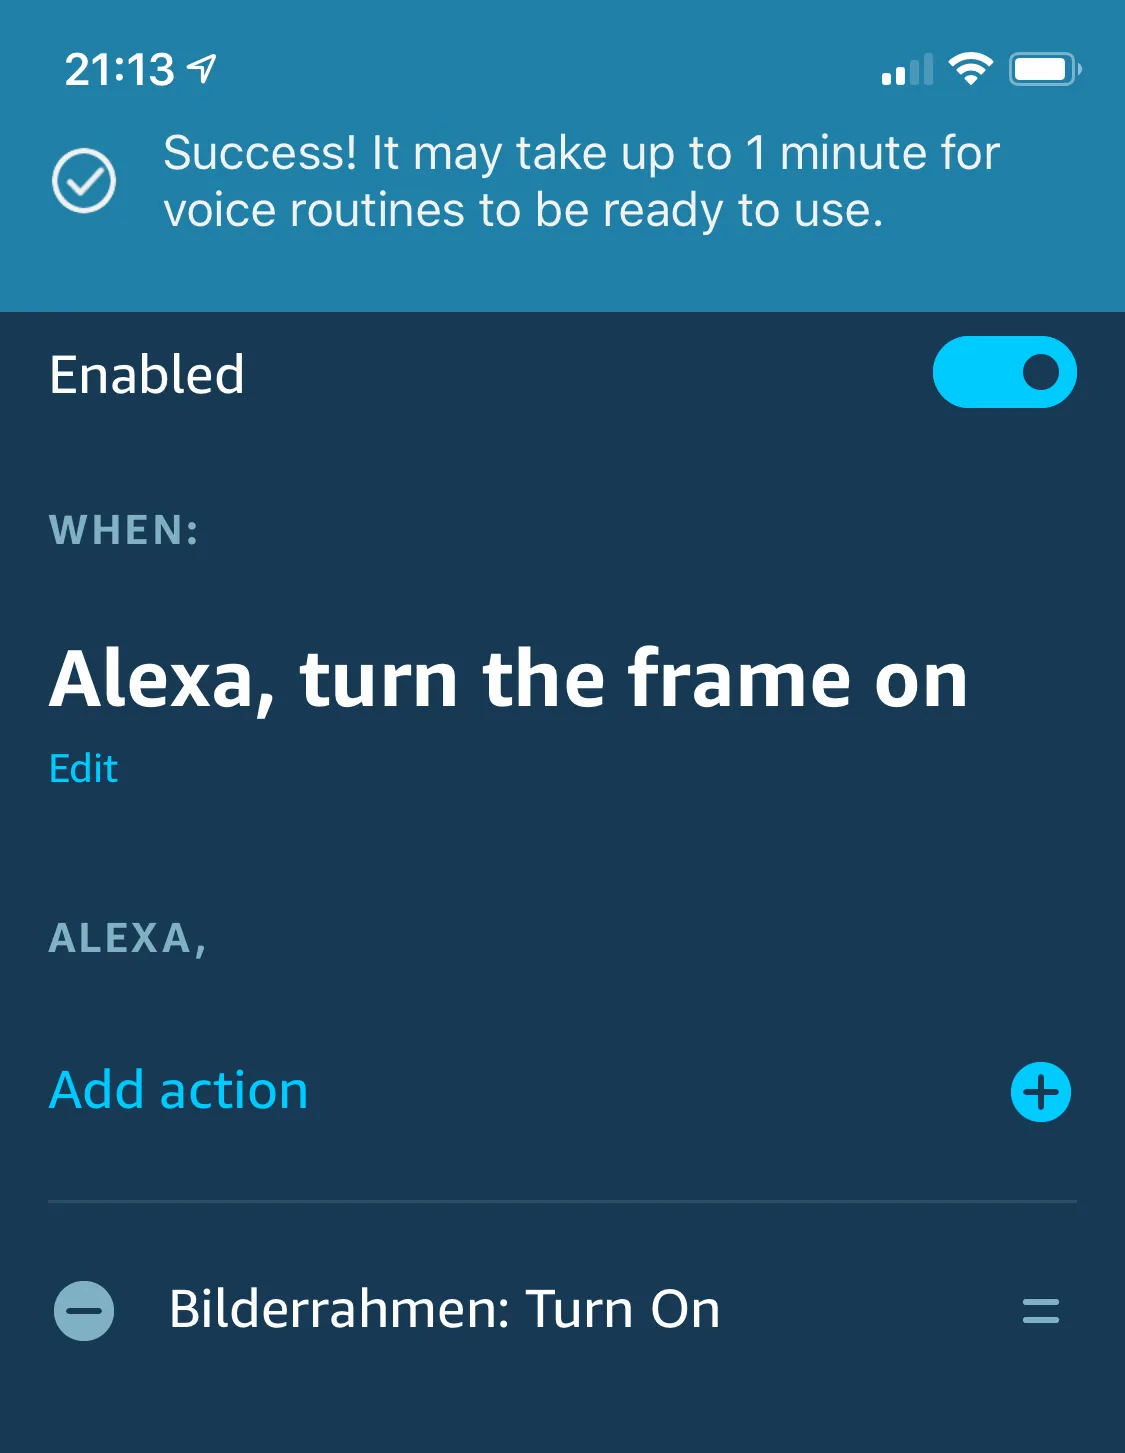
It may take up to a minute until Alexa has stored the command.
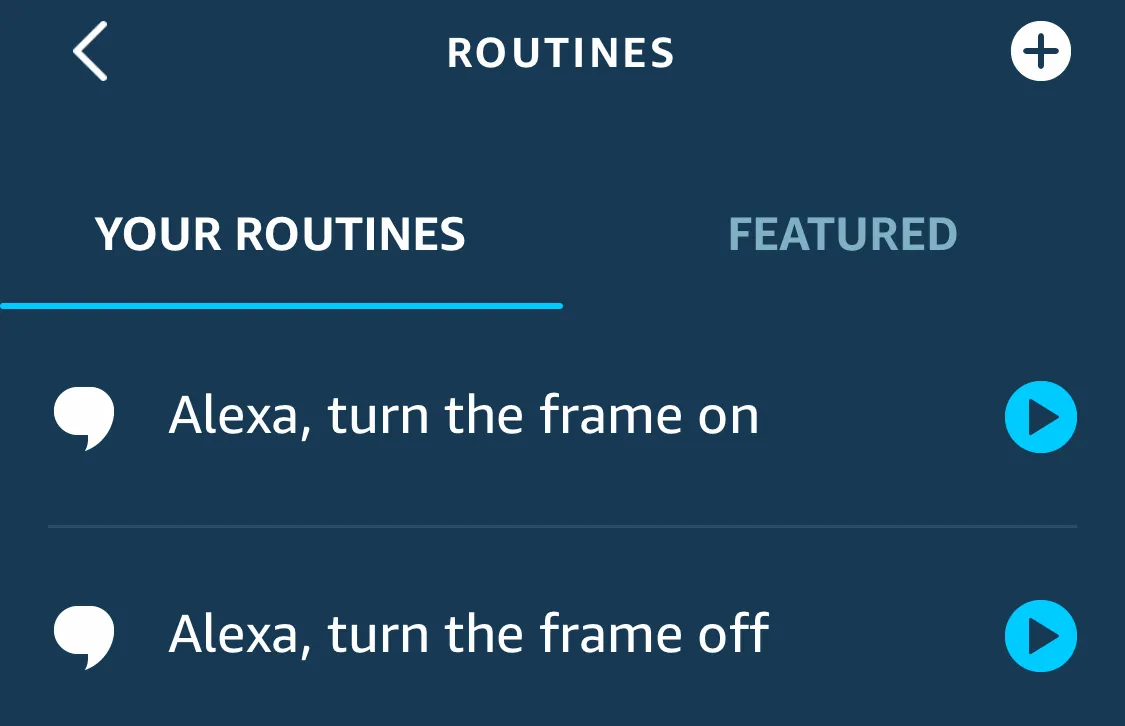
Test first by clicking on the “play” symbol on your iPhone.
If the routine works, try the voice command.
Success!
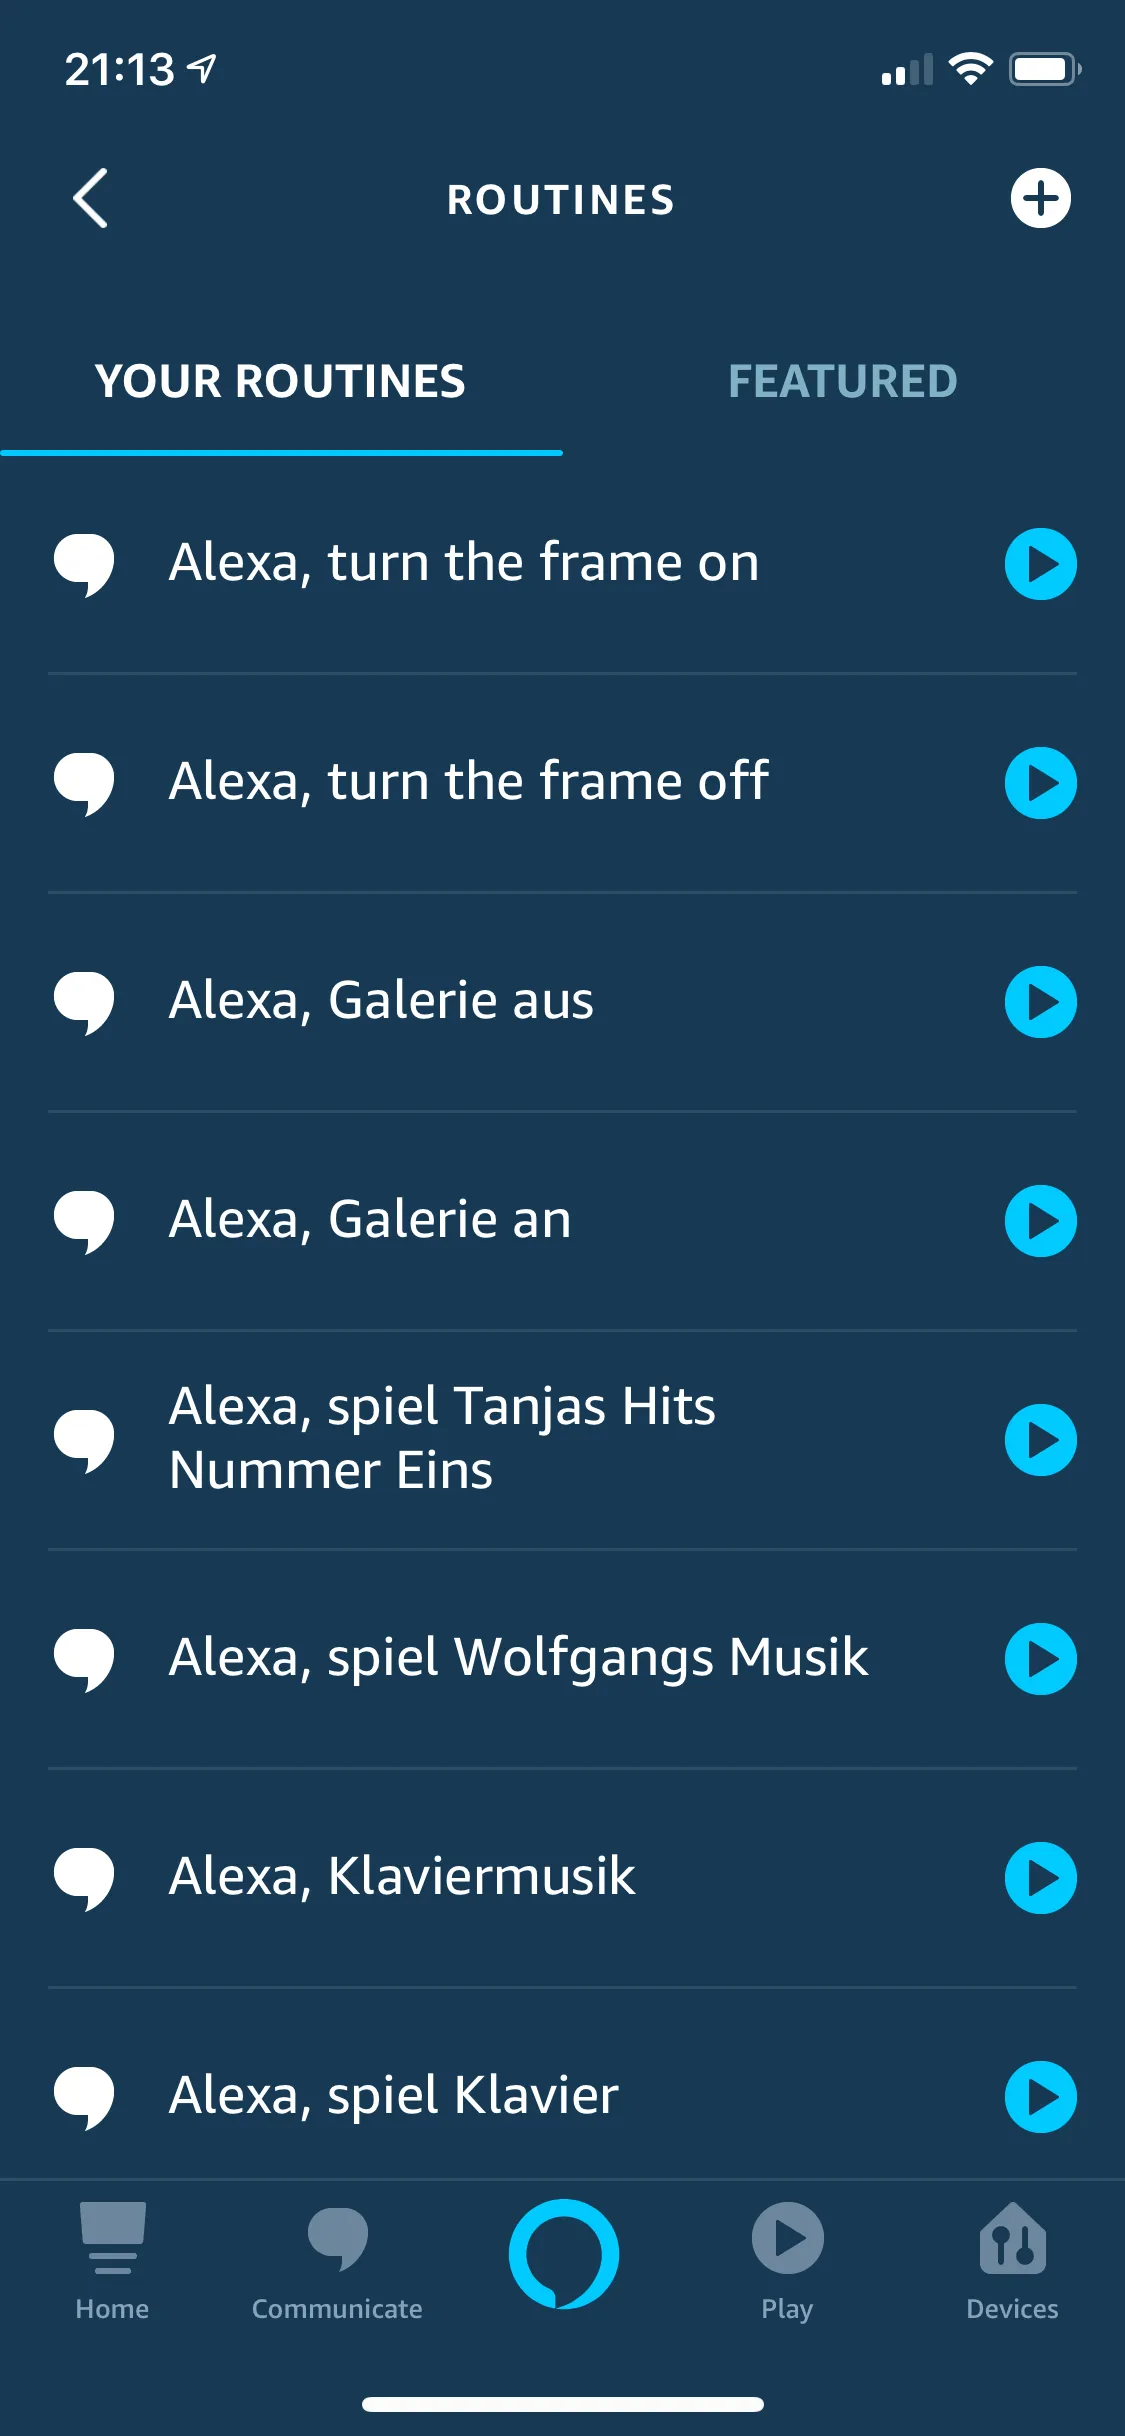
You can have as many voice command variations as you like. Just create a new routine with a different command and select your digital picture frame device.
Conclusion
This is just a straightforward example of how you can connect your digital picture frame, Home Assistant, and Amazon Alexa. In fact, the only limit to what you can do is your imagination. With the right modifications, you could tell your digital photo frame to show only images of a certain year or specific persons. Or tell your frame to continue displaying the current image.
I am curious myself about what can be done and what actually makes sense, so I will investigate this further and post about it here.
Was this article helpful?
Thank you for your support and motivation.