
Many photographers spend thousands of dollars on cameras and lenses striving to achieve the perfect shot.
Therefore, it makes sense not to skimp when it comes to choosing a monitor for the display of your digital picture frame. After all, it is the output device that shows the results of your heavy up-front investment.
This article will give you some background on the latest display technologies and show you the most suitable 32-inch 4K monitors suitable for your home-brewed Raspberry Pi photo frame.
Display technologies in 2021
You can typically find three different display technologies on the market and a new emerging one.
The technologies are called VA, TN, IPS, and OLED. This is what you need to know about them for our use case:
TN
TN (twisted nematic) panels’ main advantage is speed besides that they are generally cheaper than their IPS equivalent. This fast response time makes these monitors quite popular in the gaming community.
While TN displays are great because of their cost and low latency, they are far from perfect, suffering from bad viewing angles and poor color reproduction.
The easiest method to identify a TN panel is to view it from an angle, either horizontally or vertically. Depending on the TN display quality, the colors may be slightly off, or it may look completely washed out.
VA
VA (vertical alignment) panels are seen as having the best contrast and image depth among all display panels. However, they have worse viewing angles and color production than IPS-panels, although generally still better than TN.
If you don’t want to pay the full cost of an IPS display will find that VA panels are a solid alternative.
IPS
IPS (in-plane switching) monitors continue to be the display technology of choice for users that want color accuracy and consistency. IPS monitors are also really great when it comes to super-wide viewing angles.
That’s what makes them the display of choice for a digital picture frame. However, IPS panels can be 50 to 100% more expensive than VA panels. Clearly, quality has its price.
OLED
The big hope for the future is OLED (Organic Light-Emitting Diode). OLED displays are capable of deep blacks, high levels of contrast, and realistic colors. There is no need for a backlight which allows OLED screens to be thinner and have narrower bezels than the other display technologies.
This will be ideal for digital picture frames, but unfortunately, prices are still very high and therefore mostly used for smaller screens like mobile phones or very expensive TVs. At the time of this writing, I couldn’t find a single 32-inch 4K monitor with OLED technology. But as with everything else, in a few years, they will come down in price.
QLED
Not to be confused with OLED (nice try, Samsung!), the leading Korean manufacturer in panel production, is touting QLED (Quantum Dot LED TV) as another display technology.
But QLED is just a color filter that helps the monitor to be more color accurate. The term looks similar to OLED but it isn’t.
Round-up
Wide viewing angles without a change in color nor contrast is the critical feature for digital picture frames because most of the time you will no stand in front of the frame but look at it from the side. IPS typically offers 178-degree viewing angles, which is as good as it gets.
Features like response times that are crucial for gamers are irrelevant for our use case.
What is very sad is that the choice of suitable aspect ratios for picture frames has become narrower ten years ago.
In 2009, the format of flat-panel displays changed from 4:3 or 5:4 to widescreen formats such as 15:9, 16:9, or 16:10. The reason was not that users’ viewing habits had changed.
It was simply because of new panel fabs: To utilize the fabs for wide-format flat-screen TVs and exploit economies of scale, monitor panels were manufactured on the same production line.
When the 4K resolution was introduced, even 16:10 was abandoned. The screens became even wider. This can undoubtedly help with spreadsheets, gaming, and video editing but is not very suitable for photo formats.
However, there are ways around this issue as explained in many Builder Stories on this blog.
Choosing a high-end 4K monitor for a digital frame
Here is a quick list of the items that I looked at when selecting my 2021 Edition for best 4k displays for a Raspberry Pi 4 digital picture frame:
- 32-inch screen size. Many models are actually 31.5-inch, but they advertise 32 inches. I guess that’s ok.
- The display has to have a full 4K resolution of 3,840 x 2,160px, a resolution supported by the Raspberry Pi 4.
- The display technology has to be IPS for great viewing angles and accurate color reproduction.
- The power supply should be integrated into the monitor. This is important because an external power supply takes up a lot of space behind the display.
- The plugs for HDMI and power should point ideally downwards, reducing the depth of the frame structure.
- The display should be matte, not be glossy or at least have a strong anti-reflective coating.
- An approximate price ceiling of $/€1,000. There are many more expensive monitors, but that would be overkill for our use case.
As of January 2021, I found 170 4K-monitors but only a few that remained after applying the above filter.
Monitor Brands
I will list my pick alphabetically.
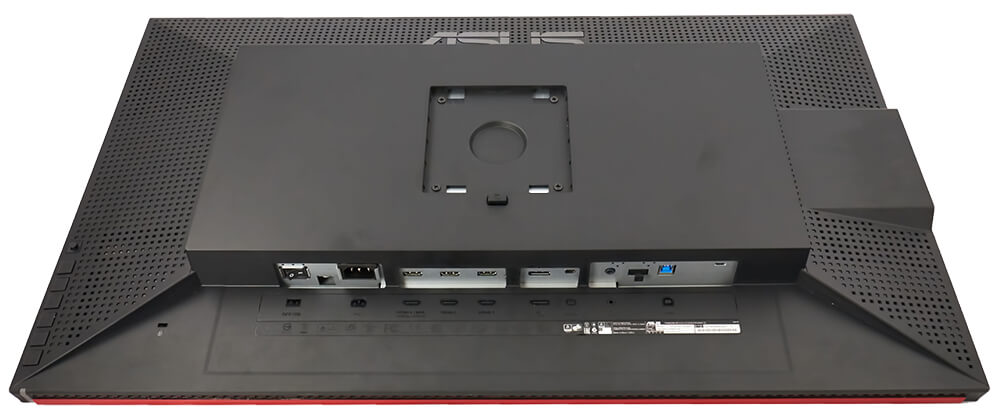
ASUS
ASUS offers a whole range of costly but certainly high-quality 4K monitors. But there is one model below the $1,000 threshold, which would make a nice digital picture frame. It’s the ASUS ProArt PA328Q. It comes with factory pre-calibrated color accuracy and 100% sRGB support. All to say, your photos should look very nice on this frame.

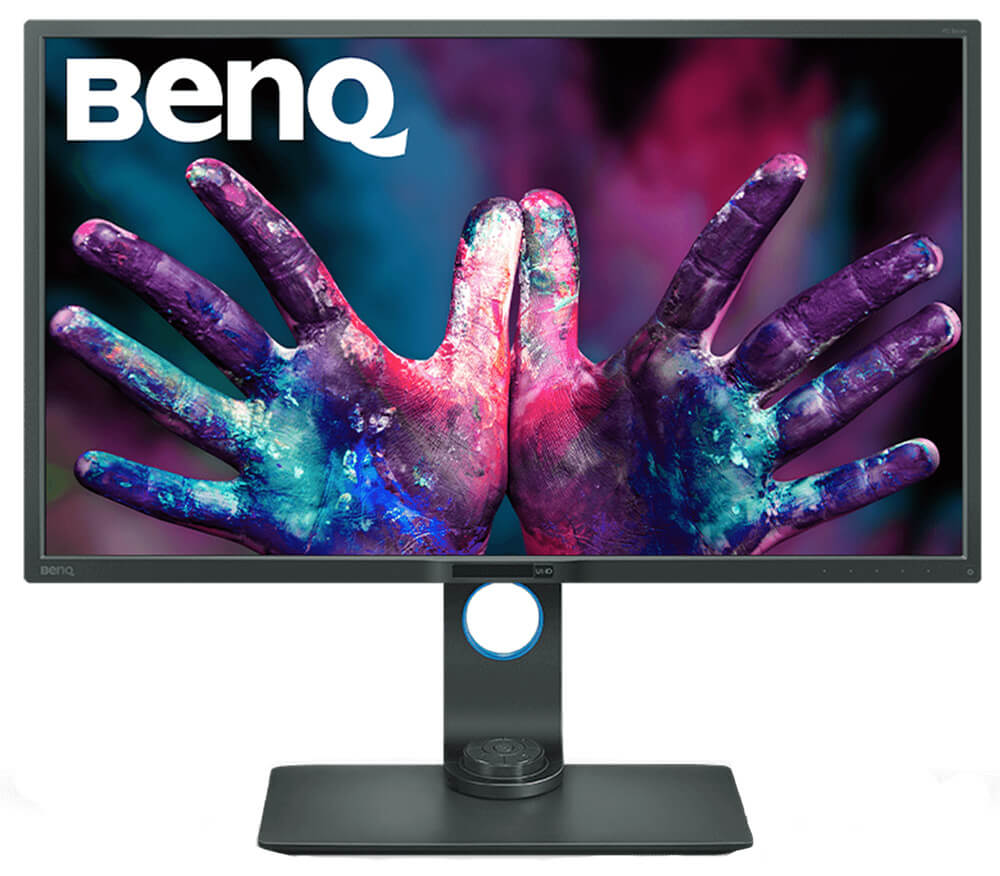
BENQ
BENQ has a five year old and a fairly recent model with good specifications.
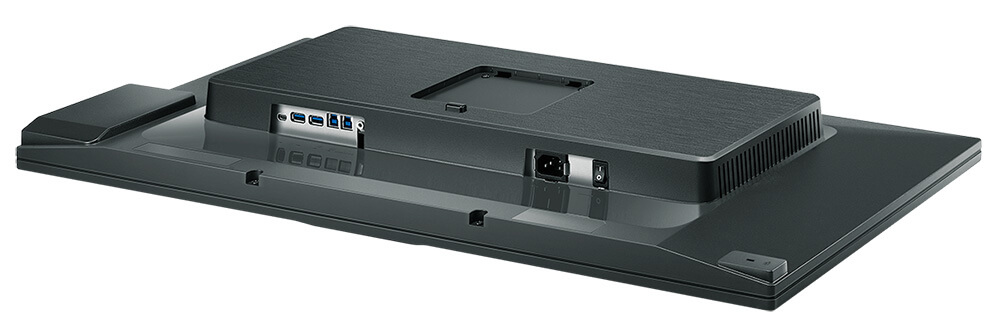
The BENQ PD3200U was already launched in 2015 but still makes a great impression for a very fair price. A small detail: This monitor has a hard mains switch to turn it off.
If you want to hear a Builder Story report on how Rob used this model for his photo frame, check here. Note: You don’t have to completely take apart this monitor as Rob did. If you look at the TÜV documentation here (right at the end of the document), peeling off the plastic case will be enough for most of us.
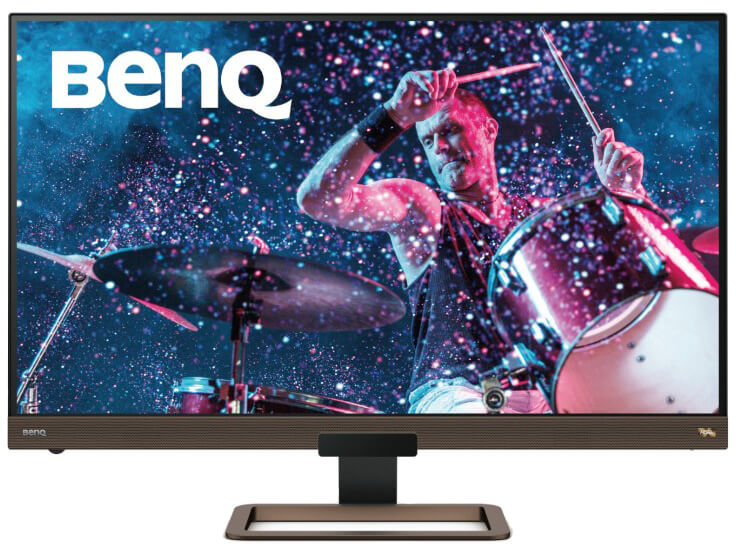
The more recent model is the BENQ EW3280U which came out in 2019. It is not listed under DesignVue Monitors like the PD3200U but under Entertainment Monitors.
The specifications of the two BENQs are very similar, and they both have 4.5/5 ratings on Amazon with thousands of reviews. The EW3280U has a speaker panel at the bottom, which is not as ideal as the PD3200U, but you can probably take it off easily when opening up the bezel.
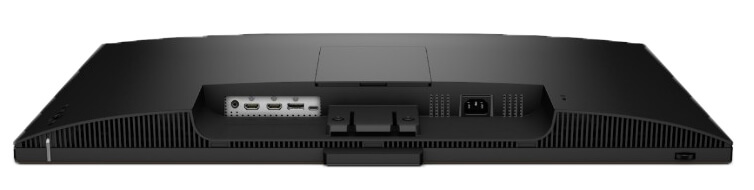
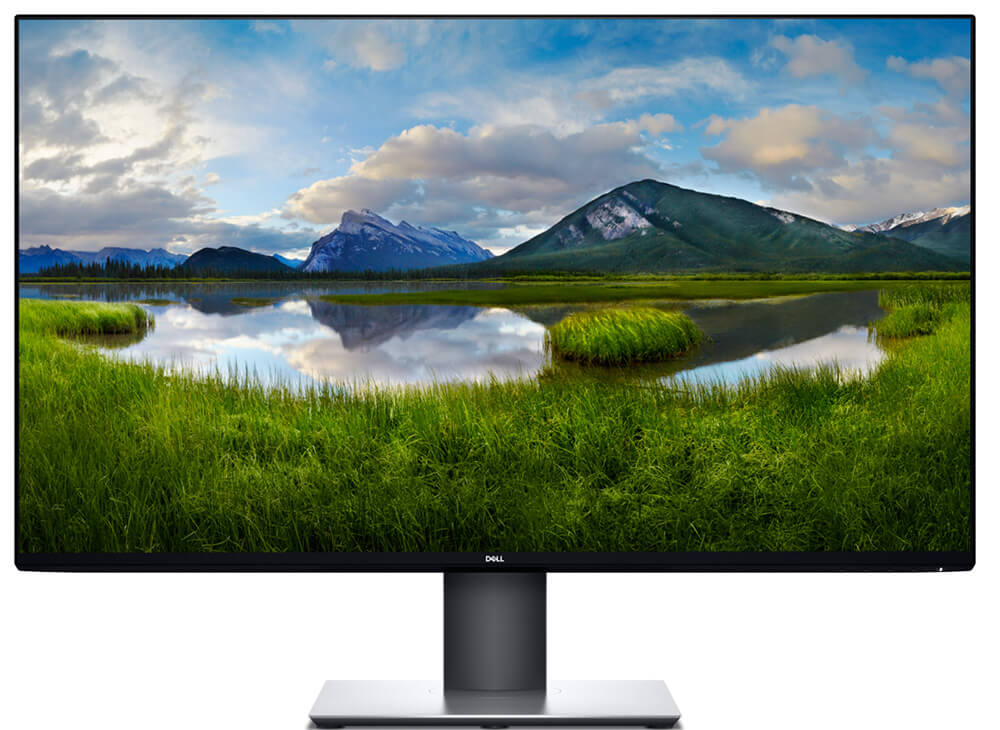
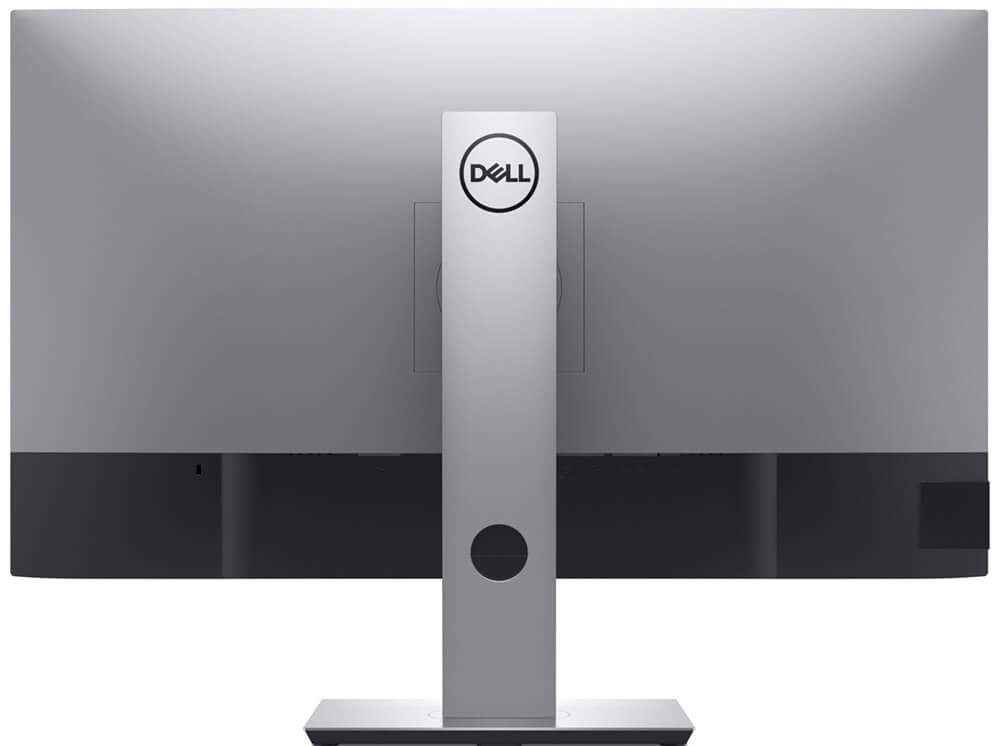
DELL
DELL has a long history of selling high-quality monitors and the DELL U3219Q is no exception. The brightness of this model is 400 cd/m² which is higher than 350 cd/m² of the other models in this test.
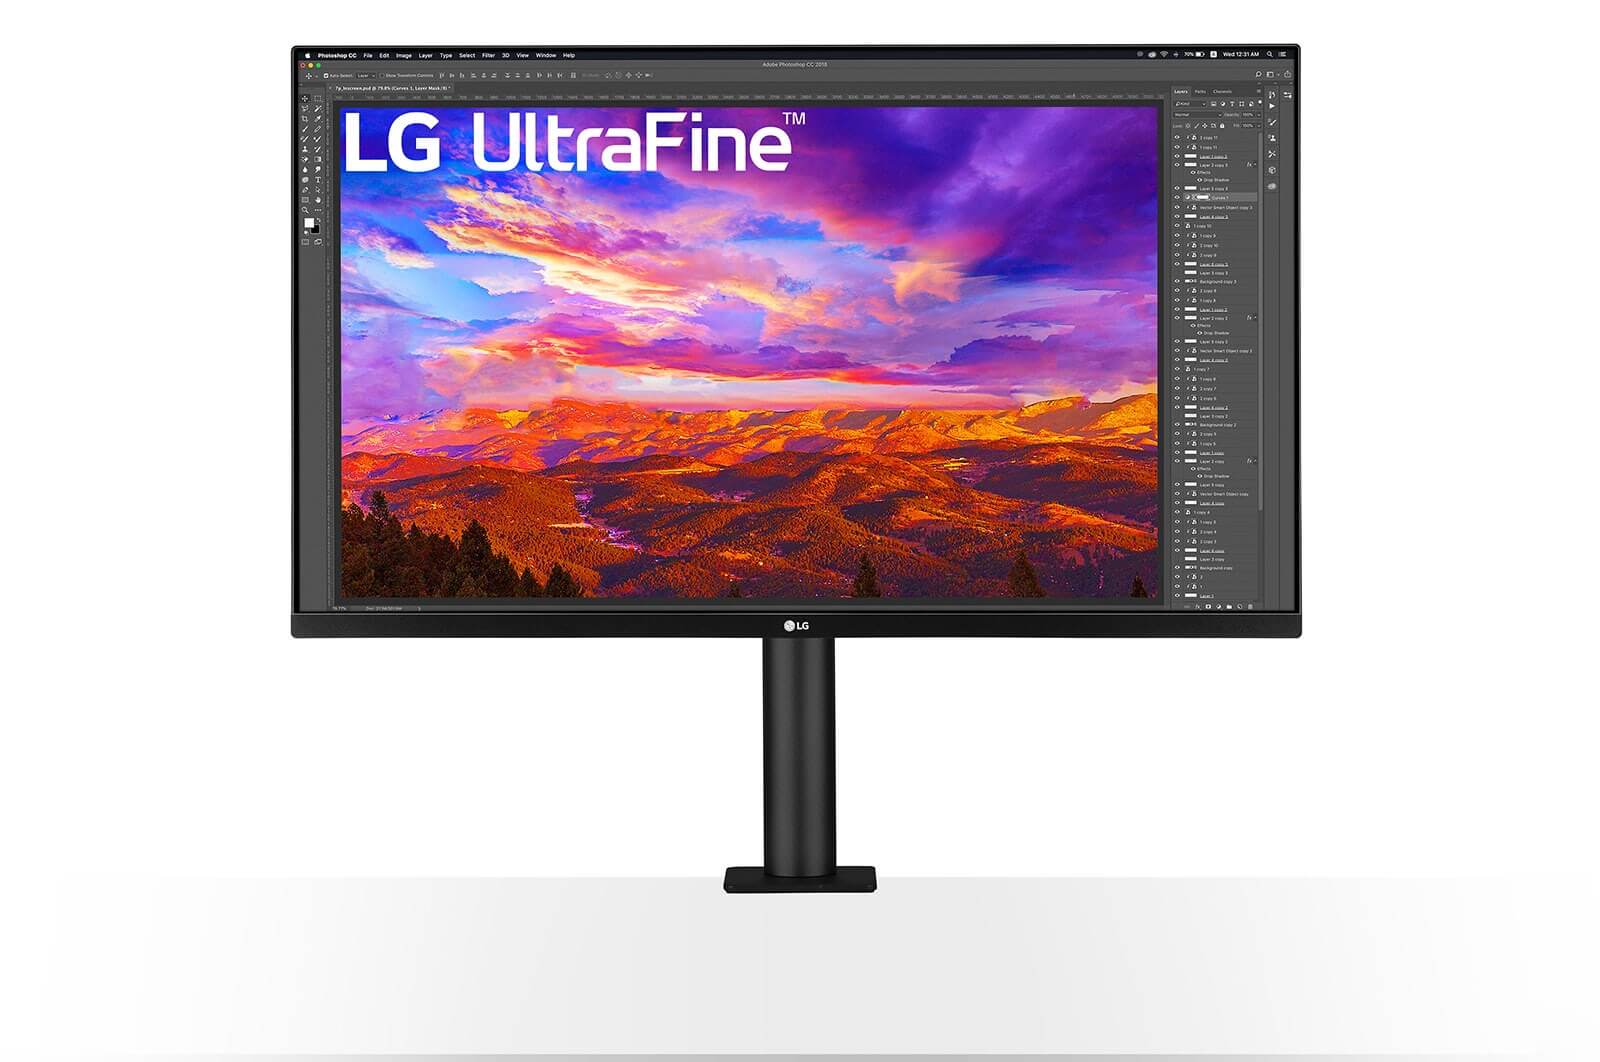
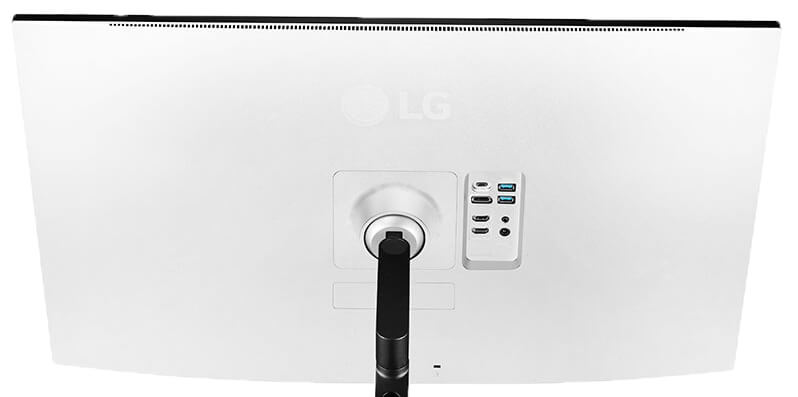
LG
The LG 32UN88 comes with a wonderful stand that, unfortunately, will be the first thing to go when you open up this monitor. But you can sell it on eBay to recuperate some of the cost of this fine display. The display connector will need to be angled.
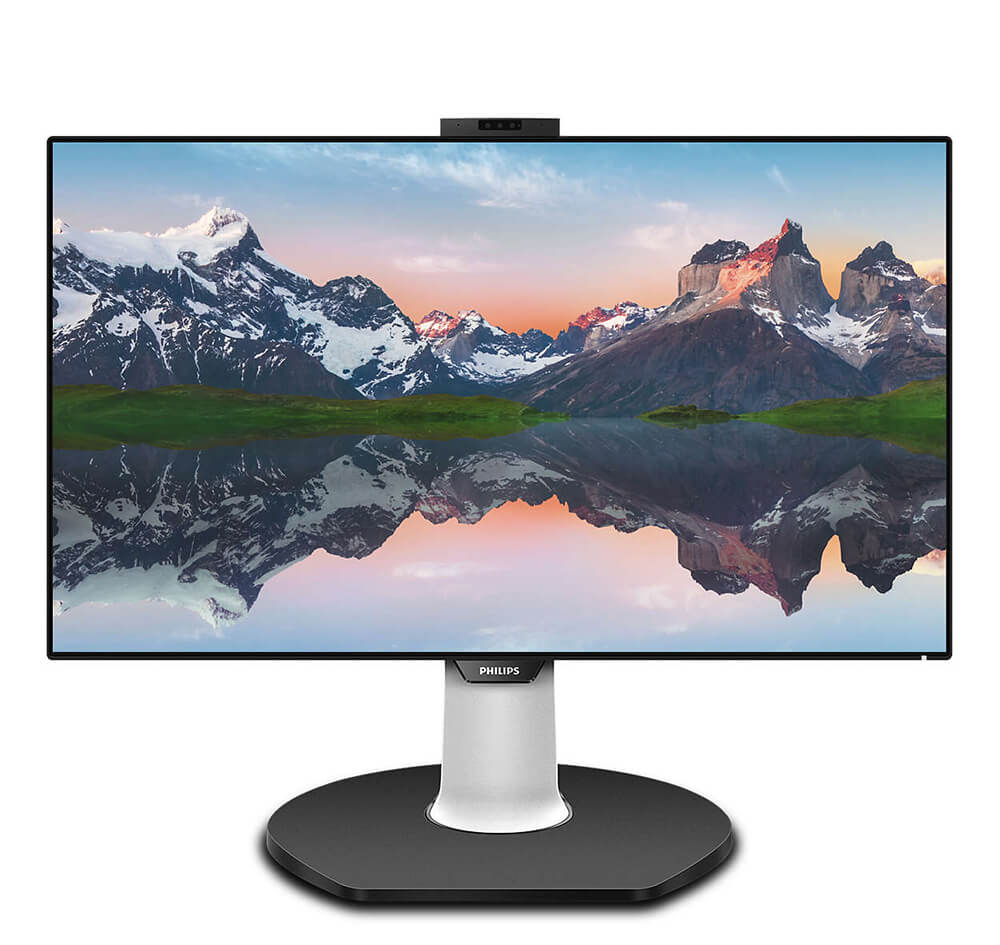
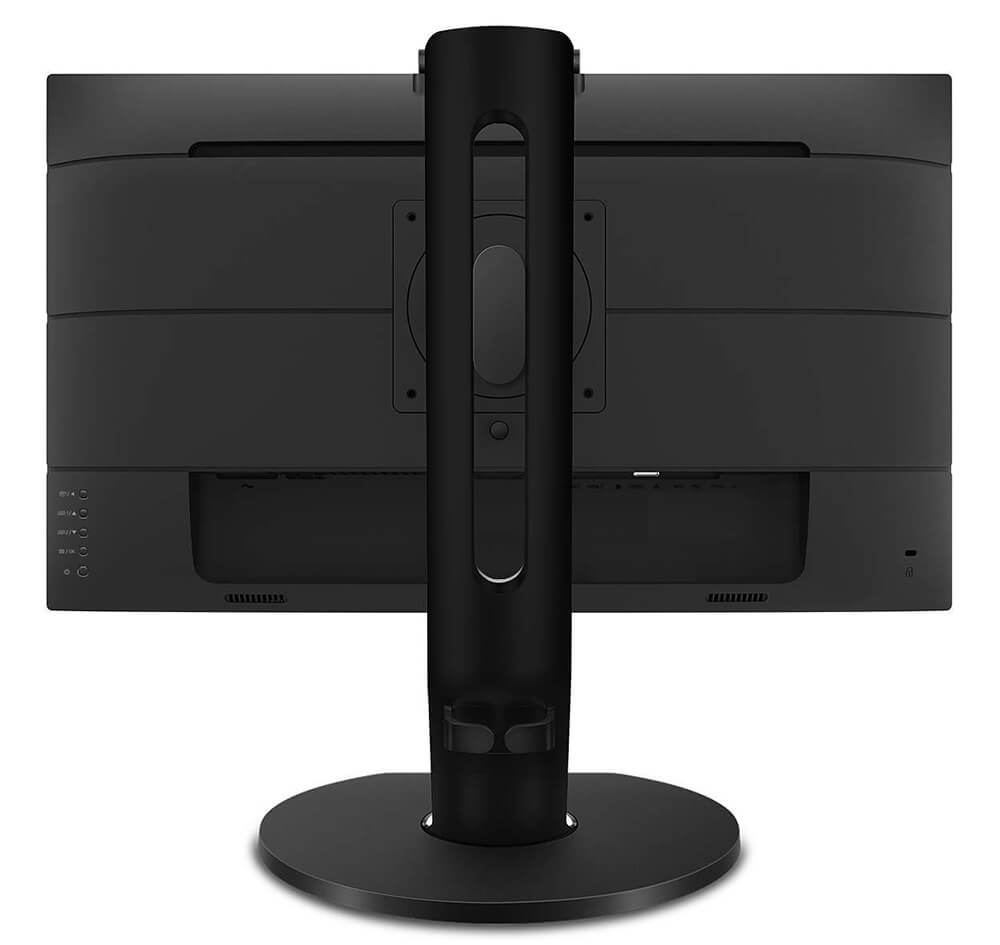
PHILIPS
Philips have an entire collection of 4k frames but most of them are very pricy.
The PHILIPS 329P9H is at the high end of the $1,000 price threshold for this article. That probably comes from several features that are not relevant for our use case, as the top camera. Nevertheless, this is an excellent screen for a digital picture frame.
How to take it apart
It takes a bit of courage to remove the bezel from a brand-new monitor.
You will void the guarantee and should definitely not do it unless you are an experienced electronics home-brewer who knows how to deal with an electric current.
But it’s really not that hard to do. However, it can sometimes be tricky to find the screws, and removing the bezel often requires finding the right spots to pull open the fixation points.
As many things have already been done by someone who happened to film it, it’s always a good first step to check on YouTube if there are any dismantling videos of your particular monitor type.
The second tip (thanks, Rob!) is to google for technical documentation like a TÜV (often spelled TUV) certification or report, including pictures of the naked monitor.
The third helpful piece of advice is to get an iFixit toolkit that contains wedges and other useful tools to open up electronic devices. Damage is quickly done, and a good tool can reduce risk.
And if you are looking for display specifications, this resource can be quite handy.
Conclusion
The curse of 4K monitors is that once you get used to the superior image quality, you won’t want to go back to the “blurry” old screens. Trust me, there is no way back.
All of the above monitors will make a great 32-inch 4K photo frame. So can shop for the best deal or wait until a used one is available on eBay or other platforms. Refurbished Amazon models are also great. Sometimes the model number may be slightly different because of regional adaptations.
What remains a bit of a nuisance is the lack of a 3:2 or at least 16:10 aspect ratio in the area of 4K frames. Fortunately, there are clever ways to sail around this problem.
Have a look at the Builder Stories and get some inspiration there.
Was this article helpful?
Thank you for your support and motivation.
Related Articles
- Control your monitor settings via software on your Raspberry Pi 4
- How to build a stunning high-end 32 inches 4K digital photo frame with the Raspberry Pi 4
- Why the Raspberry Pi is the best choice for your digital picture frame project
- Read these 10 essential tips for picking the right monitor for a Raspberry Pi digital picture frame