So you just received your Nixplay Seed picture frame and are now looking for a quick and easy tutorial to set it up?
You have come to the right place.
In this article, I will explain how to set up your Nixplay Seed using your computer.
If you prefer to use the mobile app on your smartphone instead, please have a look here.
Watch the video
Feeling lazy? Then watch my video of this article. It’s not even five minutes long and contains all you need to know (for English subtitles click on “CC”).
Still there? Here are all the steps in writing.
Connecting to WiFi and updating
Connect your picture frame to the power supply. It’ll turn on and show this image.
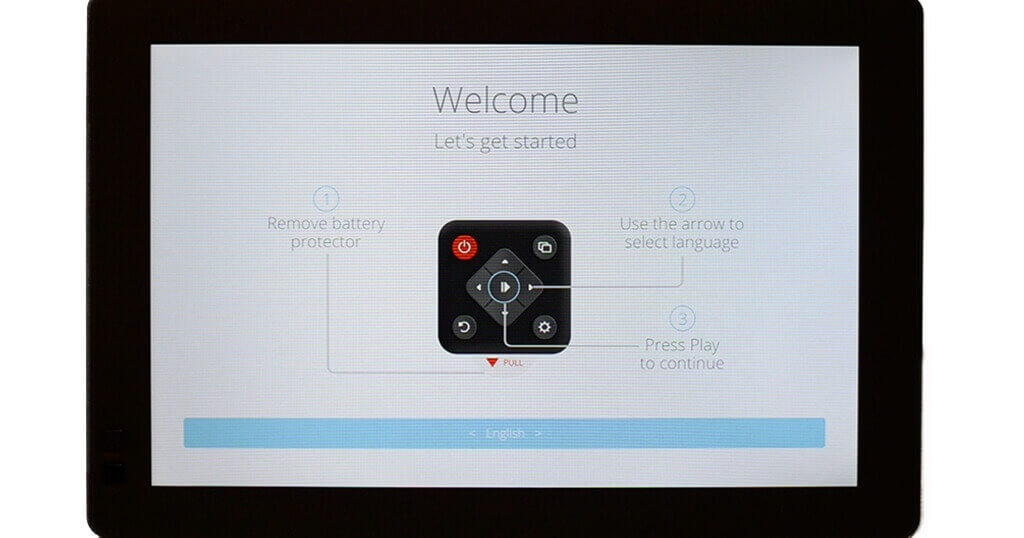
Click the middle button of your remote control, and your frame will start looking for available wifi networks. Pick yours using the arrow keys on the remote and confirm with the middle button.
In these days, we are used to everything being a touch screen, but your Nixplay Seed frame is not one. Everything is done via remote control.
Enter your password with the arrow keys, and once you are done with it, hit connect.
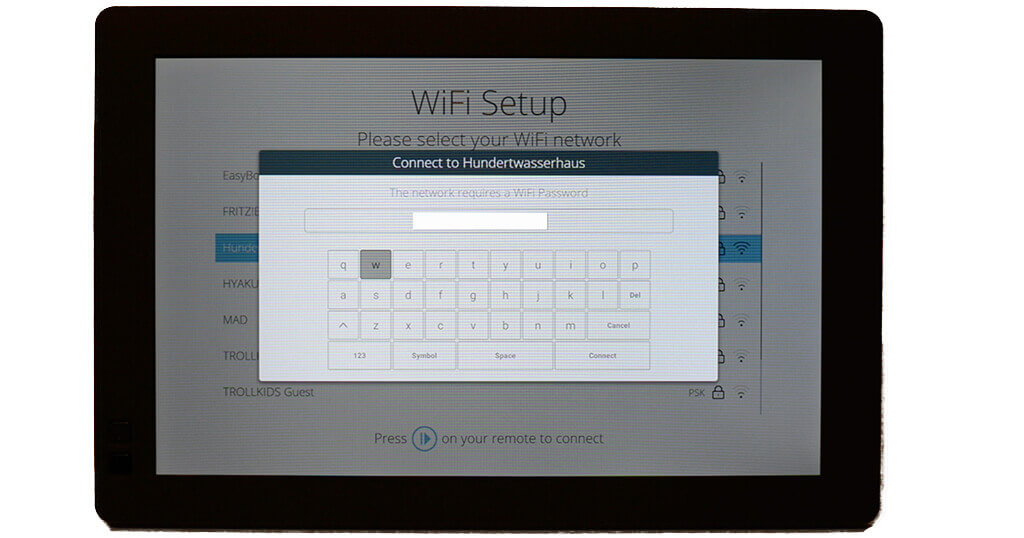
The frame will now connect to your local wifi, and start a series of software updates including one or more reboots. Just let it run its course. You may even be asked to choose your local wifi again, but the password will still be stored.
A short promotional video will then greet you and finally, you will see the most important screen with a QR code and a serial number formatted across four tabs.

Either take a photo of this screen or write it down. For the pairing of the frame with a computer, you need the serial number. The QR code is only needed should you do the pairing with a mobile phone.
Pairing the frame
Now go to nixplay.com and create an account. I already created one, so I am going to log in straight away.
This is the dashboard of your frame. You can see in the right area, how many photos you have uploaded, playlists you have, and how many frames you have connected.

Now the first thing we are going to do is go to “Frames” and pair your frame. Just enter the code in the four tabs that you have seen on your picture frame.
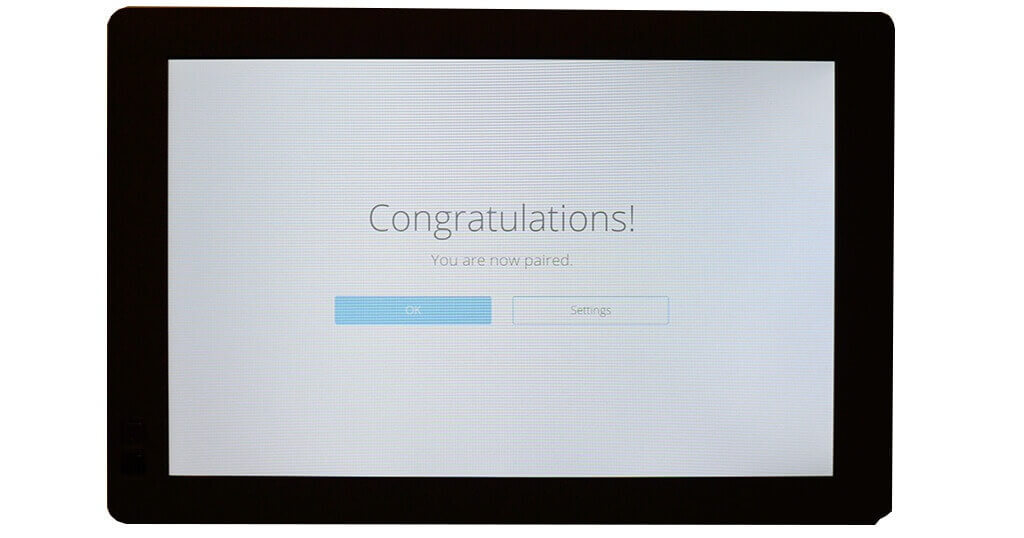
The frame is now connecting, and you will also see it on the frame itself.
Last, give your frame a name, and a location if you like and check the time zone settings.
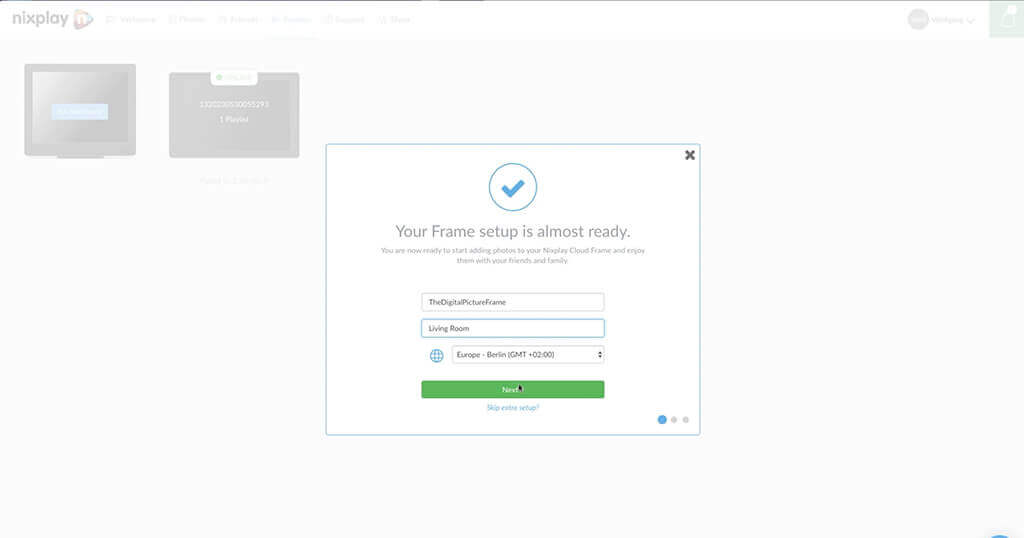
You can also activate the motion sensor and the sleep schedule now, but I am going to show you this in the overall settings window.
The frame is now paired and online.
Uploading images and creating a playlist
The Nixplay Seed frame does not store any images locally on an SD card but downloads all images from the Cloud.
Let’s click on the frame and upload some photos to our Nixplay account.
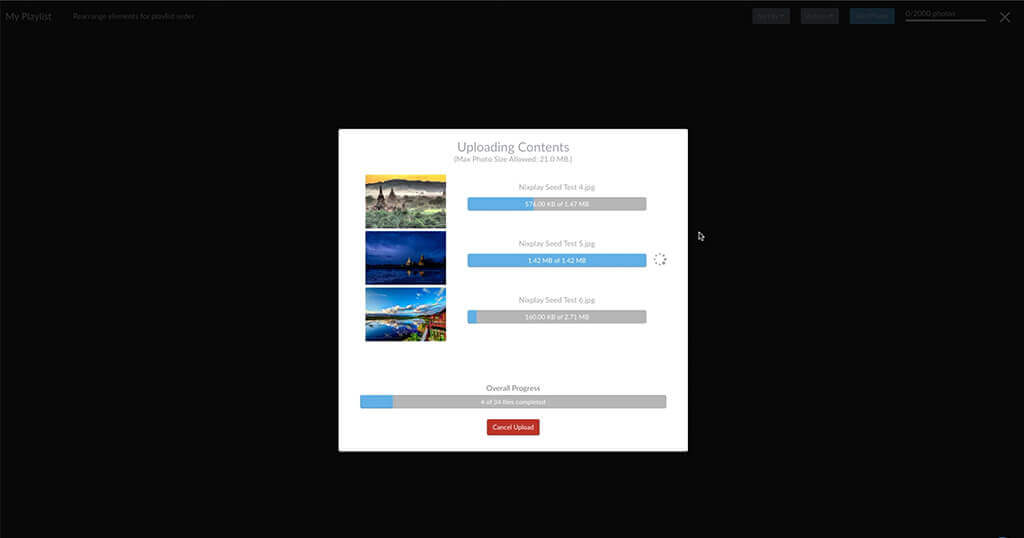
You can see an empty playlist that has been created by default. Now you can “add photos”; choose “add photos from my computer”.
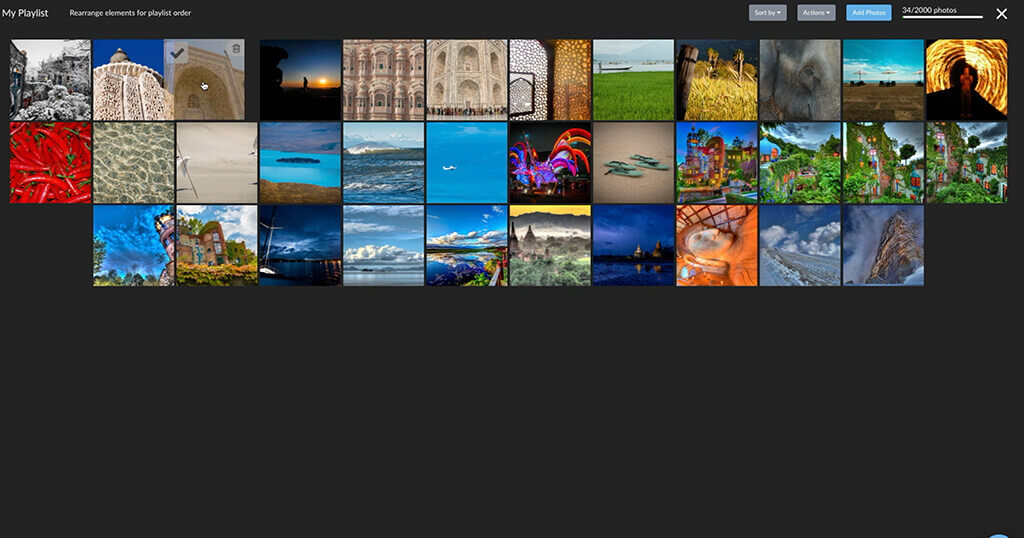
In the playlist, you can manually sort your images by dragging the photos to their location. If you use random playback, the sorting order won’t matter to you. Here, you can also delete pictures.
And now, we have your first playlist.
Click on your frame and look at the settings. I am going to walk you through the main settings.
Frame and playlist settings
In the left half, you have all the frame settings, on the right, the playlist, and playback settings.
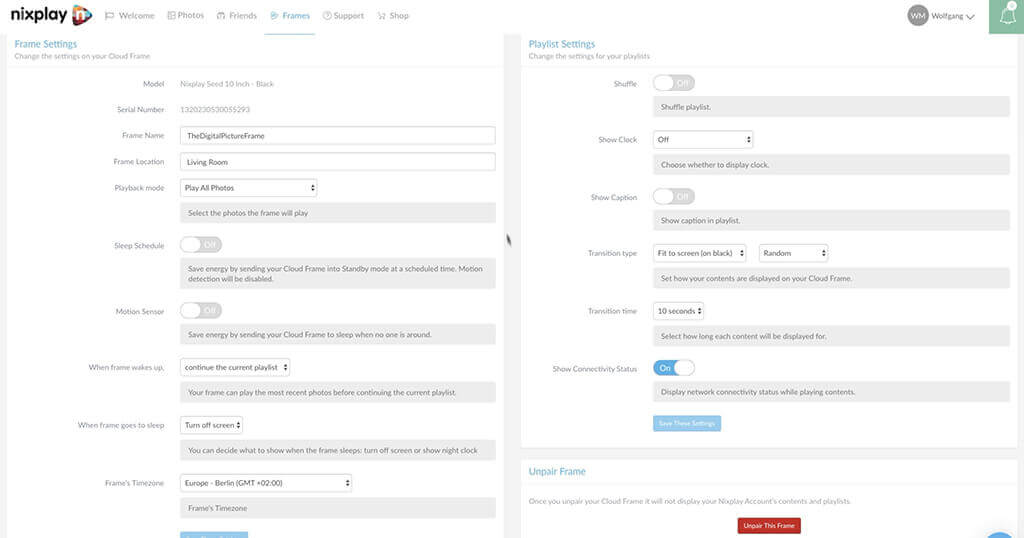
In Playback mode you can choose to play all photos or just the latest ones, here you can define a time for the frame to wake up and go to sleep. If you want to use the motion sensor, you can set the time the frame should stay on after detecting movement. You can specify what to do when the frame wakes up and activate the clock when the screen is turned off.
On the right you have the playlist settings, Shuffle mode is activating the random mode. That’s what I always use. You can show the clock on the frame in the lower right corner, and you can show captions that you have added to images.
Then you have a whole lot of transition types that you can choose from. You may want to set it to random to get started and then later be more specific. You can set the change frequency between 5 seconds and one hour and display the connectivity status.
Save the settings before leaving.
You can change these settings directly on your frame by clicking on the cogwheel, the lower right button, of your remote control.
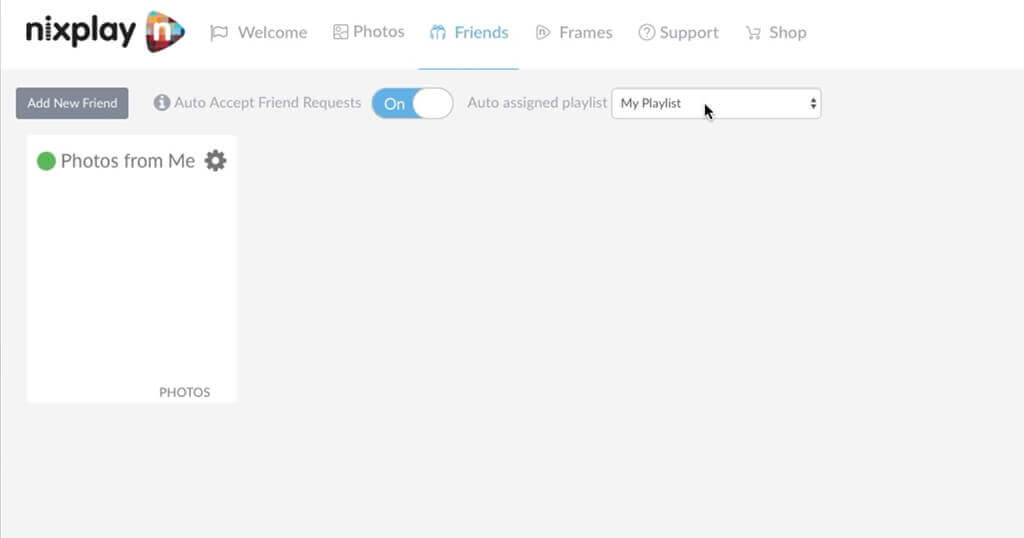
You can allow friends to send you images via email and specify if they are added to your playlists right away or if you want to review and add them manually later.
And that’s all there is. Enjoy your Nixplay Seed frame.
Was this article helpful?
Thank you for your support and motivation.