Having owned and built large digital picture frames for over fifteen years now, I may have a bit of experience to share about how long they tend to last and what can break.
In this article, I will show you what the sensible parts are and what you can do to extend your photo frame’s life for many, many years.
Background
I always wanted to build digital picture frames myself, but back in 2005, mini-computers weren’t as small and advanced as they are now. Back then, the smallest form factors were the EPIA boards, but they were still about six times the size of a Raspberry Pi.
So I ended up buying a 19-inch PhotoVu frame from a US company. A beautiful frame made of high-quality cherry wood and a metal enclosure. It cost $1,500 (€1,350), but it was very well built and worth it.
It lasted four years until I believe the CMOS battery on the motherboard, which they had back then, died and made the whole thing inoperable. The enclosure was completely welded shut, and there was no way of opening it. At least not in a nice way.
I ordered another PhotoVu 22-inch frame, which lasted five years until the internal hard disk started clicking and died a slow death. Again, there was no way to service the internal parts. And it was impossible to clone the hard disk because it was all proprietary stuff.
So two parts died, but those are not used in a Raspberry picture frame any longer. No hard disks and no CMOS batteries anymore. Good news.
The display held up nicely throughout all those years despite being lit 16 hours a day.
In 2014, things were looking different. The Raspberry Pi 2 had arrived on the scene and attracted lots of talented developers inventing or adapting software for the Raspbian operating system.
That’s when I started building a few digital picture frames for friends & family. I have also collected war stories from other picture frame home brewers, so I believe in having a good idea of what stands in the way of an (almost) eternal picture frame life.
My experience with broken parts
The power supply
Nothing breaks more often than the 5 V power supply. In my experience, it has a life span of 2-3 years, assuming a 24/7 operation.
This is even the case if you buy the best power supply adapters that you can find on the market. But the quality isn’t great in the more expensive aisle either.
You can get them for around $10, so the manufacturing price is probably around $1. And you cannot expect eternity for $1.
The good news is that swapping out a defective power supply is cheap, super easy, and you are done within a few minutes.
How do you know if it’s broken? Well, the operating system may send you warnings like the rainbow tile. Or the WiFi connection is shaky all of a sudden, although you haven’t changed anything in the network.
A power supply usually doesn’t die a quick death but a rather slow and agonizing one. Because many unrelated things may start to malfunction, it’s hard to detect a pattern. That’s when it’s time to renew your power supply.
The SD Card
The second most frequent part failure of a Raspberry Pi photo frame is the SD-Card.
While a picture frame does not have as many read/write cycles as, e.g., a video surveillance camera, it still runs 24/7. And it will get slower and eventually stop working at one point. I would not wager against that.
Preventive replacement of your SD-card every three years makes a lot of sense to avoid surprises.
Three things you can do to make your SD-card last as long as possible and not suffer any data loss:
Quality
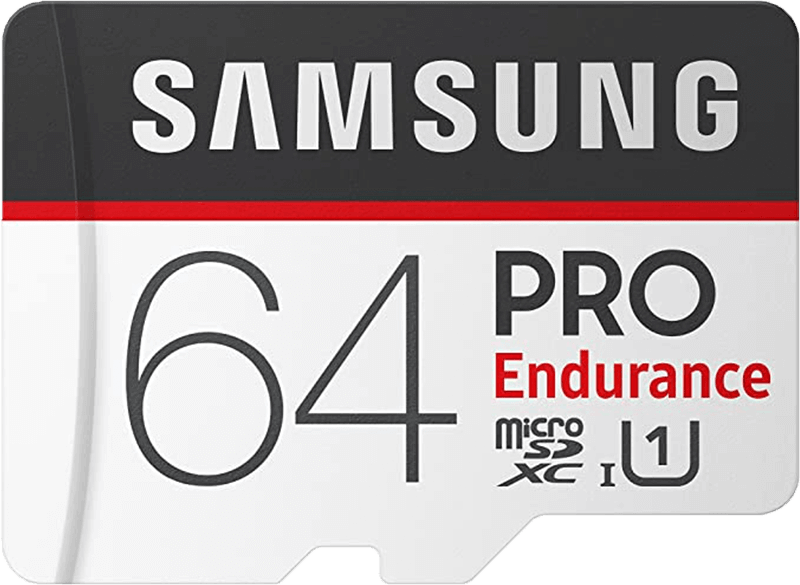
Get a high-quality SD-card from a respected brand like, e.g., Samsung or Sandisk. If you are willing to pay a little more, get the Endurance version suitable for video surveillance cameras. They are the ones that typically last the longest.
I have listed a few SD-cards in my Component Finder.
Size
Today, the SD-cards are so inexpensive that you can get twice the capacity for a few dollars more. So, if, e.g., 16 or 32 GB is more than enough for your picture frame, get a 64 GB card nevertheless.
The reason is that the wear will be spread across the 64 GB and your card will last longer.
Patience
It is generally recommended that you not just pull out the power supply to stop a Raspberry Pi but do an orderly shutdown via “sudo shutdown now”.
Not paying attention to this may result in SD card corruption or data loss issues because data may still be written to the SD-card. I have not personally seen this issue, but I read about it frequently.
Since you know that the life on earth of your SD-Card is finite, it may be a good idea to clone it every time after you have made bigger software changes.
While you certainly have a backup of your photo collection, setting up the Raspberry Pi from scratch takes a bit of time, especially if you have installed many tweaks and integrations.
Cloning your SD card only takes a few minutes, and it’s always good to have a backup. One of my guest authors even put the cloned SD card in an envelope and has attached it to the back of the picture frame. Now, that is foresight!
Displays
I have yet to see that the display of a digital picture frame degrades over time or breaks altogether.
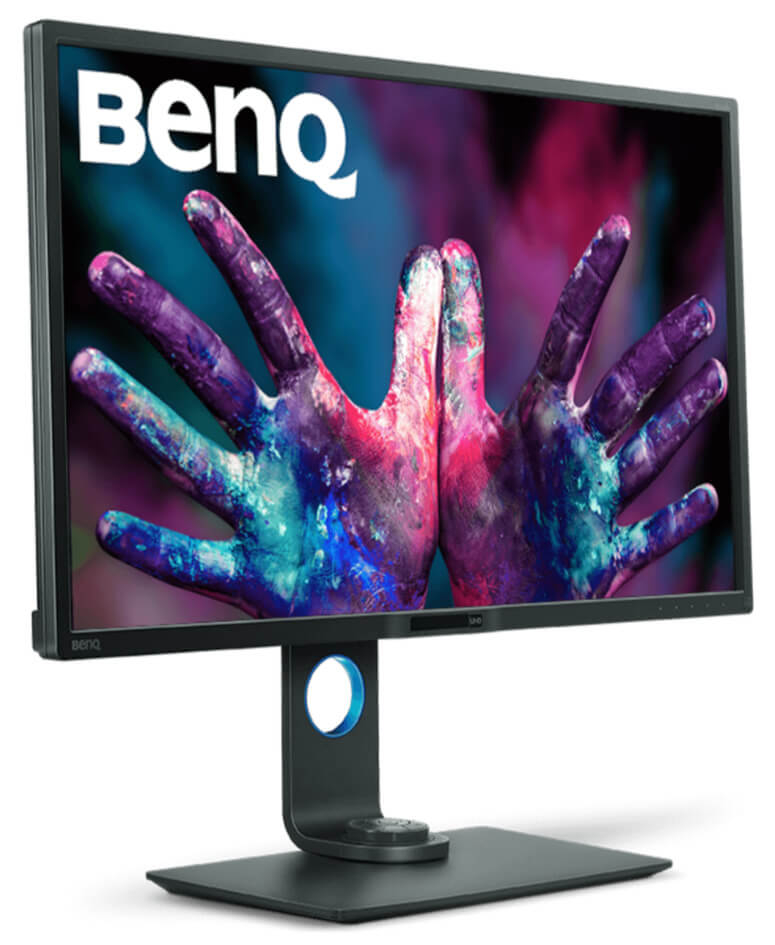
I have two frames running non-stop with an ASUS 24” monitor for over six years now. I haven’t seen any dead pixel issues, ghosting, or what so ever. And the colors still look good, although it is probably difficult to judge when the decay is gradual.
Passive cooling cases
A Raspberry Pi running an image viewer like Pi3D and a few other software packages typically do not get very hot, and I have not yet had a single Raspberry Pi dying on me. But it still showed an average temperature of about 75°C (167°F).
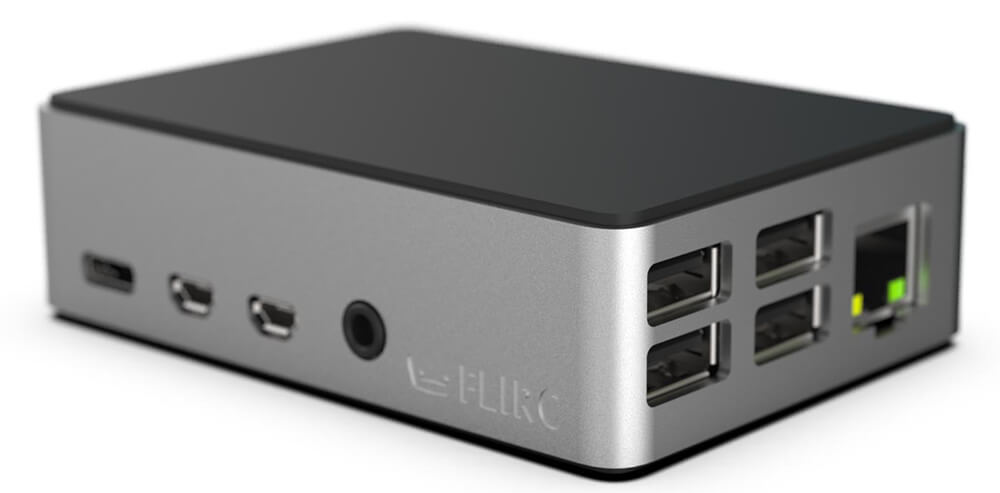
That is why, in warmer environments, I would recommend a case with passive cooling like the Flirc case. I am a great fan of this design and cooling marvel designed by a small family-owned company.
The CPU temperature of my Raspberry Pi attached to the back of the display has gone down by about 20°C degrees with the Flirc aluminum case.
Keeping the mainboard, including the SD card, from getting very hot will certainly extend the components’ life expectancy.
Conclusion
Although I may not have built hundreds of digital picture frames, I believe that my failure stats are fairly representative.
The good thing is that most of these failures can be fixed with little effort and do not cost much to repair.
With hard disks and onboard CMOS batteries gone from Raspberry Pi picture frames, there are no moving parts nor onboard components that by design have a limited life anymore.
This means that with a little caution and maintenance, you should be able to operate your homebrewed picture frame for 8-10 years with only a few component replacements.
I’d love to hear about your experience on this topic! Please contact me to share your story.
Was this article helpful?
Thank you for your support and motivation.
Related Articles
- Discover the complete hard- and software setup of my Raspberry Pi digital picture frame (December 2023)
- How to build a stunning high-end 32 inches 4K digital photo frame with the Raspberry Pi 4
- How I built a digital picture frame with a Raspberry Pi
- Why the Raspberry Pi is the best choice for your digital picture frame project


