
One of the more recent features of the image viewer Pi3D PictureFrame is the option to show the date and time as a text overlay over your photos. In this article, I will show you how to do it and what formatting options you can use.
Tested with: Raspberry Pi OS Buster Desktop 2021 version, Raspberry Pi Zero 2, 2, 3, and 4, Pi3D 2.49, PictureFrame 2021.11.04, 1080p, and 4K displays.
In the configuration.yaml file you will see this section:
  show_clock: True                       # default=False, True shows clock overlay. False does not show clock overlay
  clock_justify: "R"                     # default="R", clock justification L, C, or R
  clock_text_sz: 40                      # default=120, clock character size
  clock_format: "%a - %b %d %H:%M"       # default="%I:%M", strftime format for clock string
To activate the clock feature, say “True”.
You can position the clock either left (L), right (R), or center (C) at the top of the photo.
Play around with the font size so that it is not big but still easy to read for you.
Regarding the format, you have a lot of choices and you can find full documentation here.
You can either just show the time, date, 12/24 format, day of the week, etc. to make it just right for your needs.
Here are three examples:
“Monday, Dec 27, 2021” is
clock_format: "%A, %b %d, %Y"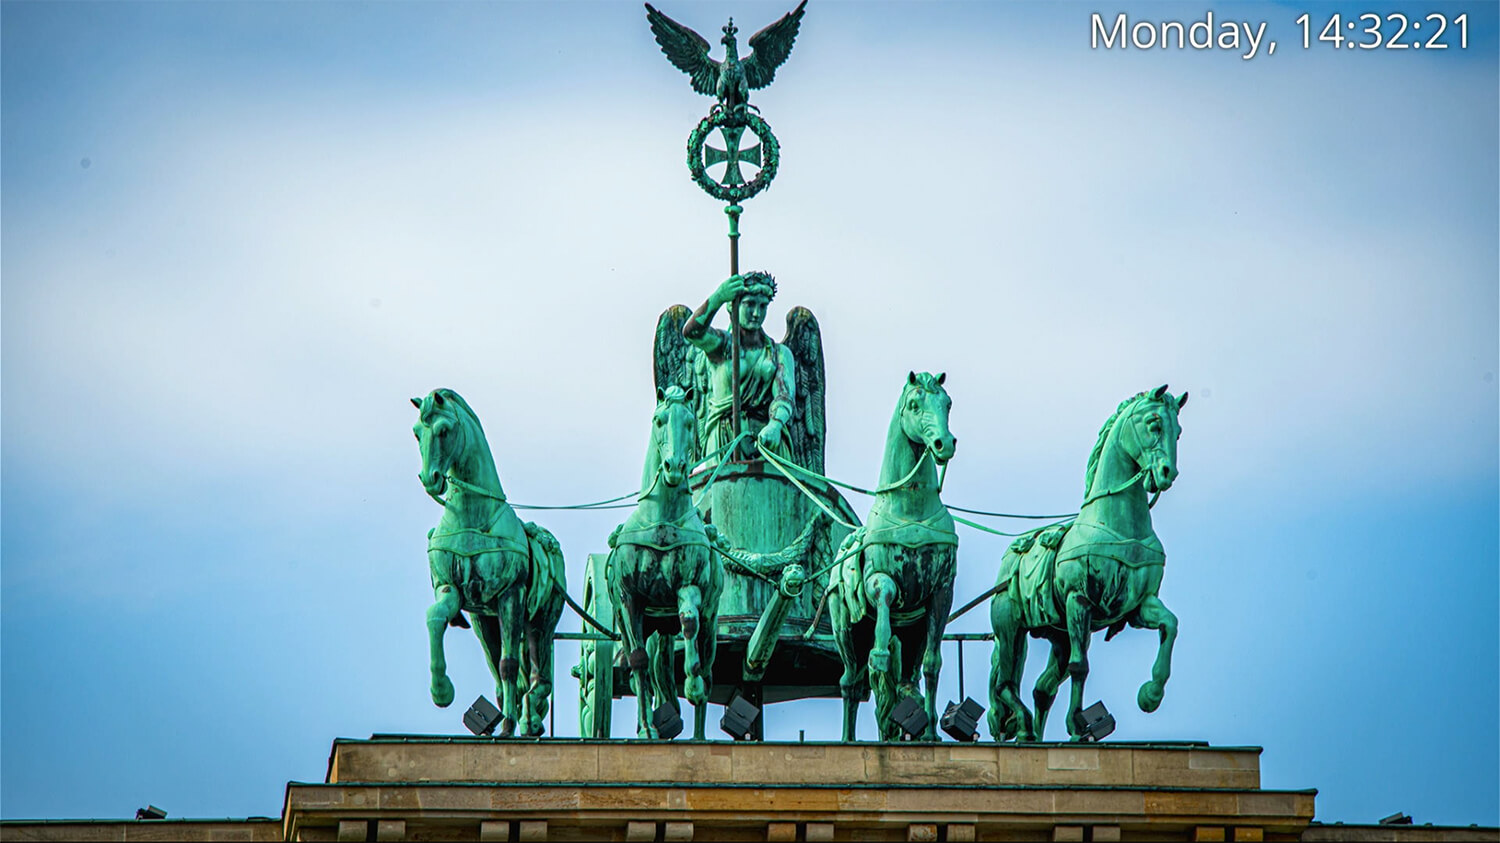
“14:48:15”
clock_format: "%H:%M:%S"or in 12h time format “3:00:31 pm”
clock_format: "%r"Conclusion
If you place your Raspberry Pi photo frame on a desktop, showing the time and/or date is a feature that many people like to have. It’s probably less relevant for large wall-mounted frames but having the option is nice.
Was this article helpful?
Thank you for your support and motivation.
Related Articles
- How to automatically control the display brightness of your Raspberry Pi photo frame
- How to fully integrate your Raspberry Pi digital picture frame into Home Assistant even showing the current image
- Activate the power of the magic matting feature on your Raspberry Pi picture frame
- How to use your Raspberry Pi digital picture frame in portrait orientation