
When photographers look at digital picture frames, one question comes first: What is the aspect ratio of the display?
A photographer typically works with 3:2 images from his DSLR camera. Screens, however, used to be 4:3 in the early personal computer age, then moved to 16:10 and then to 16:9 and even wider.
Showing 3:2 photographs on a 16:9 display means cropping of 15% unless you are willing to accept ugly black bars. And that means that on many photos the image composition is messed up.
16:10 is almost 3:2 and therefore by and large acceptable.
But only a few 16:10 monitors are available on the market and the maximum size for this aspect ratio is 24 inches.
In this article, I will show you three monitors I would choose for a 24 inches digital picture frame.
If you haven’t done so, I suggest that you check my article “Read these 10 essential tips for picking the right monitor for a digital picture frame” as I will come back to criteria from my article in this post.
The key filter criteria for my monitor research
I have narrowed my selection of monitors using the three following filters:
- 24 inches screen size (23 – 25 inches)
- Resolution of 1920 x 1200px (UXGA) which means an aspect ratio of 16:10
- IPS display
Unfortunately, there are no 4K monitors available in 16:10 aspect ratios, no matter what size, that would work for our use case.

All these monitors have an HDMI output and a very high contrast ratio because of the IPS screen. IPS display also means low power consumption and wide viewing angles. Things like e.g., response time are irrelevant for a digital picture frame.
Monitors for your digital picture frame project that will leave a good impression
Acer BW257 25″
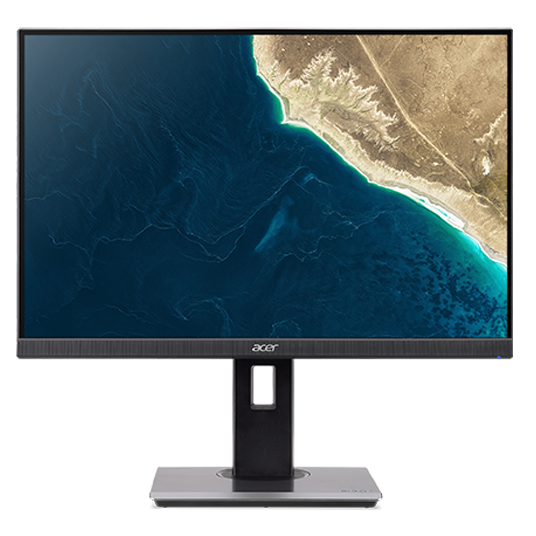
- 25 inches display size
- 100% sRGB colors
- Power and HDMI connectors face downwards
- Very thin frame
- Internal power supply
Asus BE24WQLB 24.1”
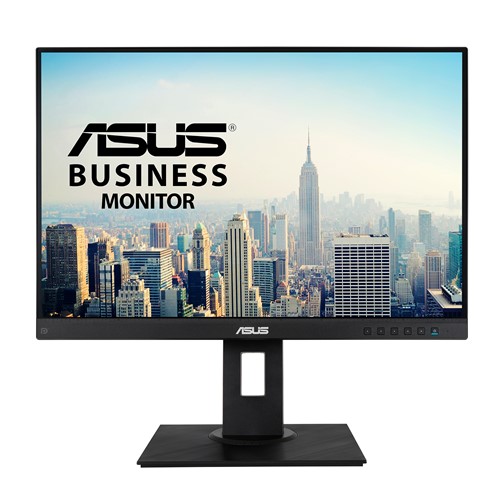
- 100% sRGB colors
- Asus Eye Care technology for flicker-free and low blue light technology to reduce eye fatigue associated with extended viewing
- Very thin frame
- Power and HDMI connectors face downwards
- Internal power supply
Philips 252B9 25″
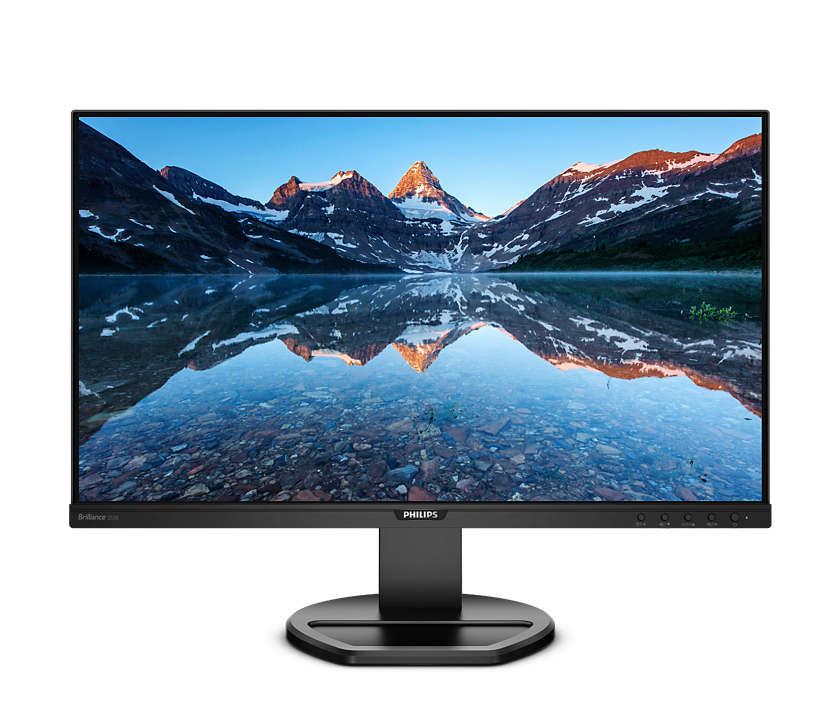
- 25 inches display size
- 107% sRGB and 90% NTSC color gamut coverage
- Flicker-Free and LowBlue Mode technology
- Very thin frame
- Power and HDMI connectors face downwards
- Internal power supply
Which one would I pick?
I have only shown you three monitors for a reason. They are all very suitable for a DIY digital picture frame project.
My first 24 inches monitor for a photo frame was an ASUS IPS monitor and five years later it still looks and works great despite being on for sixteen hours a day.
Both the Acer and the Philips have 25 inches displays which is 0.9 inches more than the ASUS which is nice.
But in the end, you can safely decide on price and get the best deal for any of the three.
Should you buy a bare display and controller card instead of a computer monitor?
When you receive the monitor, you run a test for dead pixels and then you take it apart with the intent of never putting it back together again.
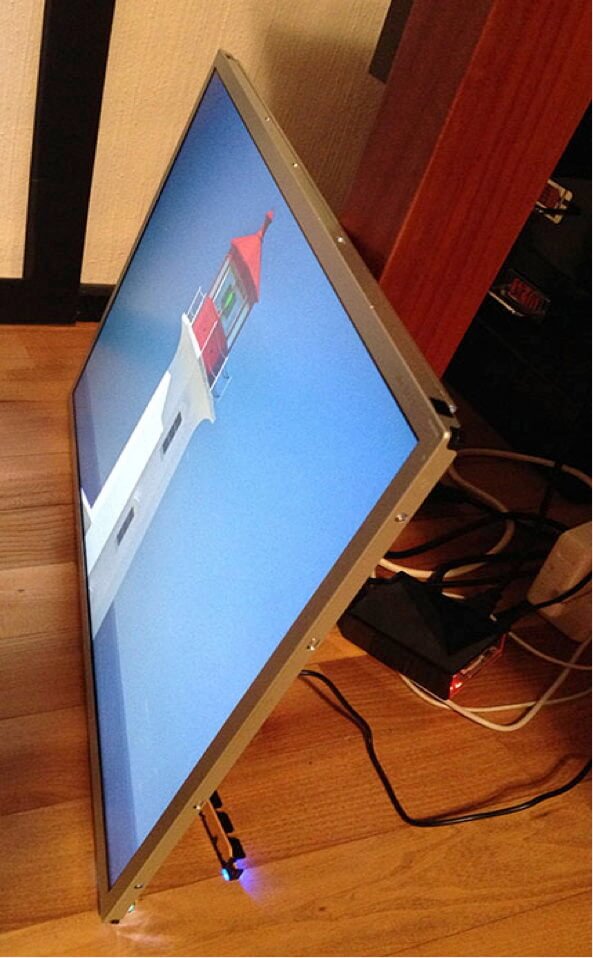
Wouldn’t it be easier to just get a display panel with a suitable controller card and power supply? Wouldn’t it be cheaper?
Many displays are made in China, Japan, and Korea. Sourcing directly from China has become quite popular especially for electronic gadgets that are not easily available in our regions.
However, for displays, I would not recommend this approach.
First of all, a display is not a cheap item that you can just write off if it does not meet your expectations. Returning goods to China is just not practical, given the shipping costs. There is no buyer protection that deserves the name.
Second, a shipping time of 4-6 weeks is pretty normal, and you need to take special shipping insurance on top of high shipping costs for displays. Also, there can be a delay of several weeks in customs.
Third, it is not cheaper. If you add up the cost of a display + controller card + power supply, add the shipping and insurance, add local customs, and value-added taxes, it doesn’t add up.
No need to go further, it just doesn’t make sense for this kind of product in the volumes that you are going to order.
There is one advantage of buying the bare components: You don’t have to think about taking apart the monitor. Sometimes, screws are hidden under hard to see labels, and taking the bezel apart requires a bit of force, special tools, and courage but typically, it is not very hard.
Conclusion
If you are building a digital picture frame and you are a photographer with an appreciation for great images, then you should not just “take any screen” to hook up your Raspberry Pi.
After all, you have invested a lot of money in good cameras and lenses that cost a lot more than the 250 $/€/£ that you are going to pay for a good display.
And maybe, you’ll even get a great deal on one of the monitors above!
As always, let me know what your recommendations are.
(Photos: Acer, ASUS, Philips, Wolfgang Männel)
Was this article helpful?
Thank you for your support and motivation.
Related Articles
- Discover the complete hard- and software setup of my Raspberry Pi digital picture frame (December 2023)
- Read these 10 essential tips for picking the right monitor for a Raspberry Pi digital picture frame
- Which Raspberry Pi model should you get for your digital photo frame?
- How to build a gorgeous digital photo frame with a Raspberry Pi (OS Bookworm Edition)