In this article, I will show you step-by-step how to build a high-quality digital picture frame. As a part-time photographer and self-tutored electronics tinkerer, I have spent countless hours researching this subject since 2005.
Building a high-quality digital picture frame (or digital photo frame as they are also called) requires the right soft- and hardware ingredients. It is much more than slapping a small computer on an old monitor.
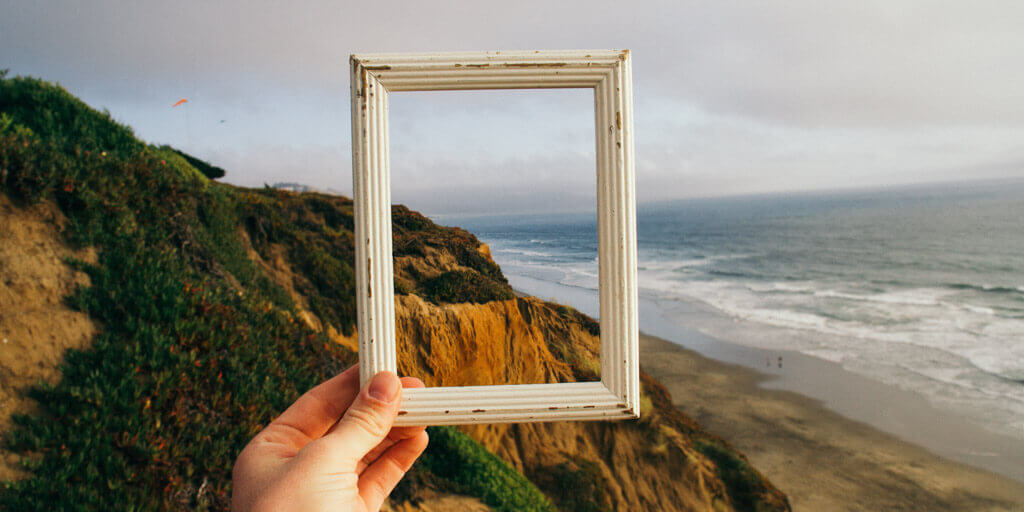
Images have become so important in our lives, and more are taken daily. Read on to find out how to make your pictures shine at home or in corporate environments.
This article describes the hardware involved in building a digital picture frame. To learn how to install the software, please read my post “How to build the best Raspberry Pi digital picture frame with Bookworm and Pi3D Picframe (2024 Edition)“.
You don’t buy a Picasso and put it in an IKEA frame
Well, I am not suggesting that you or I own a Picasso. But we all have images that we hold dear and that, for us, are priceless.
If you love great images and don’t want to let them rot in the proverbial shoebox (or put it in a bit more up-to-date wording: harddisk folder), you should get a digital picture frame to enjoy them every day.
You can buy digital photo frames off-the-shelf, but if you are a creative person who likes to build things, you will doubtlessly be interested in this project.
There is no reason to fear any hard or software issues. In a series of articles on this website, I will walk you through every step in minute detail so that you, too, can create a great digital picture frame and display your favorite images in your living room.
How it all began
In 2005 I bought my first digital photo frame from PhotoVu, a US-based company that produced tailor-made digital photo frames with high-quality matting and framing.
The largest size was only a 19-inch screen, but it looked quite big with the matting. You inserted a USB stick, and it beautifully displayed the photos with many random transitions between them. It turned itself on in the morning and off in the evening. It didn’t come cheap, at around $1,500 (€ 1,350), but it was very well-built and worth it.
Four years later, my PhotoVu frame died, but we ordered a second one since we had gotten so used to digital animation in the living room. This time, their largest model was 22 inches. It lasted until mid-2014, and then it, too, broke.
By then, PhotoVu had gone out of business, so the choice of ordering a third one was gone.
I started extensive internet research on available off-the-shelf alternatives. Still, I came up empty-handed because of my list of criteria that asked for high display resolution, a high-quality screen with wide viewing angles, and great image transitions – really important once you get used to it.
Having stopped computer homebrewing many years ago, I looked at various alternatives, like using an Apple TV. Still, the lack of customization options made it a no-go.
Paddy, a famous Hamburg photographer, suggested using the Raspberry Pi, a mini-computer released only a few years earlier, in an online photography forum. It didn’t meet all my criteria, but it looked like a feasible home-brewed digital picture frame with the option of a future upgrade.
So I went on a long journey to assemble the right soft- and hardware mix.
Many people have made this project possible through ideas, instructions, and forum advice. To reduce the pain for people with similar ambitions, I have outlined the critical steps for the setup on this blog.
Let’s get to work
This article describes the hardware side of how to build a digital picture frame.
You only need a suitable monitor, a Raspberry Pi with accessories, and a frame.
The monitor
I spent considerable time looking for a screen suitable for the DSLR photo aspect ratio (3:2). The problem is that you probably won’t find a monitor with a 3:2 format.
Today, most are 16:9, but I was lucky to find the ASUS VS24AH in 16:10 format. It is only one unit away from 15:10 (which would have been perfect), but it is still good enough.
I also compared energy consumption levels, but luckily, with LED technology, most screens aren’t as energy-hungry as they used to be. The ASUS needs 20W, which means that if the frame runs 16 hours a day, it boils down to about three $/€ a month in energy costs (obviously depending on the country you live in).
The old PhotoVu frame had a smaller screen, used three times as much, and became quite hot.
The viewing angles of the screen are also important because, in a typical living room setting, you will often see the frame from an angle.
There is much more to say about finding the right screen for your digital picture frame, and I detailed my thoughts in the article “Selecting the right display for your Raspberry Pi digital picture frame“. I recommend reading this before you make your choice.
The computer
The Raspberry Pi, created in 2012 to interest UK students in programming and engineering, has been a runaway success. By early 2018, it had already sold over 19 million units.
It is tiny, low power (3W), fully integrated, and only costs $35 (€35).
$35 was the communicated price point of the Raspberry Pi foundation all along, and even for the most recent models, $35 was still standing. Including the power supply, a Samsung PRO Endurance 32GB SD card, and a small case, you are looking at around $60 (€60), but this is still very affordable for a mini-computer.
In terms of performance, it may not compare too well with the average laptop computer, but it has more than enough power to run a digital picture frame for 24 hours very reliably. By the way, the tiny Raspberry Pi has much more power than the onboard computer on the Apollo 11 had for the first moon landing.
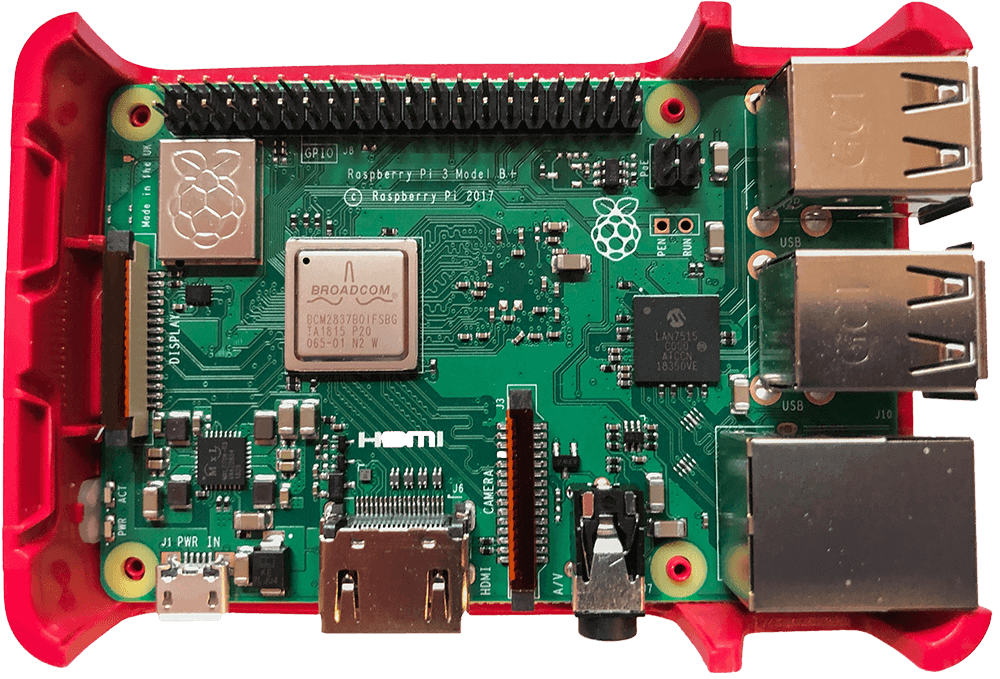
It runs on Raspberry Pi OS, a Linux dialect for the Raspberry Pi that is very similar to Debian. This should not deter users who have never used Linux before, as you do not need to know much about it, as everything is described in this post. In fact, my entire Linux “mastery” comes from good instructions and tutorials found on the Internet.
One of the most significant advantages of the Raspberry Pi is that it comes with a passionate community of homebrewers and selfless computer hobbyists who provide advice and ideas in many internet forums or blog posts.
To understand everything about the hardware components that you need and how to install the software, please look at my article “How to configure the software for your Raspberry Pi digital picture frame in 60 minutes“.
It is very detailed and has up-to-date, step-by-step instructions.
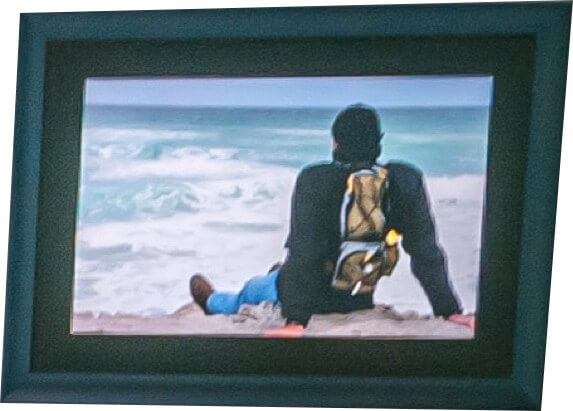
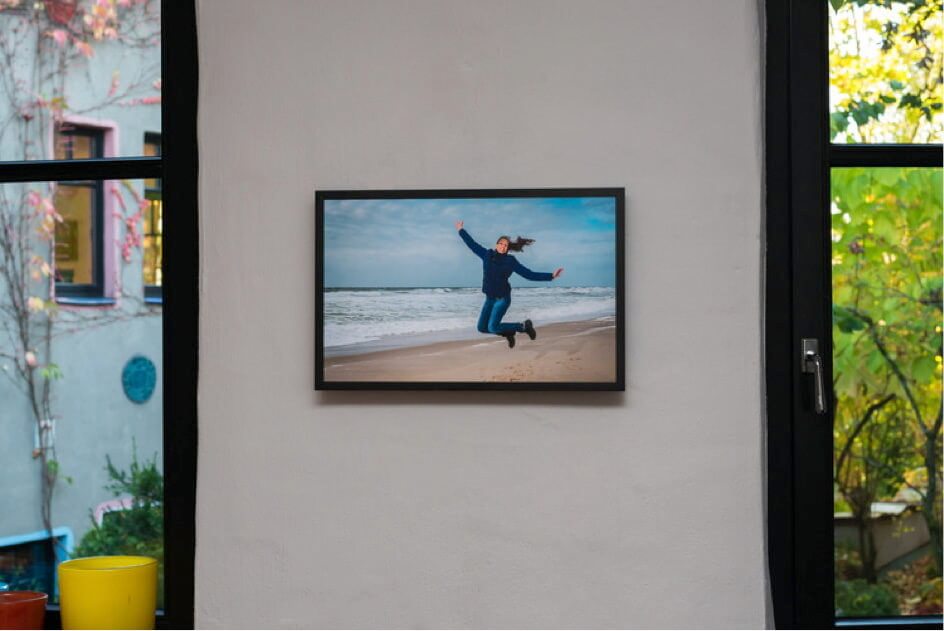
The frame
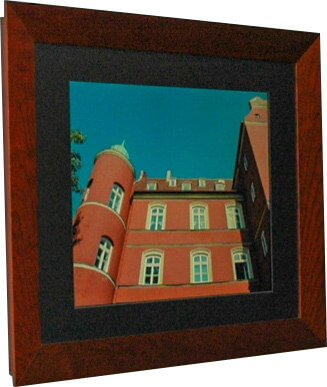
Unlike the PhotoVu frames I had used before, I decided against matting this time and opted for a more modern look with only a simple black anodized metal frame.
A metal frame may slightly reduce the WiFi signal strength, but this depends on how much space you have between the frame and the wall. It works fine in my current setting with the Raspberry Pi 3. Metal frames do look great, no doubt.
Given the metal border around the naked display of about 0.8 inches (2 cm), it wasn’t easy to find the right frame model immediately. So, if you have a framing shop nearby (unfortunately, it’s quite rare these days), I would encourage you to take your LCD panel and try various frames. You can also go to a DIY store and try out the available frame panels.
The frame itself had a depth of 1.2 inches (3 cm). This is not enough to house the screen, cables, and Raspberry Pi, but a small distance from the wall is acceptable. The entire depth would be 2 inches (5 cm), which still looks nice.
Ensure that your frame is solidly built. It needs to reliably house the screen and the Raspberry Pi, and you don’t want your frame coming off the wall.
Removing the monitor bezel
Before you strip down the monitor, I recommend you get your Raspberry Pi working, connect it to the monitor, and test your digital picture frame software. Once that works, you can move on to the more tricky bit. But don’t fear. The chances are high that you will succeed.
ONE NOTE AND DISCLAIMER UPFRONT: DISMANTLING A COMPUTER MONITOR MIGHT EXPOSE YOU TO DANGEROUS ELECTRICAL VOLTAGE. THE AUTHOR OF THIS ARTICLE DOES NOT GUARANTEE THE ACCURACY OR COMPLETENESS OF ANY INFORMATION PUBLISHED HEREIN AND SHALL NOT BE RESPONSIBLE FOR ANY ERRORS, OMISSIONS, OR DAMAGES ARISING OUT OF USE OF THIS INFORMATION.
Monitors do have few or no screws, but instead, parts that snap together and that are not always obvious to spot.
Fortunately, many YouTube videos show how to peel the plastic off a brand-new screen without ruining it and exposing just the bare electronics. This varies with every monitor, but I recommend watching some YouTube videos before trying it with your monitor. You may even find a video for your exact type of monitor.
Once you have carefully removed the monitor bezel, this is what you get:
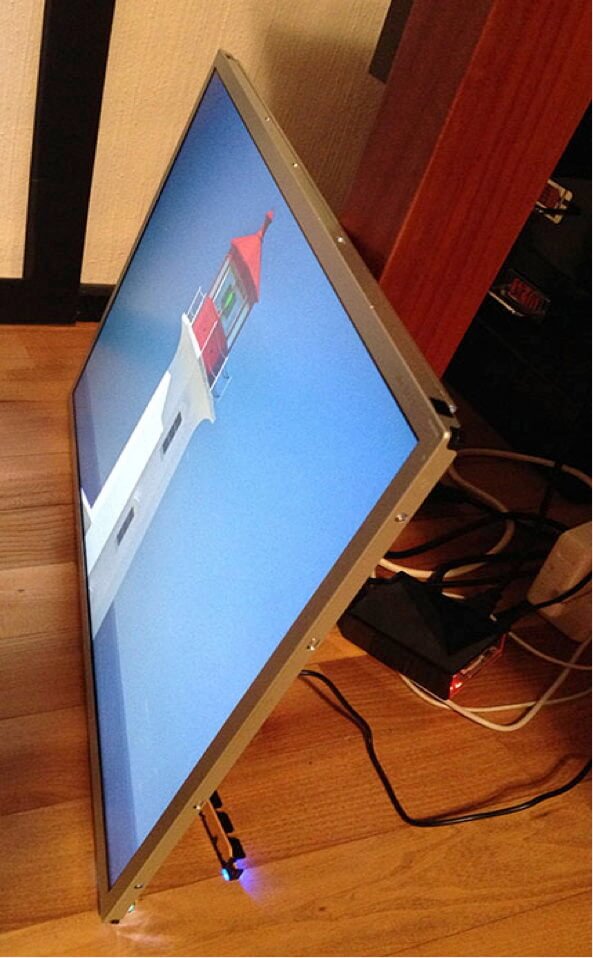
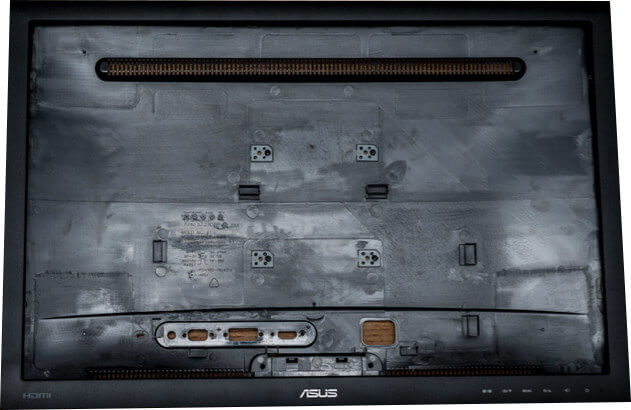
Just for the fun of it, here is the empty shell of the monitor:
My ASUS monitor had a protruding metal piece that needed to be sawed off with a Dremel.
Before you do that, you should carefully seal all holes in the back of the display with adhesive plastic foil. Otherwise, tiny metal pieces may enter the inner electronics of the screen, which could cause a short circuit or, even worse, damage.
Be careful with that part, and clean everything neatly before proceeding!

Now, put your metal frame together and carefully slide in the LCD screen. Be especially careful with corners to prevent damage to cables.
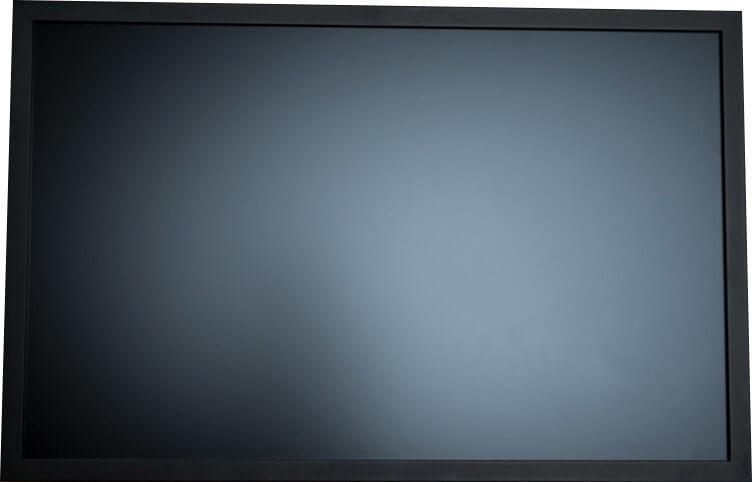
Tighten everything up, and your frame should now look like this:
Now, you can start with the wiring. The important thing is that you get a bent HMDI cable (there are two types; get the one that goes up) and a bent power supply cable for the monitor.
The power supply cable defines the distance between the frame and the wall, so the flatter a model you can find, the better.
Use temperature-resistant glue (most general-purpose quality glues will do) to attach the Raspberry Pi case and its 5V power supply (get one of the very flat ones).
It’s probably not a bad idea to let the glue harden out for 24 hours before proceeding. Then, carefully attach the cables and fix them with plastic connectors wherever possible or glue if necessary.
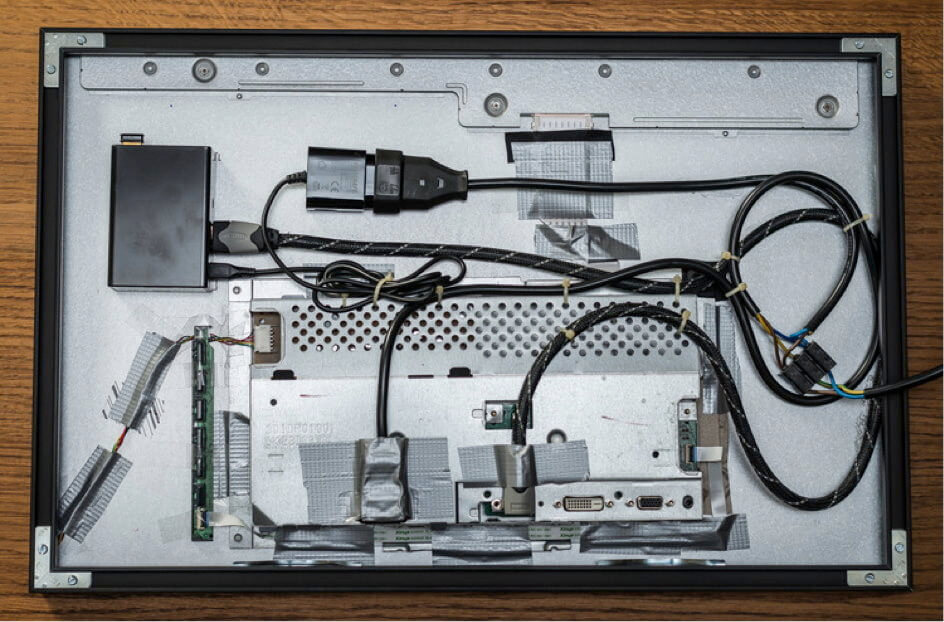
It is important not to mount the Raspberry Pi case too high as you need to save some space for the wall mount later.
I also used a fair amount of gaffer tape to tighten any loose ends. The little switches that come with the monitor should remain accessible if you want to adjust the monitor’s picture quality later. I haven’t used them once yet.
BE CAREFUL WITH ELECTRIC WIRING, AND DON’T DO IT IF YOU DON’T KNOW WHAT YOU DOING!!!
Connect the picture frame to electricity and hope that everything still works.
How to wire the electricity cable
An important issue that makes a difference in appearance is visible power cables.
If you want a beautiful digital picture frame in your living room or an office, for that matter, power cables running away from the frame are just plain ugly.
So go the extra mile and either put the frame in a spot on the wall with a power connection, e.g., a lamp or a power outlet, or extend a cable from a mains outlet by carefully slitting up the wall.

I understand this is not possible everywhere, but a little creativity can go a long way and make the photo frame a lot more professional-looking. I have been asked many times if my digital picture frame was battery-powered because people were almost expecting a cable.
Mounting it on the wall
For the wall mount, I used three stacked 19-inch (47 cm) wide boards with a thickness of 1 inch (2.5 cm).
The actual thickness that is right for you depends on the depth of the components that extend beyond the frame’s bottom. In my case, that depended on the monitor power cable, the “thickest” component.
I mounted two hinges on the board to hold the picture frame and painted the board’s ends black to make them virtually invisible when looking at the frame from the side (which probably doesn’t happen too often, but anyway).

Turn it on
Note: If your monitor’s colors look strangely exaggerated, make sure you have set the ASUS monitor to sRGB mode in the presets. This is typically best for photo viewing. There may be a similar setting for other monitors.
Congratulations!
Conclusion
Building a digital picture frame with a Raspberry Pi is a gratifying project because you can see it in action every day in your living room.
It is also a very flexible project because you can use old components that you already have or build a high-end version with an excellent display. The hardest part is probably taking the monitor apart because one is always afraid of breaking something. However, if you are careful and double-check if there might be another screw hidden under a label before you pull too hard, then you shouldn’t have an issue.
If you have built one, please head over to the User Gallery and add your frame to inspire others who are embarking on the same project!
Was this article helpful?
Thank you for your support and motivation.
Related Articles
- Discover the complete hard- and software setup of my Raspberry Pi digital picture frame
- Beginner’s guide to Pi3D PictureFrame’s configuration.yaml file
- Install the Pi3D PictureFrame software with one click (2026 Edition, Raspberry Pi 2/3/4/5)
- How to build the best Raspberry Pi digital picture frame with Bookworm Wayland (2025 Edition, Pi 2/3/4/5)