Changing a WiFi network on a Raspberry Pi is a trivial thing.
But with a digital picture frame that has no keyboard or mouse attached, and a monitor which displays only photos by default, it can be rather tricky to change the WiFi password or station name.
I will show you three simple solutions to this problem.
Update, September 2026: I wrote this article when Raspberry Pi OS still configured WiFi through
wpa_supplicant. Since Bookworm, the operating system manages WiFi with NetworkManager, and/etc/wpa_supplicant/wpa_supplicant.confis not read at all anymore — editing that file changes nothing on a current system. The three situations below are still exactly the situations you end up in, and the plan for each of them is unchanged. What changed is the command in the middle of it. I have replaced the old commands with their NetworkManager equivalents below, but I have not yet re-run all three scenarios end to end on a current Trixie frame, so take the commands as the shape of the answer and check as you go. The one piece of this that I have verified on NetworkManager is the pre-configured second network in “How to add a second WiFi network to your Raspberry Pi”.
If you want to reduce the likelihood of this ever becoming an issue in the first place, have a look at my article “How to make sure that you can always connect to your Raspberry Pi picture frame even if your WiFi connection doesn’t work anymore“.
You are about to change your router password, but you haven’t done it yet
This is the most comfortable situation because you still have access to your Raspberry Pi picture frame.
So you first change the password on your Pi, and then you make the changes in your router.
When you first set up your Raspberry Pi, the Raspberry Pi Imager wrote your WiFi network into the Pi for you. On Bookworm and Trixie that is a NetworkManager connection profile rather than the old wpa_supplicant.conf file. You will find it here:
/etc/NetworkManager/system-connections/
and it is usually called preconfigured.nmconnection.
The quickest way to change the credentials is to ssh into your Pi and let NetworkManager do the work:
sudo nmcli device wifi connect "your-ssid" password "your-new-password"
If you prefer a menu to a one-liner, sudo nmtui does the same thing interactively.
You can keep several networks side by side — NetworkManager stores one profile per network and connects to whichever one it can actually see. To write a second one by hand before you need it, follow “How to add a second WiFi network to your Raspberry Pi”.
You may also want to add a fall-back SSID/Password, which can help you to access your Pi in a different network.
In that case, you can make a temporary change in your WiFi router, update the information of your Pi to your new settings, and change your router password back again.
The password on your WiFi router has already changed, and you cannot temporarily change it back
This situation requires physical access to your digital picture frame.
One option is to remove the SD card, plug it into another Linux computer like e.g., the Raspberry Pi and edit the connection profile on the card’s system partition:
sudo nano /etc/NetworkManager/system-connections/preconfigured.nmconnection
(prefix that path with wherever you mounted the card). You will see something along these lines:
[connection]
id=preconfigured
uuid=95b17351-297c-4d9c-90f9-669d3ab81464
type=wifi

[wifi]
mode=infrastructure
ssid=yourssid

[wifi-security]
key-mgmt=wpa-psk
psk=yourpassword

[ipv4]
method=auto

[ipv6]
addr-gen-mode=default
method=auto
Update your WiFi login details, save & exit the editor, and start your Pi again. One thing to watch: NetworkManager refuses to load a connection profile that anybody other than root can read, so if the permissions got lost along the way, put them back with sudo chmod 600 on the file.
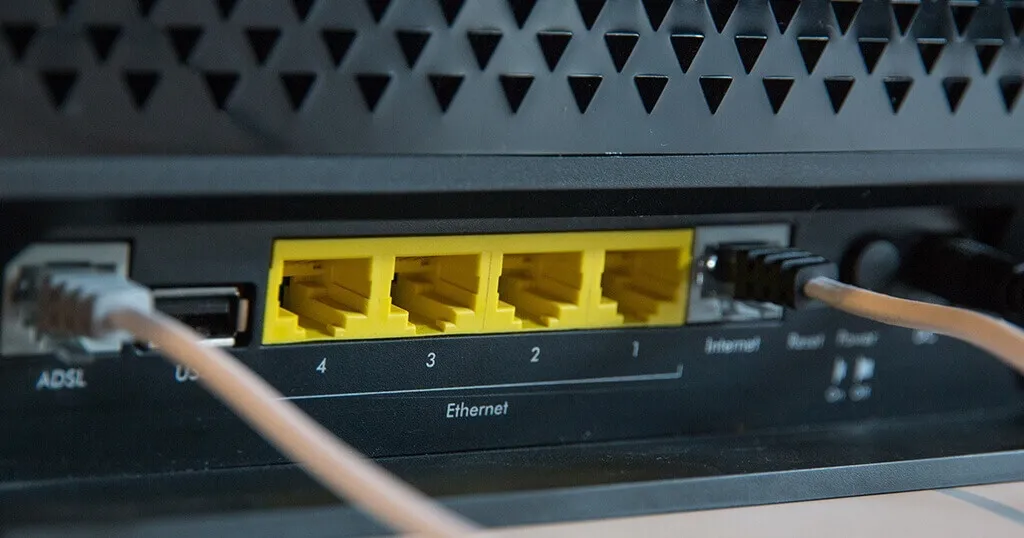
Should you not be able to remove the SD card because of tight space behind your picture frame or too much glue where you shouldn’t have glued, then use an Ethernet cable to connect your Pi with your router directly.
SSH in your Pi, enter in Terminal
sudo nmcli device wifi connect "your-ssid" password "your-new-password"
and make your changes.
Should the distance between your router and your digital picture frame be longer than the longest Ethernet cable in your house, you could alternatively use Powerline adapters and establish a connection this way.
You need to change the password at your parents’ place in another town
Ok, so you have built this wonderful digital picture frame, and you have given it to your parents for Christmas. And they don’t live close by, so you can’t just drive by after work and fix it.

New WiFi password? No reason to stop sending pictures.
The easiest way is to add a second NetworkManager profile with your parents’ network information – before you pack it up as a Christmas gift. The Raspberry Pi will check at boot which of the networks it can see and connect to that one. “How to add a second WiFi network to your Raspberry Pi” has the file to paste.
Also, include a fall-back network like “frame” as SSID and a simple password like “123” for temporary use.
If you install Raspberry Pi Connect on the frame, you can open a shell on the remote Raspberry Pi picture frame from your browser, just like you would from at home. It is Raspberry Pi’s own service, it has left beta, and the personal tier is free. Dataplicity does the same job and is what I used when I first wrote this.
Either one lets you reach your parents’ Pi over the internet, but only as long as the network is still up.
So, if the password or station ID is about to change, but you still have time to make the changes on the Pi, then you can do everything remotely with no required on-site interaction. Just use the commands above.
If this is not an option, your parents may be able to take the picture frame to neighborhood friends who can temporarily change their WiFi to the fall-back network defined by you.
You can then establish a remote connection and enter the new password.
And finally, there is always the option of a temporary ethernet cable connection to your parents’ or friends’ router. You can then again use the remote shell for access.
Conclusion
If you prepare your system upfront with a fall-back network and install Raspberry Pi Connect or a similar tool, changing the WiFi password on a headless Raspberry Pi system, locally or remotely, is a piece of cake.
As with many things, a little upfront planning can save a lot of time!
(Featured Image by Webaroo)
Was this article helpful?
Thank you for your support and motivation.