
I have built quite a few digital picture frames based on the Raspberry Pi for family & friends in recent years. These frames are deployed all over the world. Although they require very little to no maintenance, there is always a time when something doesn’t work, or there is a new feature that you want to roll out.

There are various ways how to access a remote Raspberry Pi, but one that stands out for me for ease of use and reliability is Dataplicity.
In this article, I will show you how it works and how to set it up.
Update, September 2026. I wrote this in 2019, and the most important thing to say about it now is that Raspberry Pi has since built its own answer: Raspberry Pi Connect. It is first-party, it has left beta, the personal tier is free, and it gives you a remote shell on the frame straight from a browser — plus screen sharing, on frames that have a desktop session to share. For most people reading this page today, that is where I would start.
Dataplicity is still running and its free-on-one-device tier still exists — I checked today — but the company has moved on to a different customer. It now presents itself as “SaaS for Connected Linux Hardware”: fleet operations, device classes, customer portals, priced per device from three devices upwards. The friendly one-device hobby tool I describe below is now the evaluation tier of a commercial product. It still works for a picture frame; it is just no longer what the website is about.
What follows is the original article. I have corrected the parts that had gone factually wrong.
Do you need remote access to your digital picture frame?
If you have built only one digital picture frame for home use, you may not need this solution.
But if you have built one for your parents, siblings, or you have a digital picture frame at your weekend home, then you should read on.
Things in our household exclusively seem to break whenever I am not home. In such an event I typically receive a determined call from my beloved wife, ordering me to do something.
And sometimes in the past, even if very rarely, this happened with our digital picture frame which has a prominent place in our living room. I had probably rolled out a new home automation feature without sufficient testing (as you may have guessed I like tinkering) and hadn’t thought all implications through to the end.
But anyway, the result was that our frame was dark, she was expecting guests, and I was on a business trip.
In situations like these, it would have been helpful to access the Raspberry Pi powering the digital picture frame remotely to make a few changes to hopefully get it up and running again in no time.
Also, if you have given a digital picture frame to non-IT-literate people, it’s helpful to be able to access it remotely without requiring any interaction on site.
It may be little things like changing a wifi SSID or password, adding a new feature, or just making a general system update to ensure that the operating system has all the latest security fixes.
You may not need it for two years, but when you need it, you will be happy to have it!
Introducing Dataplicity
Dataplicity is the brainchild of Elliot Mackenzie, the founder of MachineForest, a “manufacturer of network-connected things” as the company calls itself. They are based in Oxford, United Kingdom, the country that brought us the Raspberry Pi!
I always like to know who is behind software solutions to understand their motivation and the potential of any harmful use especially if you install it on a networked computer.
In the case of Dataplicity, I believe that the developers are trustworthy. They even publish the source code of a script that is being downloaded and provide lots of documentation.
Dataplicity is a small piece of software that you install on your Raspberry Pi powering your digital picture frame which allows you to access the terminal.
The Dataplicity installer script creates a ‘dataplicity’ user account which is marked as a system service account. This client runs as an unprivileged user which means when you connect using the Dataplicity shell, you still need to enter your sudo password to get superuser access to your device.
As long as your remote Raspberry Pi has a functioning internet connection, you can control it as if you were in the local network.
Installing Dataplicity
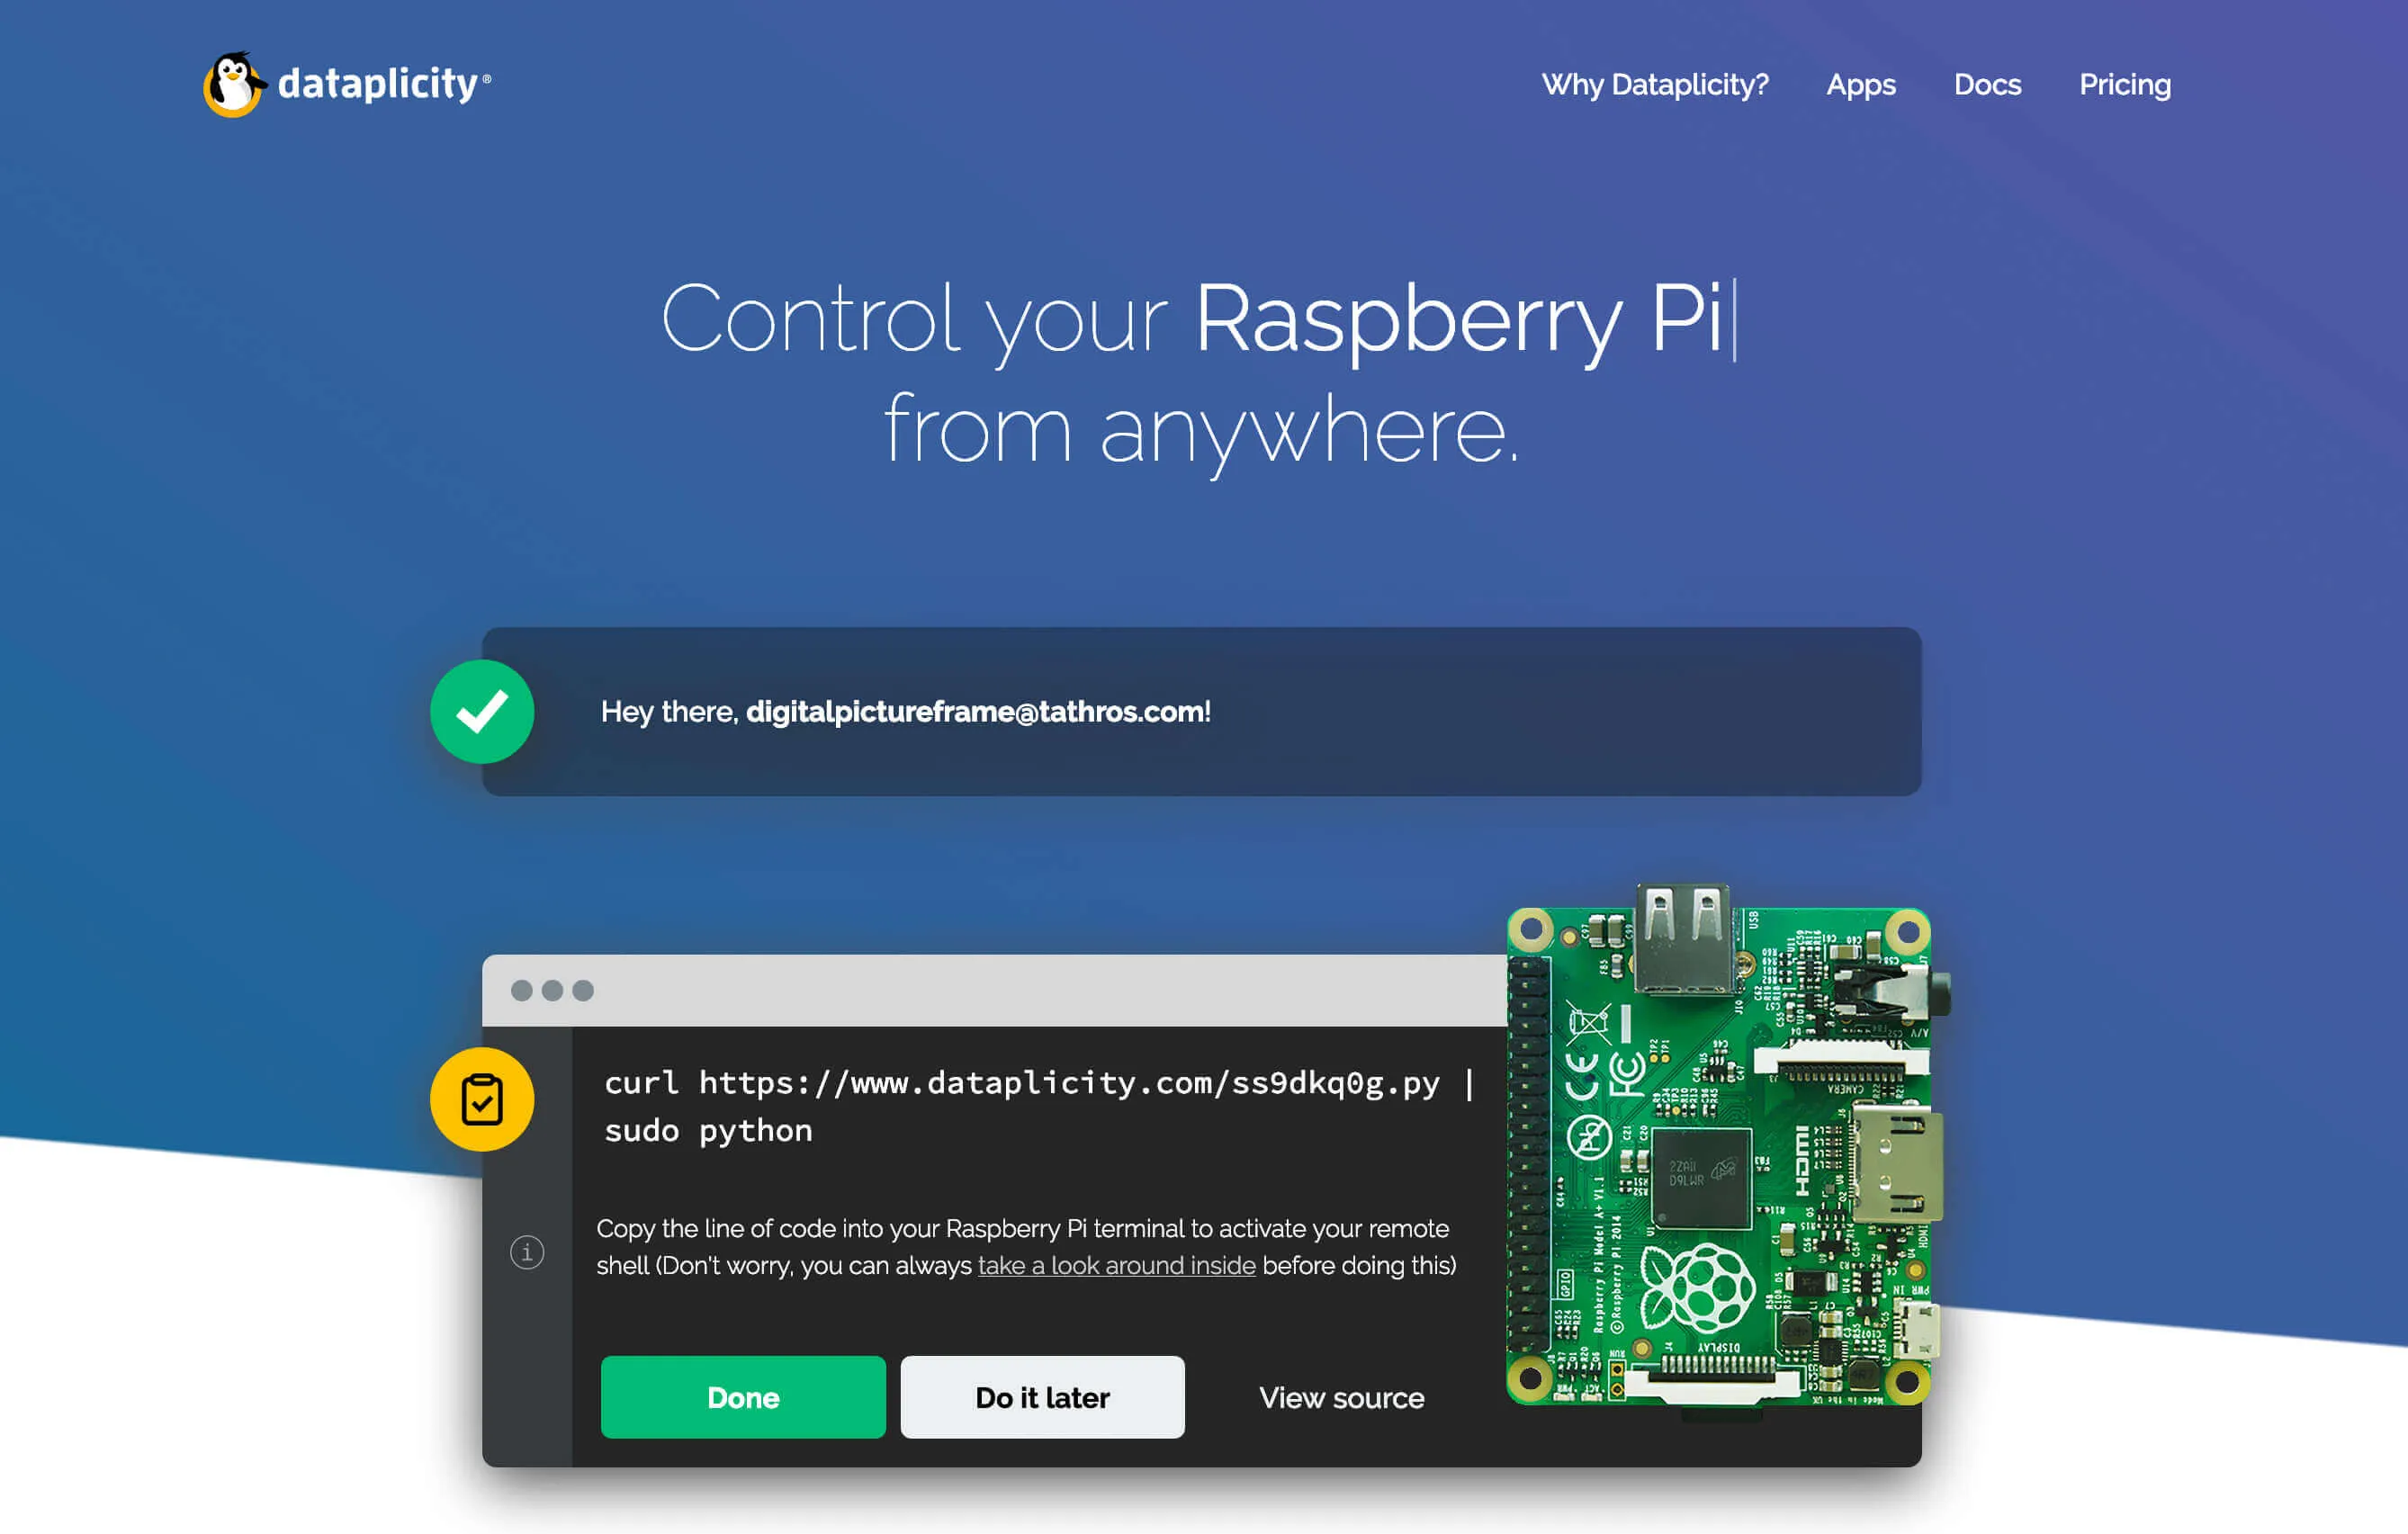
When you go to dataplicity.com, you will be asked to provide an email (as your account name). Hit “Start”, and you will get a line of code that you copy and paste in the Terminal of the Raspberry Pi that you want to control. So do it before your digital picture frame leaves the house!
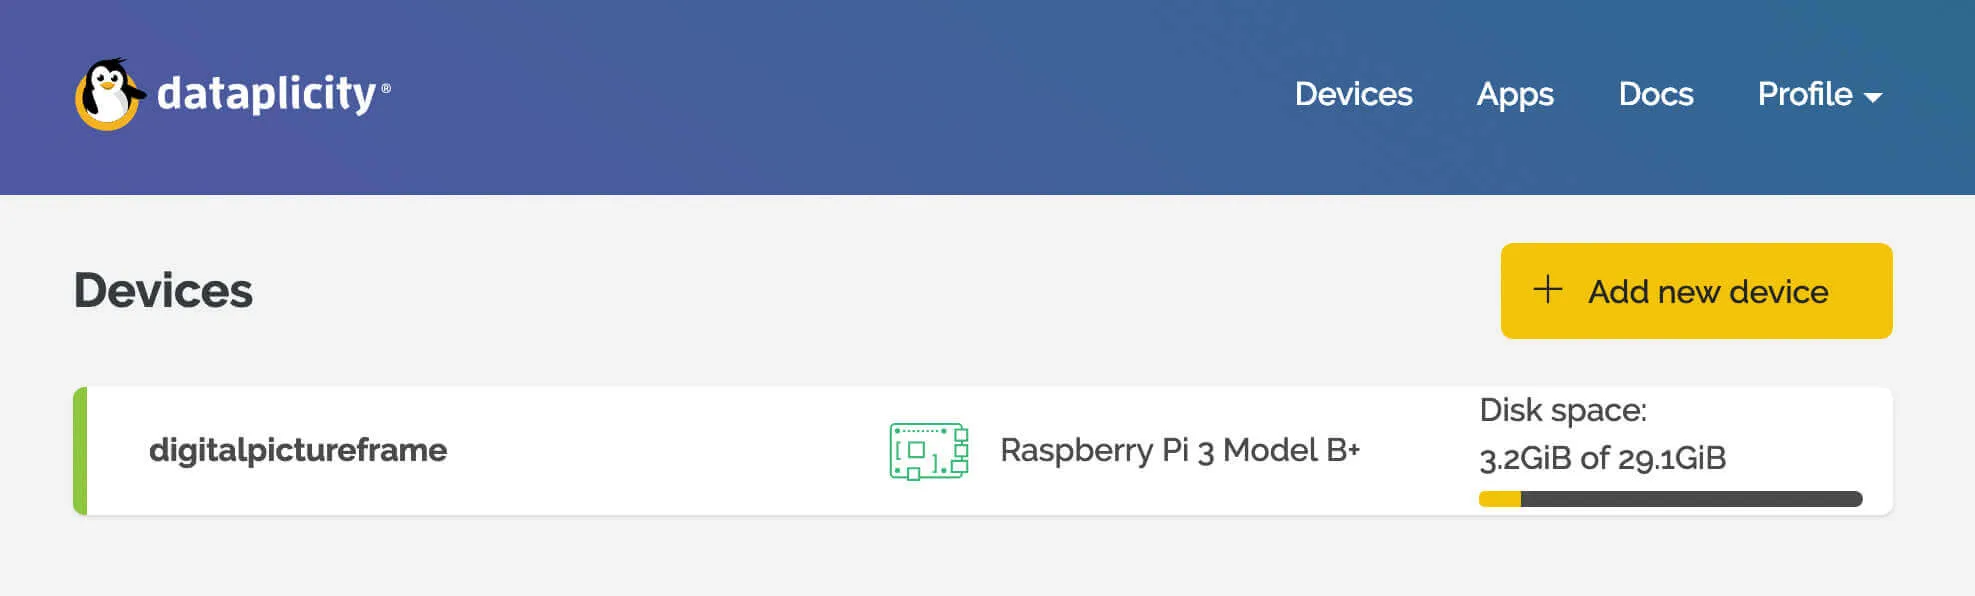
Go to “Devices” and click on your Raspberry Pi.
The Dataplicity shell drops you in as the dataplicity service account, so switch to your own user with
su your-user-name
followed by your password. (When I wrote this, the command was su pi, because every Raspberry Pi had a user called pi. Raspberry Pi OS stopped creating that account in 2022 — your user is whichever one you set up in the Raspberry Pi Imager.)
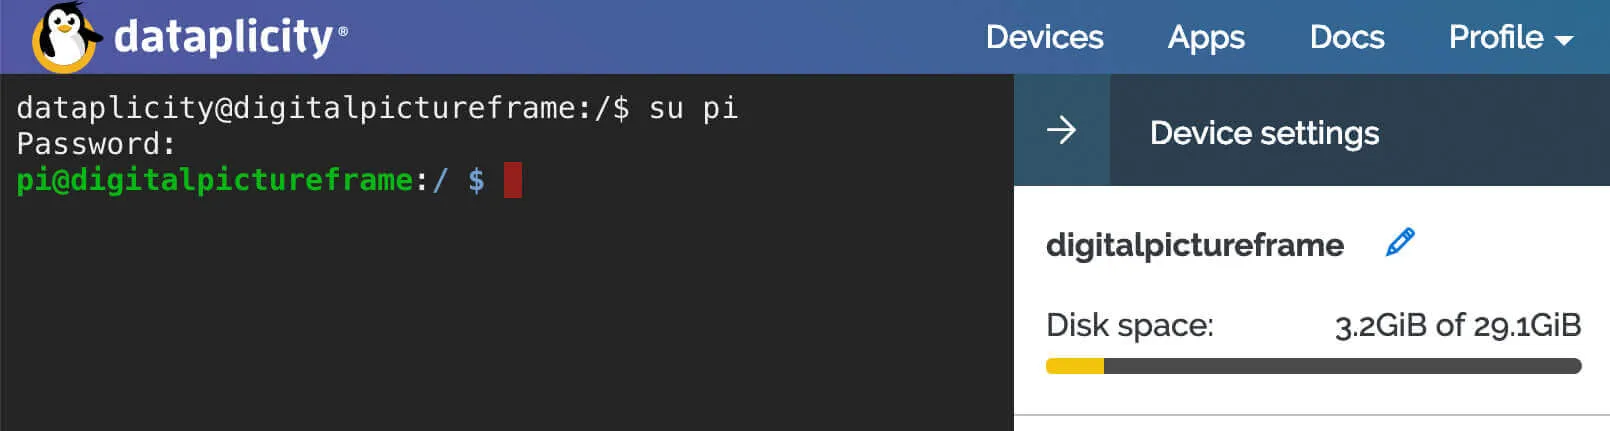
From there on, you can do whatever you would do if you and your remote computer were in the same network.
There is even a native app for iOS and Android, as well as macOS and Windows 10.
Dataplicity is free on one device and offers paid packages with more advanced functionality. As of today the paid tiers start at three devices and are priced per device, so for a single frame the free tier is still the one you want.
Alternatives to Dataplicity
There is a good overview of various methods to access your Raspberry Pi over the internet in the Raspberry Pi documentation — which is also where you will find Raspberry Pi Connect — but I found the ease of use of Dataplicity intriguing.
Remote.it works similarly and offers an unlimited number of devices subject to personal fair use policy. But it’s not as easy to set up (their password dialogue drove me crazy despite using a super-secure computer-generated password it had to contain five pre-defined characters!), and the device isn’t installed automatically, but with a bit of effort it works as well.
Remote-ioT offered five free non-commercial devices and packages for businesses. Its website no longer responds at all, so I have removed the link.
Yaler.net is more for the high-end industrial use case and offers no free devices.
Losant is a large US-based company targetting the industrial IoT market. When I first wrote this, I couldn’t find any pricing information on their website; that was a 2019 observation and I have not re-checked it.
Conclusion
If you have a digital picture frame that you want to control remotely, I would recommend using Dataplicity. Nothing beats the ease of use of this software and it’s optimized for the Raspberry Pi.
It’s interesting to compare the websites of these companies. They all sell the same product more or less, and yet the difference in their appearance is striking.
On the one hand, there is Dataplicity where everything is super simple, and then there is everybody else. Decide for yourself!
Was this article helpful?
Thank you for your support and motivation.