
What I am describing in this article is a safety measure. You shouldn’t forget to implement it when you have finished building your digital picture frame. You may come to regret it if you don’t.
It is especially relevant should you plan on giving away your home brewed frame to family or friends.
The day will come when, for whatever reason, your WiFi SSID or password has changed, and you cannot connect to your picture frame anymore.
This situation can happen, e.g., if you don’t remember your WiFi password and need to change it to allow new devices to connect. Or you are moving to a new place with a different SSID.
The solution described in this article makes the picture frame establish a local hotspot that you can connect with to enter your new WiFi login details.
And it does so automatically when no known WiFi network is in range.
Tested on the Raspberry Pi 3 and 4 with the Apr 2022 version of Raspberry Pi OS Buster.
The logic behind this setup
Before we get into the details, let me give you the 30 seconds version of this solution.
The Raspberry Pi will check at boot if the known WiFi network connection is still working.
In case it is not, it will create a local hotspot itself and broadcast an SSID to which you can connect. You can then access your picture frame through the WiFi of your digital picture frame.
There are alternative solutions to connect via Bluetooth, but I have never found this a workable solution. And yes, you can always take an Ethernet cable and connect your digital picture frame directly to a router. But you might not have a cable when you need one.
There are many WiFi instructions on the Internet, but I found the script by Graeme from RaspberryConnect.com the most reliable and comfortable one.
Graeme has detailed instructions and options on his project page, but I will focus on our digital picture frame use case in this article and give you all the essential bits you need when you build one.
Setting up the local hotspot
As always, before installing something new, make sure that your system is up to date.
sudo apt update && sudo apt upgrade -yWe will use Graeme’s installer script, which is super useful because it runs on autopilot and saves you a lot of instructions.
Copy and paste this command:
curl "https://www.raspberryconnect.com/images/hsinstaller/Autohotspot-Setup.tar.xz" -o AutoHotspot-Setup.tar.xz && tar -xvJf AutoHotspot-Setup.tar.xz && rm AutoHotspot-Setup.tar.xz && cd Autohotspot && sudo ./autohotspot-setup.shAt the end of this installation procedure, you will see these lines:
 1 = Install Autohotspot with Internet for Connected Devices
 2 = Install Autohotspot with No Internet for connected devices
 3 = Install a Permanent Hotspot with Internet for connected devices
 4 = Uninstall Autohotspot or Permanent Hotspot
 5 = Add or Change a WiFi network (SSID)
 6 = Autohotspot: Force to a Hotspot or Force to Network if SSID in Range
 7 = Change the Hotspots SSID and Password
 8 = Exit

Select an Option:
“Option 2” is the one that we want for the digital picture frame. Select it.
After the installation, you will see this:
The hotspot setup will be available after a reboot
The Hotspots WiFi SSID name is: RPiHotspot
The WiFi password is: 1234567890
Hotspot IP Address for SSH and VNC: 10.0.0.5
Press any key to continue
You will need the IP address, SSID, and password to access your Raspberry Pi hotspot. So save this information somewhere where you can find it.
Ideally, attach it to the back of your picture frame so when you need it, you know where to find it.
If you ever forget the login details, you can look up the default values here.
Now reboot with
sudo rebootTesting the Setup
To test the Hotspot mode we will run the setup routine again.
cd Autohotspot && sudo ./autohotspot-setup.shSelect option 5 and you will see all you available WiFI networks.
Searching for local WiFi connection
Connect to a new WiFi network or change the password for an existing one in range
For Wifi networks where only a password is required.
This will not work where a username and password is required
1 Hello again
2 HOUSE ONE
3 CIA Guest
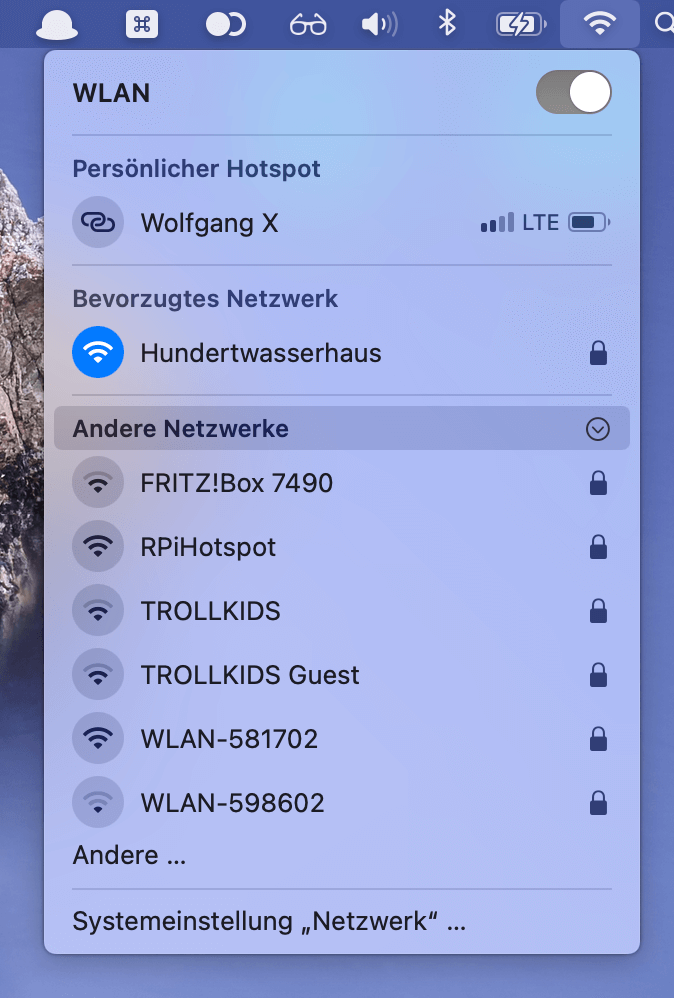
4 WLAN-581702
5 FRITZ!Box 7490
6 FRITZ!Box 7490
7 WLAN-581702
8 WLAN-598602
9 EasyBox-045794
10 To CancelSelect yours and change the WiFi password to something like “abc” to simulate a no-WiFi connection.
Reboot your Pi. You could also choose Option 6, but if you want to simulate “live conditions,” it’s better to reboot.
Next, check for all available WiFi networks on your computer and select “RPIHotspot”. It may take a minute or two until it comes up.
Connect using the default password “1234567890”.
Then login with
ssh pi@10.0.0.5You are now directly connected to the Raspberry Pi’s HotSpot.
If this works, let’s go back and re-enter the correct WiFi password and do a few last customisations.
Run
cd Autohotspot && sudo ./autohotspot-setup.shselect Option 5, enter your correct WiFi password, exit, and reboot.
Cleanup
It’s always nice to apply some customization to your work, so we want to give our local hotspot a name that people recognize as a digital picture frame.
Reconnect to your Raspberry Pi, this time again using your regular IP, and type
cd Autohotspot && sudo ./autohotspot-setup.shSelect Option 7.
7 = Change the Hotspots SSID and PasswordYou will see this:
Change the Hotspot's SSID and Password. press enter to keep existing settings
The current SSID is: RPiHotspot
The current SSID Password is: 1234567890
Enter the new Hotspots SSID:
Give yourself a personal SSID like
DigitalFrameHotspotAvoid spaces, commas, or the likes in the SSID. It may cause issues.
Enter your hotspot’s new password with a minimum of eight characters.
You may not want to assign a complicated password here but go with a simple one. After all, it’s just your digital picture frame, and it’s only the local hotspot.
1234567890
Changing Hotspot SSID to: DigitalFrameHotspot
Changing Hotspot Password to: 1234567890

The new setup will be available next time the hotspot is started
Press a key to continue
Make sure you are jotting this information down somewhere. Write it down with a permanent marker on the back of your frame otherwise, you will be desperately looking for the information when you need it.
Reboot your Raspberry Pi.
Conclusion
A big Thank You to Graeme, who has put together a fantastic script to create this Auto HotSpot feature, which saves us a lot of work.
This Auto HotSpot can be a real lifesaver when you have WiFi troubles, and can’t connect with your digital picture frame. Well, now you can, no matter what.
You should install it right away once you have finished setting up your digital picture frame software suite.
Please don’t complain to me later that I didn’t tell you before.
Was this article helpful?
Thank you for your support and motivation.
Related Articles
- Create your own digital picture frame access point when WiFi is unavailable (2025 Bookworm Edition)
- Why the 2.4 GHz WiFi band is faster and more stable for your digital picture frame than 5 GHz
- How to fix an unreliable WiFi connection on your Raspberry Pi picture frame
- How to add a second WiFi network to your Raspberry Pi (updated for OS Bookworm)