There will be a moment in the life of a digital picture frame home brewer when the current frame in the living room is all of a sudden too small.
This is what happened to me. Almost a year of gentle nudging from my flatmate (aka wife) made me order a 32-inches model, the maximum size possible in the spot reserved for our digital picture frame.
After quite some research and feedback from fellow digital frame builders, I decided to order a BenQ PD3200U, a 32-inches, 4K model.
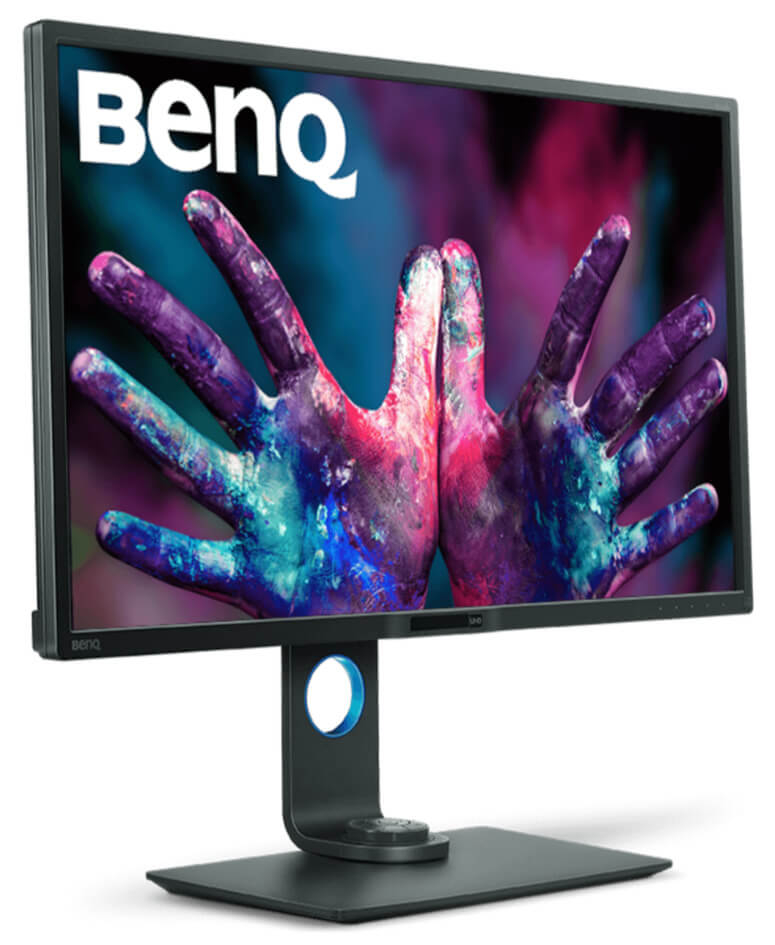
I had tested this frame before but had never taken it apart to use in a nice frame. Opening up a computer monitor not just requires a certain technical dexterity but also a leap of faith that you won’t break your brand new monitor.
Dismantling a computer monitor is much easier if you have some guidance on where to open it, where hidden screws are located, and what in general to expect when you open the unit.
So I thought I’d make a short time-laps video and add a few useful hints should you intend to embark on the same journey.
ONE NOTE AND DISCLAIMER UPFRONT: DISMANTLING A COMPUTER MONITOR MIGHT EXPOSE YOU TO DANGEROUS ELECTRICAL VOLTAGE. THE AUTHOR OF THIS ARTICLE DOES NOT GUARANTEE THE ACCURACY OR COMPLETENESS OF ANY INFORMATION PUBLISHED HEREIN AND SHALL NOT BE RESPONSIBLE FOR ANY ERRORS, OMISSIONS, OR DAMAGES ARISING OUT OF USE OF THIS INFORMATION.
The BenQ cometh
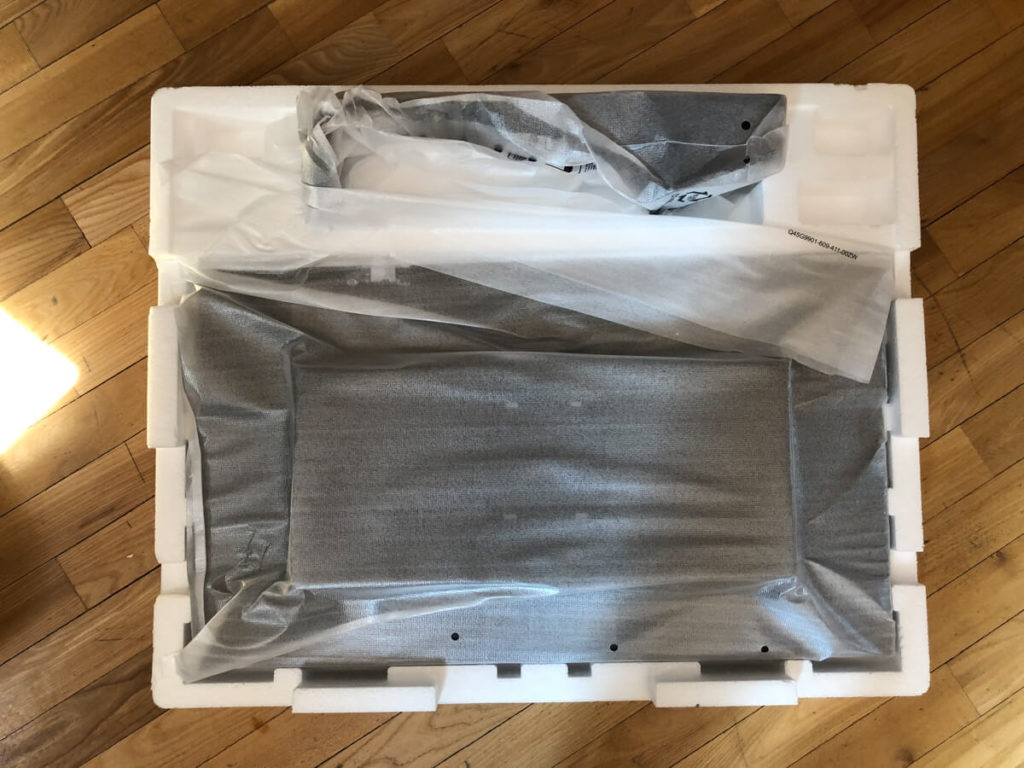
Two weeks after my order, the BenQ monitor arrived. It’s quite a heavy albeit slim box. And huge in an intimidating way.
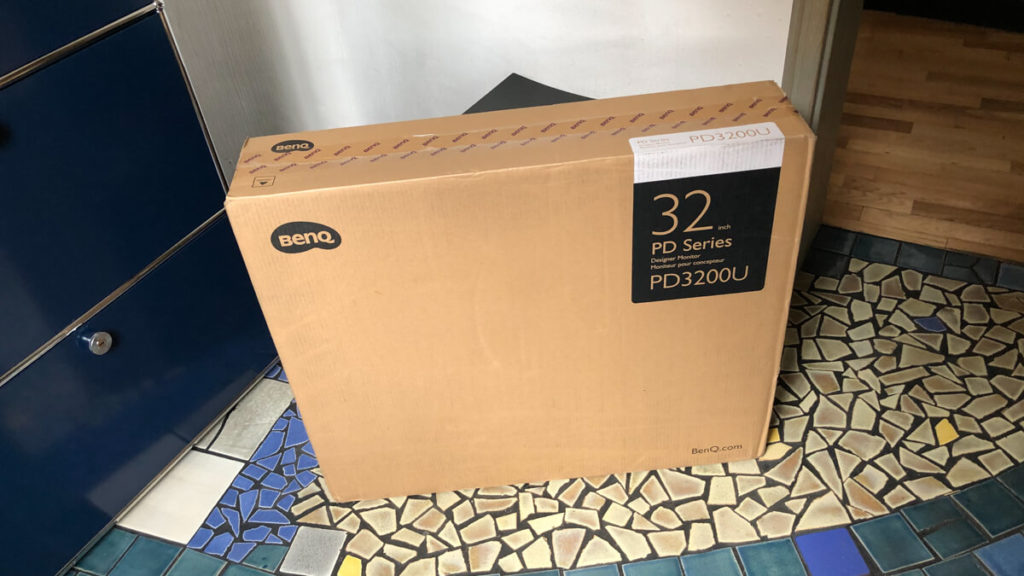
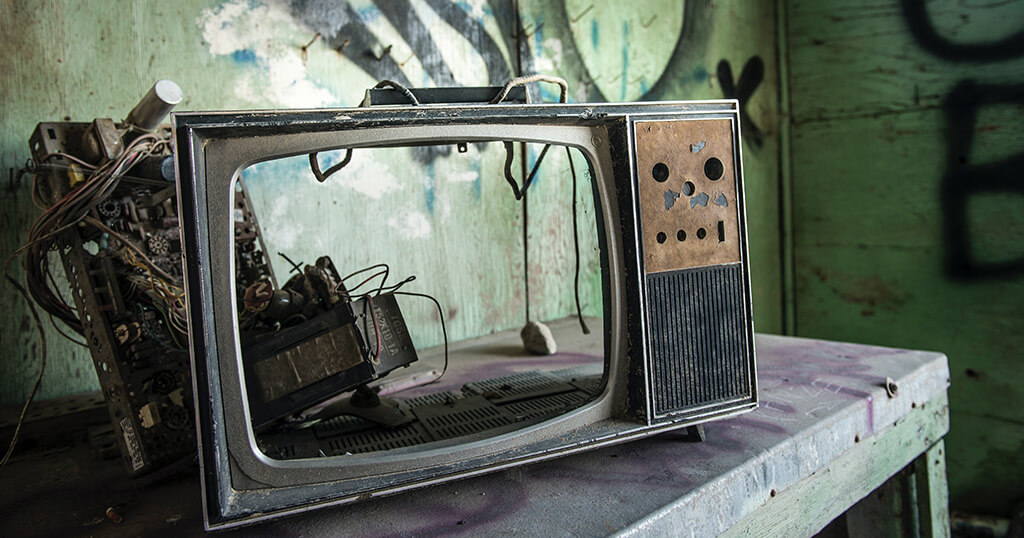
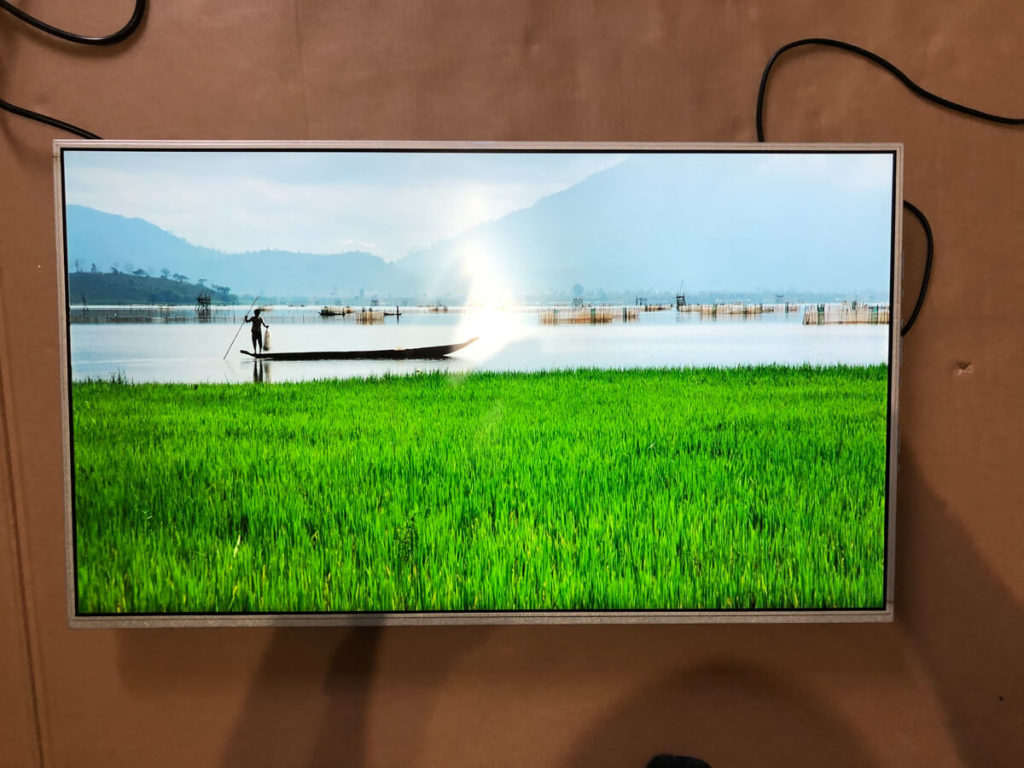
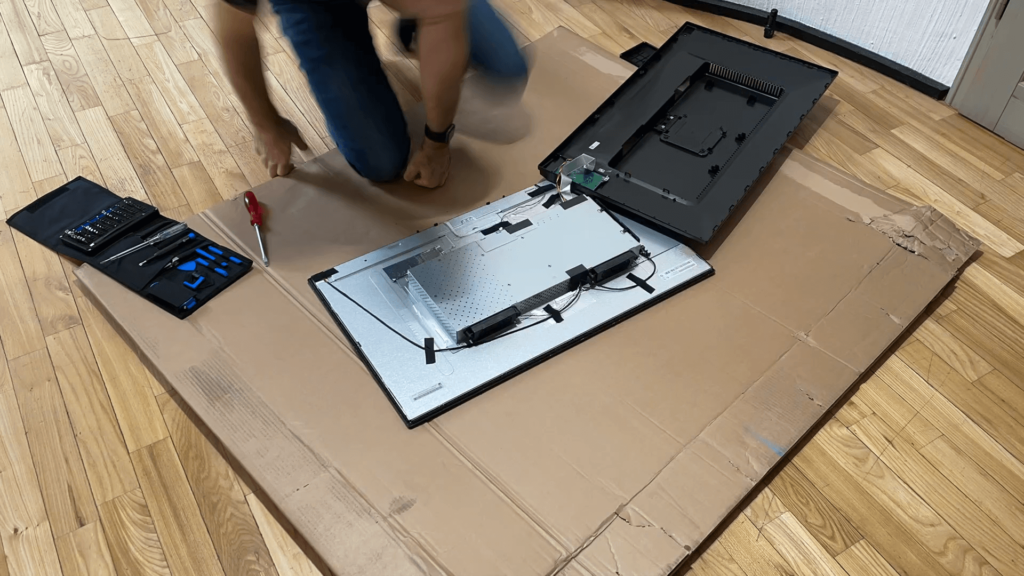
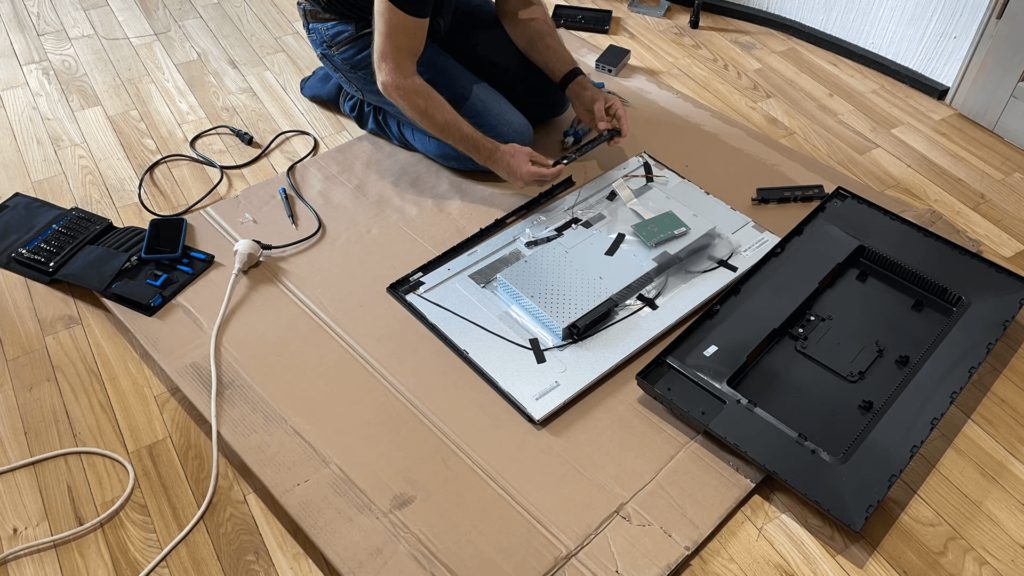
Now, before you go from this to this
you should do some research on your particular monitor model.
In the case of my BenQ PD3200U, I found a TÜV Rheinland (the company that did certification work for BenQ) document from 2016 that contained images from the inner workings.
You have to scroll all the way to the end to enjoy a PG-rated peep show of the BenQ getting bare.
I also found an official recycling document from BenQ, which contained many additional images and instructions on how to separate the plastic and electronics before disposal, which was also quite helpful for our purpose.
I then checked with other blog readers (like Daniel or Rob) who were using the same computer monitor and asked them for any pieces of advice that they might want to add.
What I would suggest in general is to test the monitor for dead pixels before you open it up and maybe install Pi3D PictureFrame to make sure that everything works as you want it.
You don’t want to be in a position where you discover that something is not compatible only after having the bare display in front of you.
The opening sequence
The professionals out there will probably make a few things differently but here is how I managed to extract a working 4K display out of brand new BenQ PD3200U.
It is a one-way street as you will leave some marks on the bezel when you open it with a screwdriver.
If you have previously connected the stand to the monitor for testing purposes, this is obviously the first thing to take off.
By the way, to my surprise, I found out that there is a demand for spare computer stands on eBay. So instead of throwing them away, why not make someone else happy and get some monitor money back.
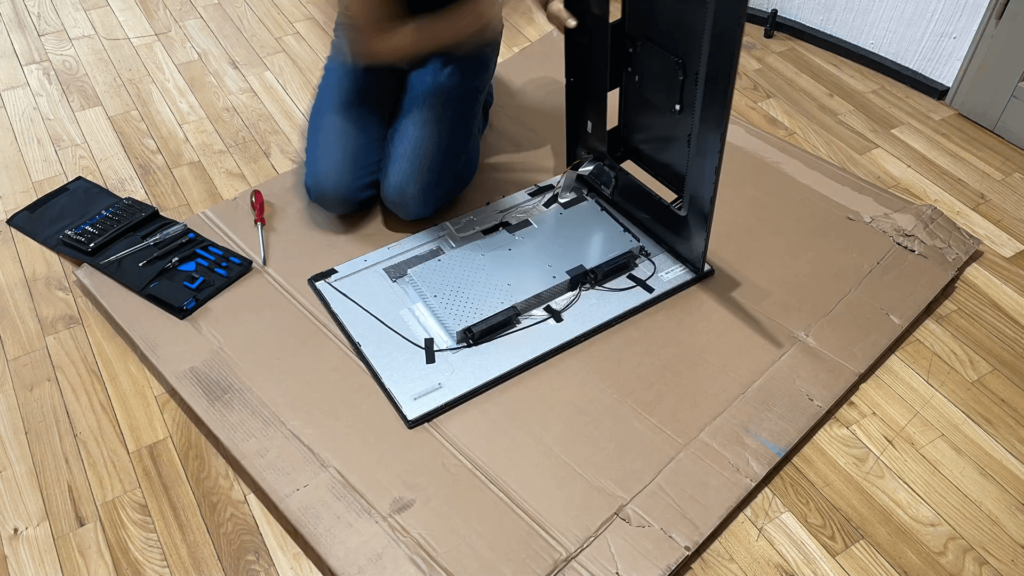
I put the monitor on large cardboard and got out my trusted iFixit toolset.
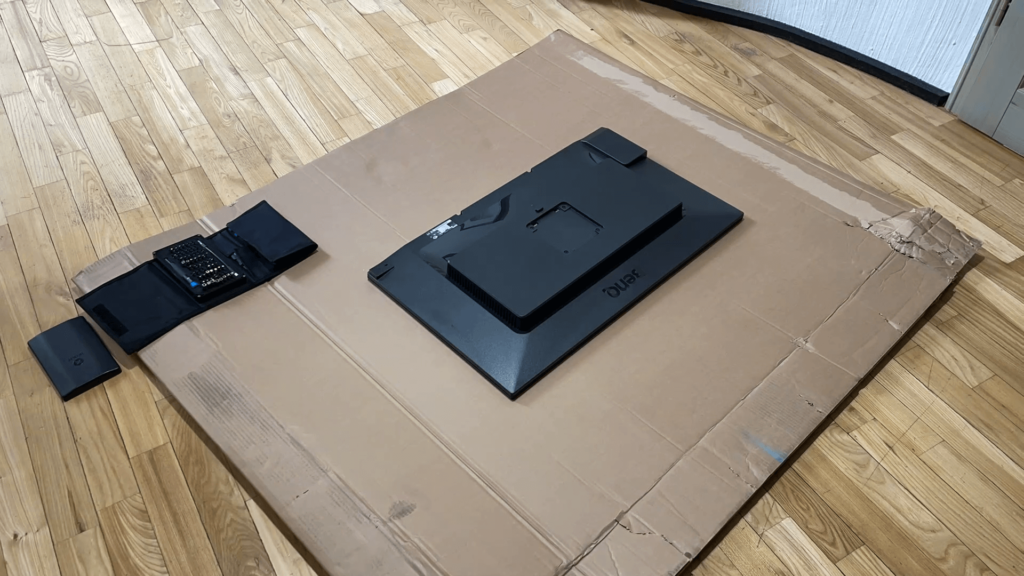
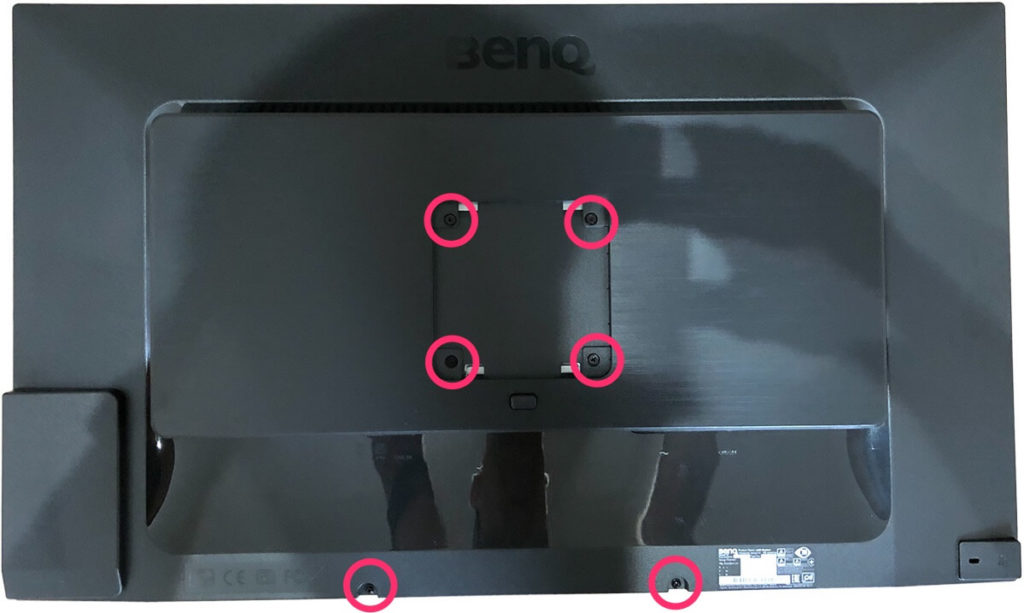
There are four screws where you attach the monitor stand and two more at the bottom. There are no hidden screws on this model.
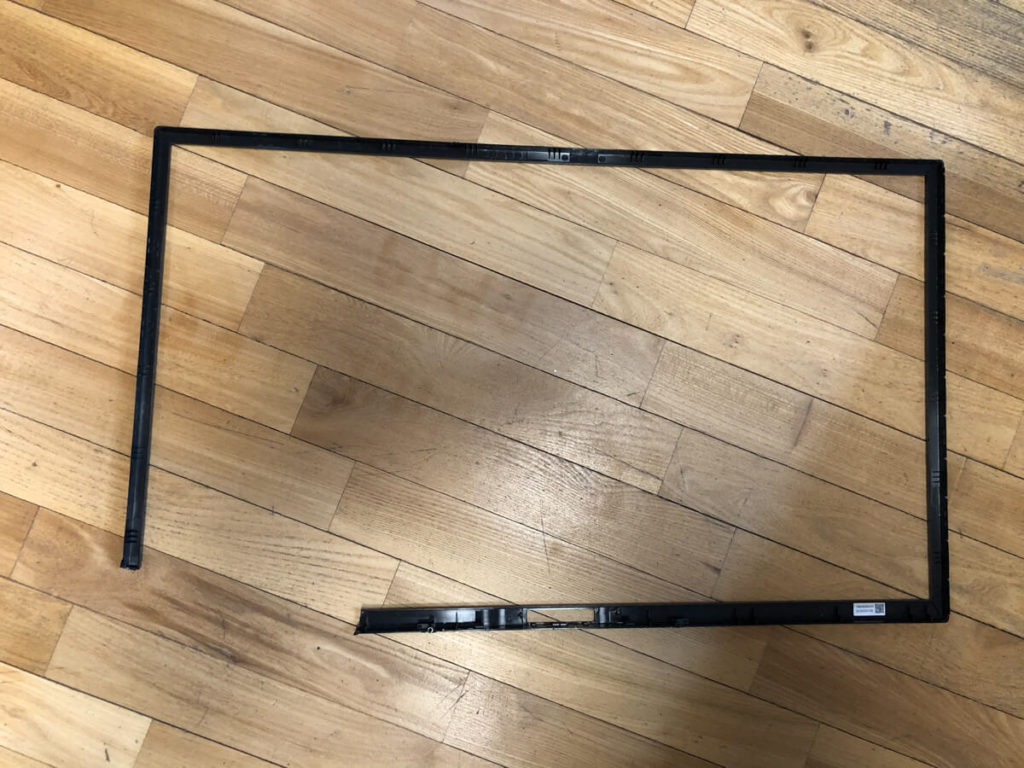
Get a large screwdriver and locate two little nudges at the bottom of the bezel. Turn the screwdriver until you hear the loud noise of two plastic clips opening up. Have a bit of patience if at first, it doesn’t work. Maybe your screwdriver isn’t large enough. But be careful and gentle.
The first opening is the hardest, but once you have opened a few clips, slide around the entire monitor in 5cm (2 inches) steps and turn the screwdriver.
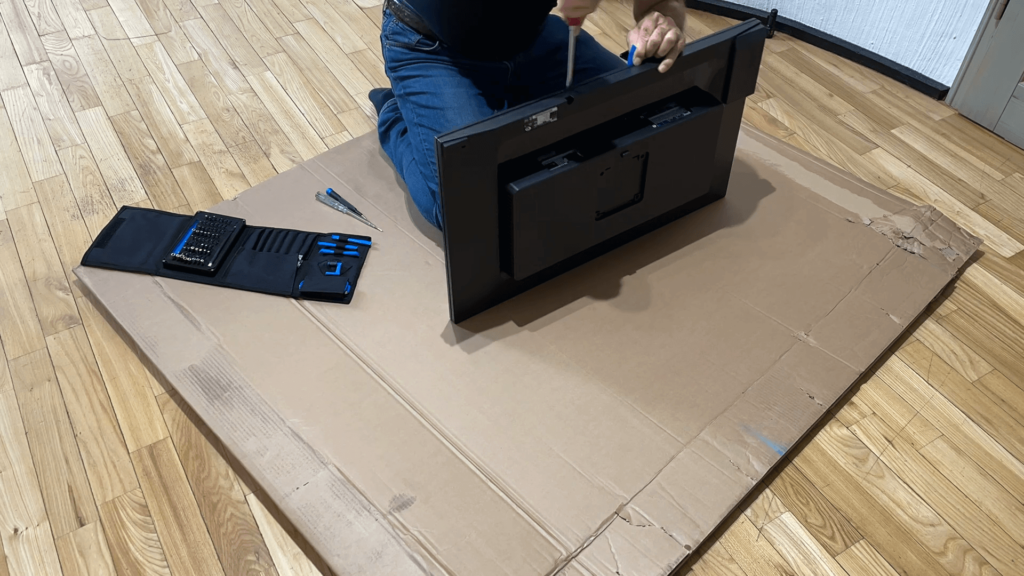
When you open up the back, make sure you open it from the right. The reason is that there is a USB board connection on the left side, and you first have to remove the two screws so that it detaches from the plastic case and then remove the cables.
The remove the flat cable, you need to raise the connector.
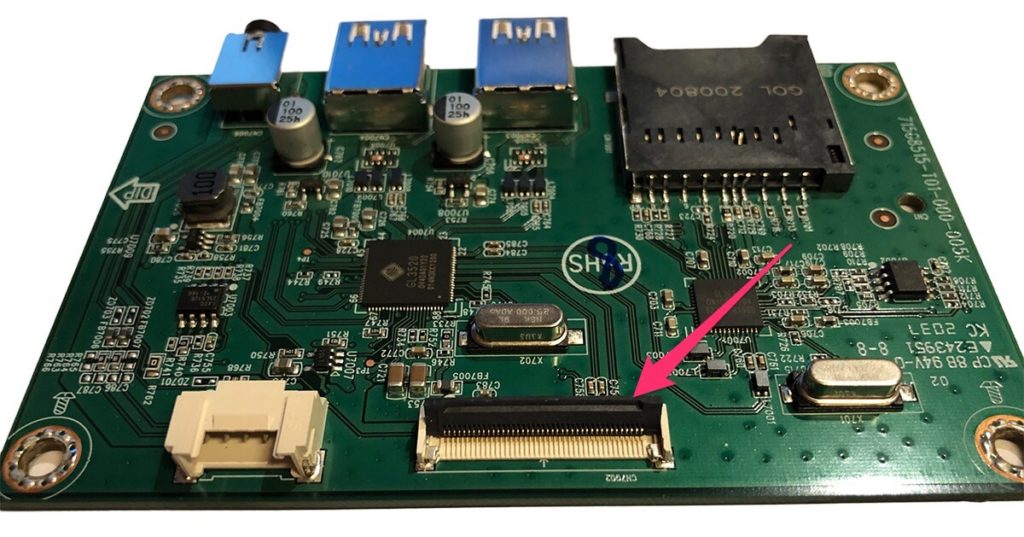
Next is the sensor in the bottom middle part. You don’t really need it but don’t cut off the wires because it may compromise the workings of the monitor.
I just glued it onto the metal. When you do this, make sure that you are not preventing access to the power supply.
What I found hardest was detaching the control panel. There is one screw that holds it into place, but I could not remove the panel from the plastic.
Daniel told me that the control panel is glued in and that he used a hair drier to warm up the glue until he was able to remove the panel.
I ended up cutting the plastic left and right from the panel. I then glued it onto the metal as well. It’s important to keep access to the on/off button because you may still need it for maintenance purposes.
You can completely remove the sensor and the USB panel cables, but you would have to open the metal enclosure to unplug these cables to do that properly. I chose not to do that because I was afraid that I might damage something in the process.
Before I transported the monitor to the frame builder, who would add a nice black metal frame, I used solid tape to cover and protect the cables.
My video of the opening
Here is a time-lapse video of my dismantling process. It took me about 30 minutes because I frequently went back to study the documents to make sure that I wasn’t missing anything.
Notice that I checked at every step of the journey, it the display was still working.
Have I destroyed anything yet?
Nope, still seems OK.
Let’s go a bit deeper…
Conclusion
Opening a computer monitor is not for the faint-hearted because you always fear that you might break something. Rob tells me that these things are a lot sturdier than they look, but given the price of around 700$/€ for a large 4K screen, I didn’t want to take any chances.
So, here you are. If you decide to go for the BenQ PD3200U, you now know how to open it up with little risk of breaking it.
Was this article helpful?
Thank you for your support and motivation.
Related Articles
- Control your monitor settings via software on your Raspberry Pi 4
- My shortlist of 32-inch high-end 4K monitors for your Raspberry Pi digital photo frame (2021 Edition)
- How I built a digital picture frame with a Raspberry Pi
- Read these 10 essential tips for picking the right monitor for a Raspberry Pi digital picture frame
