You build your own digital picture frame for two reasons. Either you just like home brewing and tinkering with electronics, or you have no other choice because the right thing that you want is just not available on the market.
Of course, there are suitable digital picture frames out there that you can buy, but depending on your requirements, they may not exactly correspond to what you want to have in your living room.
How my addiction began
In 2005 I bought my first digital photo frame from PhotoVu, a US-based company that produced rather beautiful digital photo frames with high-quality matting and framing. The largest size at that time was 19 inches screen, but with the matte, it looked quite big. You just inserted a USB stick, and it beautifully displayed the photos with a great number of random transitions between them. It even came with a wifi stick that you could use to configure the frame settings.
It turned itself on in the morning and off in the evening, powered by Linux. It didn’t come cheap at around US$ 1,500, but it was very well built and worth it.
Four years later, the PhotoVu frame died, but since we had gotten so used to digital animation in the living room, we ordered a second one, this time their top model was 22 inches. It lasted until mid-2014, and then it, too, broke.
As the rear casing was completely closed, there wasn’t much of a repair effort I could undertake.
By then, PhotoVu had gone out of business, so the choice of ordering a third off-the-shelf digital picture frame was gone.
The road ahead closed. What now?
I conducted extensive internet research on available alternatives. Still, I came up empty-handed because of my list of criteria that included a 24 inches high-resolution screen, a 16:10 aspect ratio, and great image transitions (fundamental once you get used to it).
My wife kept putting a lot of gentle pressure on me to quickly come up with a new solution because our living room without the digital photo frame didn’t feel the same anymore. You may shake your head, but trust me; the right digital picture frame causes a certain degree of addiction!
I had to get an alternative, fast.
Having had stopped computer home brewing many years ago, I had to get back in the saddle and educate me on the state of the art. I looked at various alternatives like the use of an Apple TV box, but the lack of customization options made it a no-go.
Rescue is nigh
A member of a photography forum suggested to me that I should take a look at the Raspberry Pi computer introduced in 2012 by a few geniuses in the UK. It didn’t quite meet all my criteria, but it looked like a feasible home-brewed digital picture frame option.

With lots of helpful advice from the Raspberry Pi forums from around the world, we had a freshly home-brewed digital picture frame up and running on the wall within a few weeks. WAF was huge, and I was a hero.
Ever since, I have built many digital picture frames for family and friends and was always eager to see what improvements could be made.
I also kept monitoring the market to see if and when a manufacturer would come up with a large living room compatible digital picture frame. And yes, there are now some large high-end frames that you can buy. But I feel that in the mid-size segment around 24 inches, the choice is still somewhat limited, especially if you want a 16:10 aspect ratio.
What to expect of a great digital picture frame?
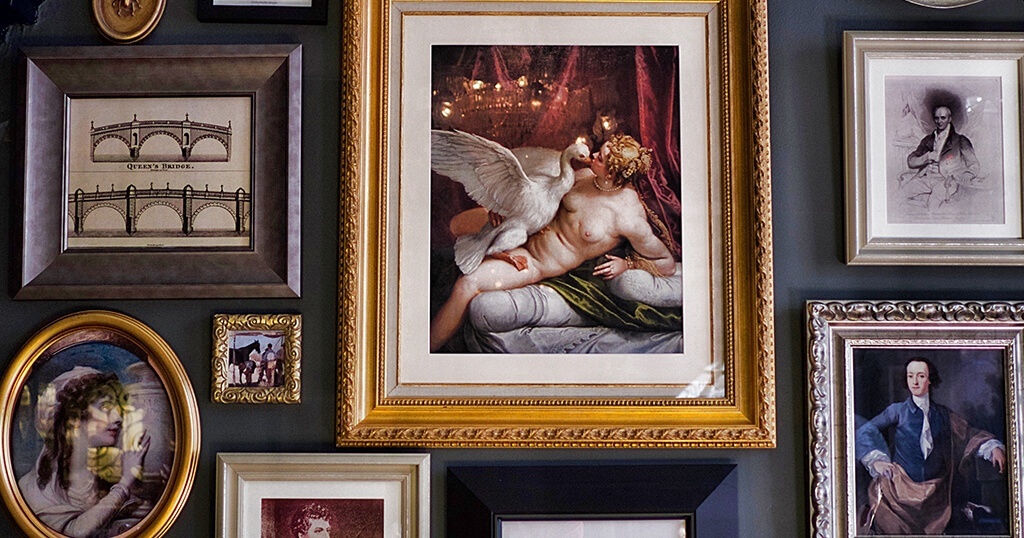
When I look at a digital picture frame, I look at a piece of furniture that has to fit into the living room.
It should look neat, well built, and be unobtrusive. It’s built quality should be in line with your style of decorating.
It should have a display size where beautiful images can come into effect and not just have a massive matting to make the frame look bigger.
It should have image transitions that multiply the number of uploaded photos because every smooth transition will almost create a new image experience (more on this most critical subject in another post).
It should be dead-simple to update the images from wherever you are, not have a subscription-based model and be affordable.
In short, it should do great photos justice.
Since PhotoVu went out of business, I have yet to see an off-the-shelf digital picture frame that I would recommend. I am quite disappointed that most digital picture frames a not great. They have small low-resolution screens, an ugly frame with visible buttons, or even big logos, and most of them look like a cheap China tablet.
Now, to be fair, there are digital picture frames like the Meural that look beautiful. But they come at a price, and I am not a big fan of the 16:9 aspect ratio that they have because it crops photos that are typically taken in 3:2 or 4:3 format, far too much.
A man has to do what a man has to do
On the other hand, it is quite easy to build your own picture frame that you and your family will love.
All you need is a 24 inches monitor (see my post “The right display for your Raspberry Pi digital picture frame“), a Raspberry Pi 3 or 4, and a suitable frame.
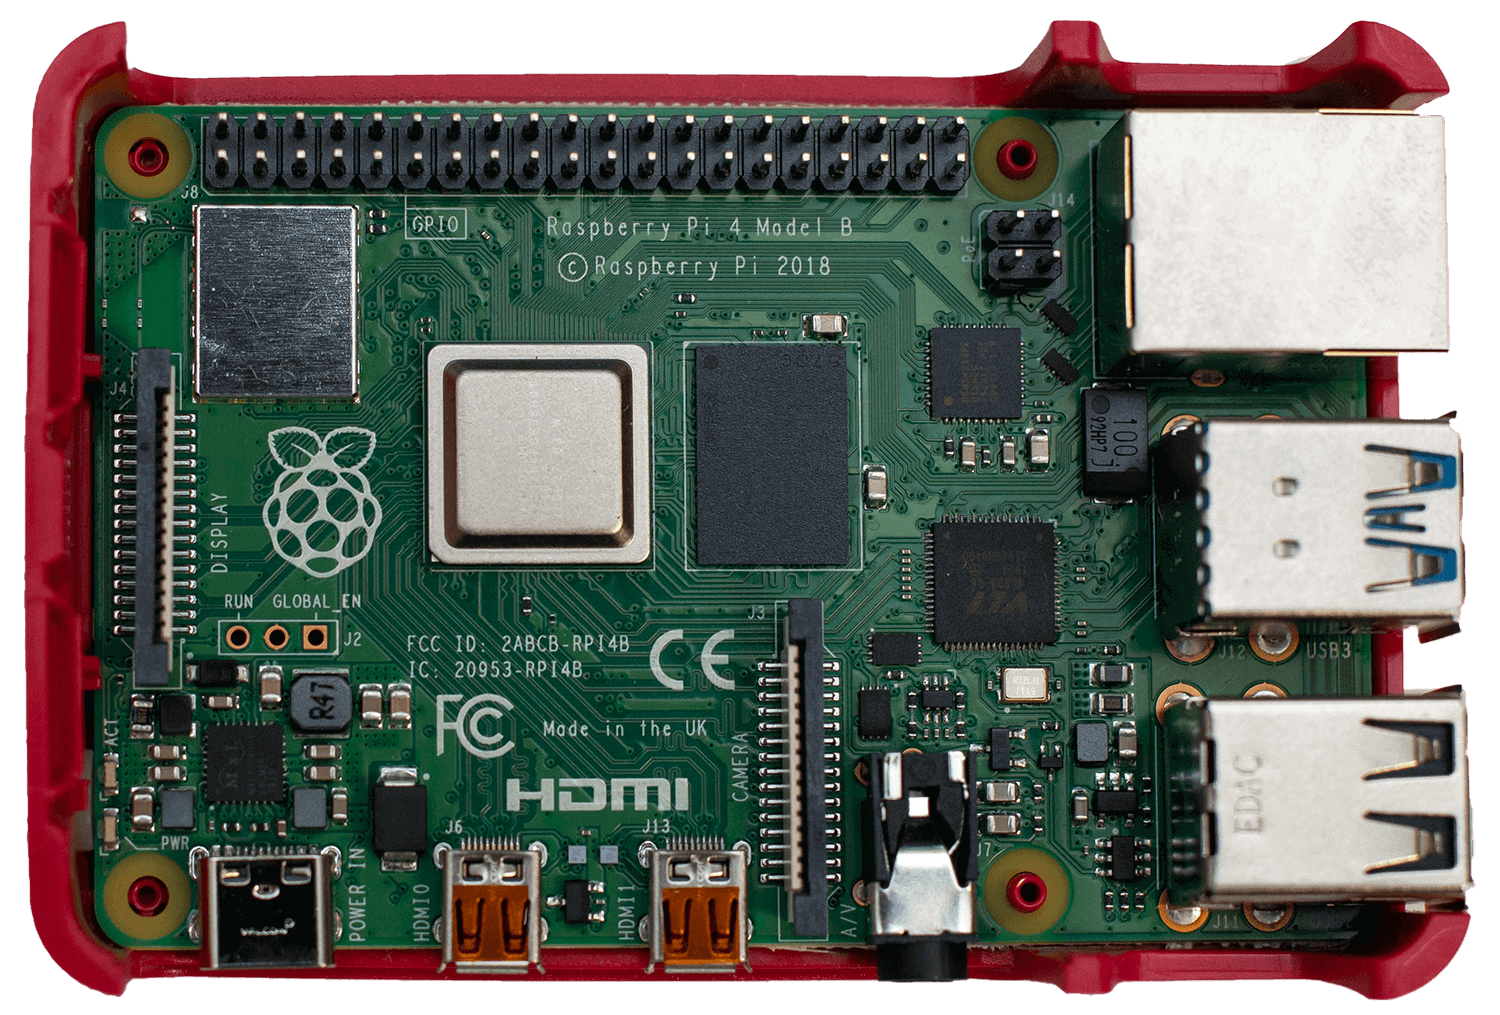
Altogether, you are looking at less than US$300 in components, depending on the display and frame of your choosing.
You will find plenty of detailed instructions on this blog to get the right software up and running quickly and add any options that you may like to explore.
I have gone through a lot of research, despair, and pain, but with a lot of help from my friends on various forums, I have learned everything that you need to know to quickly build a high-quality digital picture frame that will make you proud. And sharing my knowledge is what this website is all about.
Conclusion
So, building your own digital picture frame still very much feels like the right thing to do. In the end, you will create something you’ll love, whether it’s in your home, your office, or your business.
Was this article helpful?
Thank you for your support and motivation.