You have just finished setting up your brand new Raspberry Pi but when you boot up for the first time you wonder where the black border on the display comes from?
Fear not, young Raspbian, there is a simple solution.
Disable Overscan
First, let’s talk about the solution. And if you are interested (there is no harm to knowledge), I will give a bit of background that will help you remember if it was enabling or disabling overscan – I used always to mix this up.
Enter in the Terminal
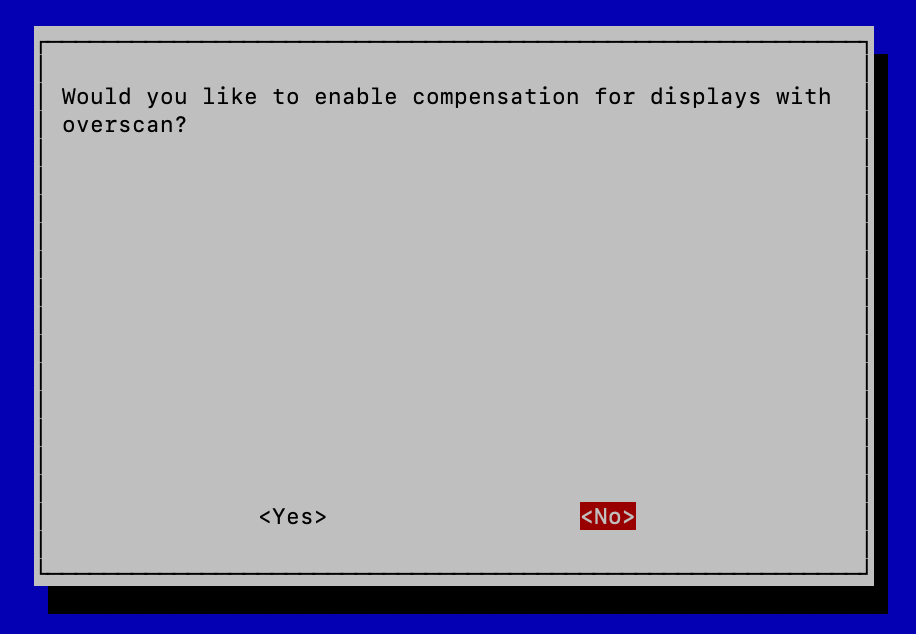
sudo raspi-configGo to “2 Display Options”, “D2 Underscan” and choose “No”.
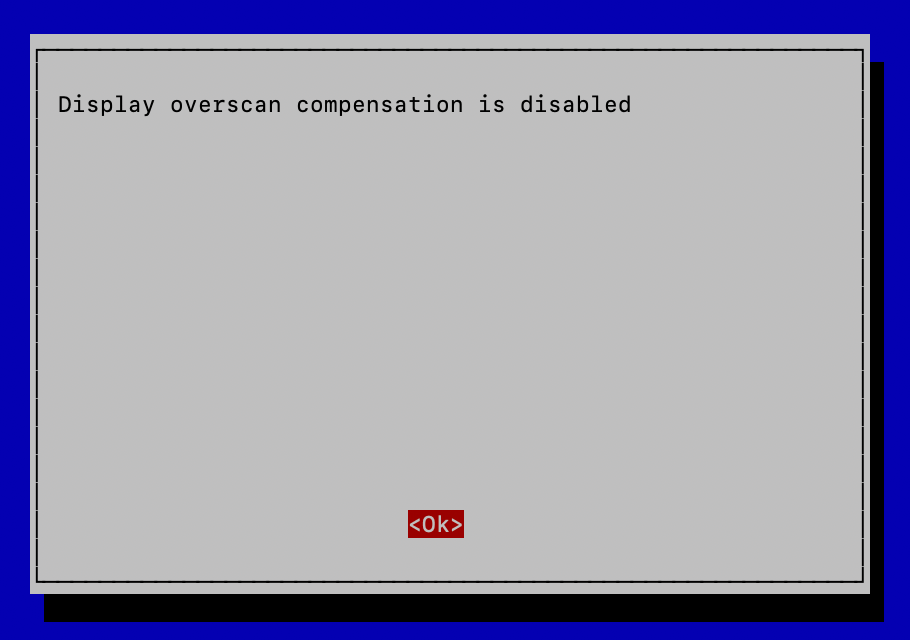
Finish and reboot.
But why?
It’s pretty confusing isn’t it? You select “Underscan” and in the next menu items, it says “Overscan”.
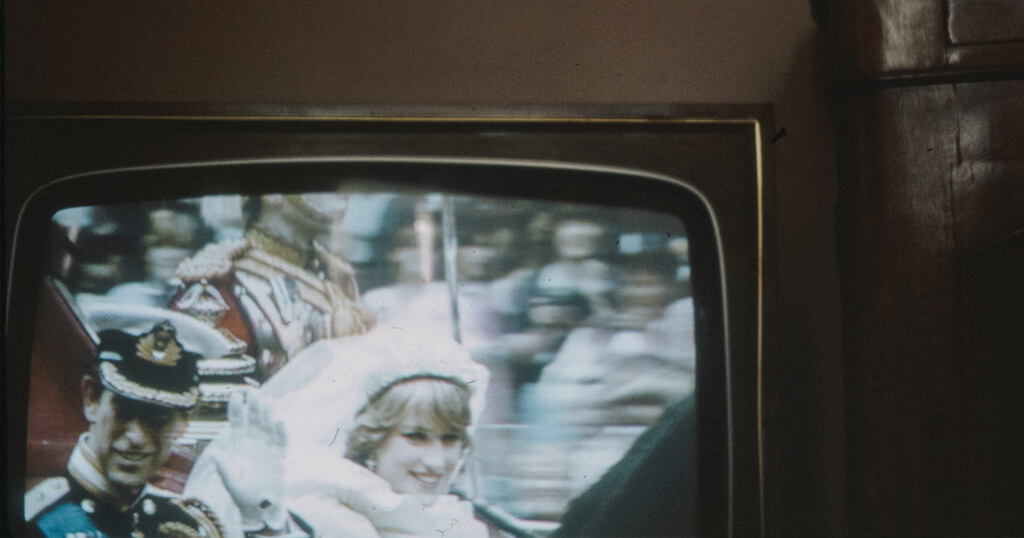
To understand this feature, we need to go back to the era of cathod-ray tubes (CRT), and yes, it’s been a while.
The Raspberry Pi can not only be connected via HDMI, but also has an analog FBAS/composite output. This can be used to connect it to a classic CRT monitor.
CRT monitors have the inherent problem that the visibility of the screen’s outer edges cannot be guaranteed. Depending on the device, the manufacturers concealed these areas, for example, through the housing, since a clean image was no longer guaranteed at the edges due to the tube curvature.

So, if the Raspberry Pi were to use the entire screen area, part of it would no longer be visible on analog monitors. The size of this area is not standardized.
Therefore, the Pi works with such a wide border around the image that all pixels are still visible even with a heavily cropped CRT monitor. With the digital output via HDMI, this problem doesn’t play a role since flat screens don’t have the overscan problem due to their technology.
Unfortunately, the Raspberry Pi does not automatically disable this safety feature when connected via HDMI.
That’s why you need to disable Overscan yourself.
If anyone knows why that hasn’t been set as a default, please let me know.
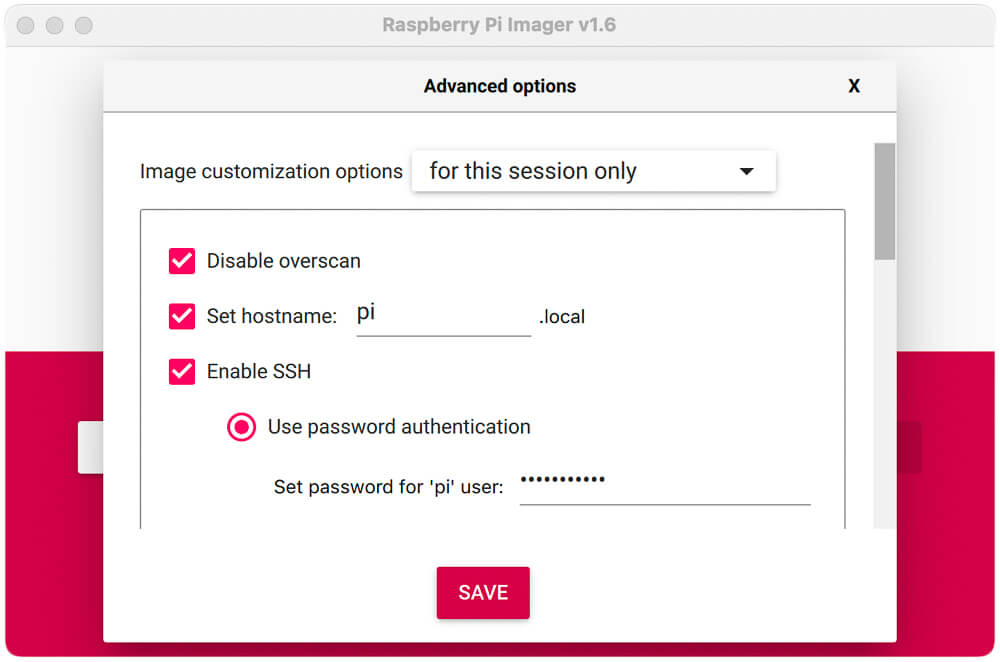
But at least in the latest Raspberry Pi Imager 1.6 you can check a box to remove it right away, so you don’t have to do it in the config settings later.
Conclusion
I have been told by readers that they spent hours searching for a solution to this black border problem.
Well now, you know how to fix this. Tell your friends!
Was this article helpful?
Thank you for your support and motivation.