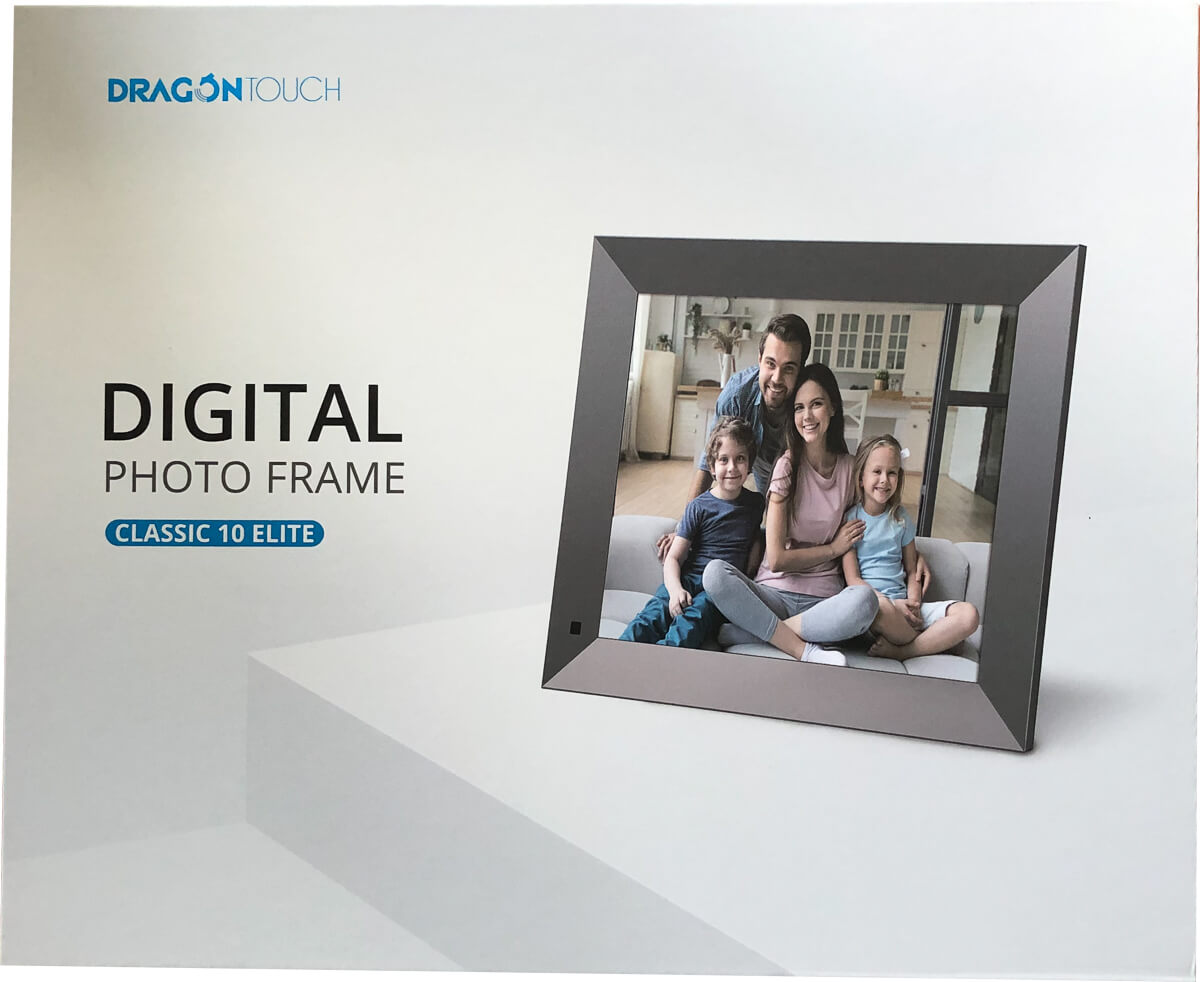
Dragon Touch recently released the Classic 10 Elite, a digital photo frame in a new and much more modern design than the Classic 10 that I had reviewed some time ago.
My first article about Dragon Touch is among the most popular posts on my blog in the “Buying a Digital Picture Frame” section. However, back then, I had pointed out a certain potential for improvement on the software side and couldn’t recommend it wholeheartedly.
So I was curious to see how this new generation “Elite” would compare to the Dragon Touch sibling and similar sized models by Nixplay or Aura.
My tests are unbiased. There are no financial or material donations to be disclosed. Dragon Touch has supplied me with a review unit for this test.
First impression
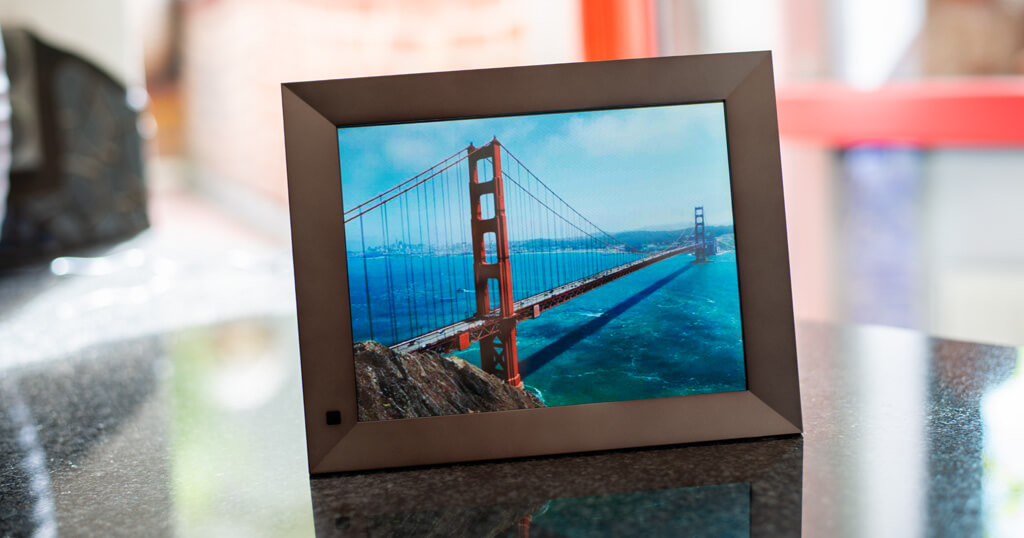
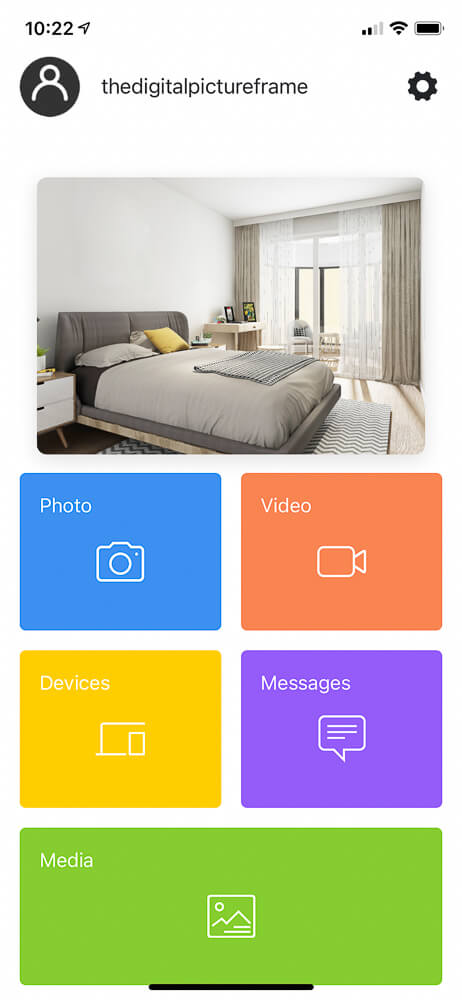
The Dragon Touch Classic 10 Elite Digital Photo Frame brings a significant design upgrade over the earlier model.
It has a 10-inch display, a 4:3 aspect ratio (great for photos taken with your mobile phone), and a 1024×768 px resolution which produces sharp images.
In the package was the frame, a magnetic stand, a power supply, a microfibre cleaning cloth for the display, and the manual. It also came with a 2-year warranty.
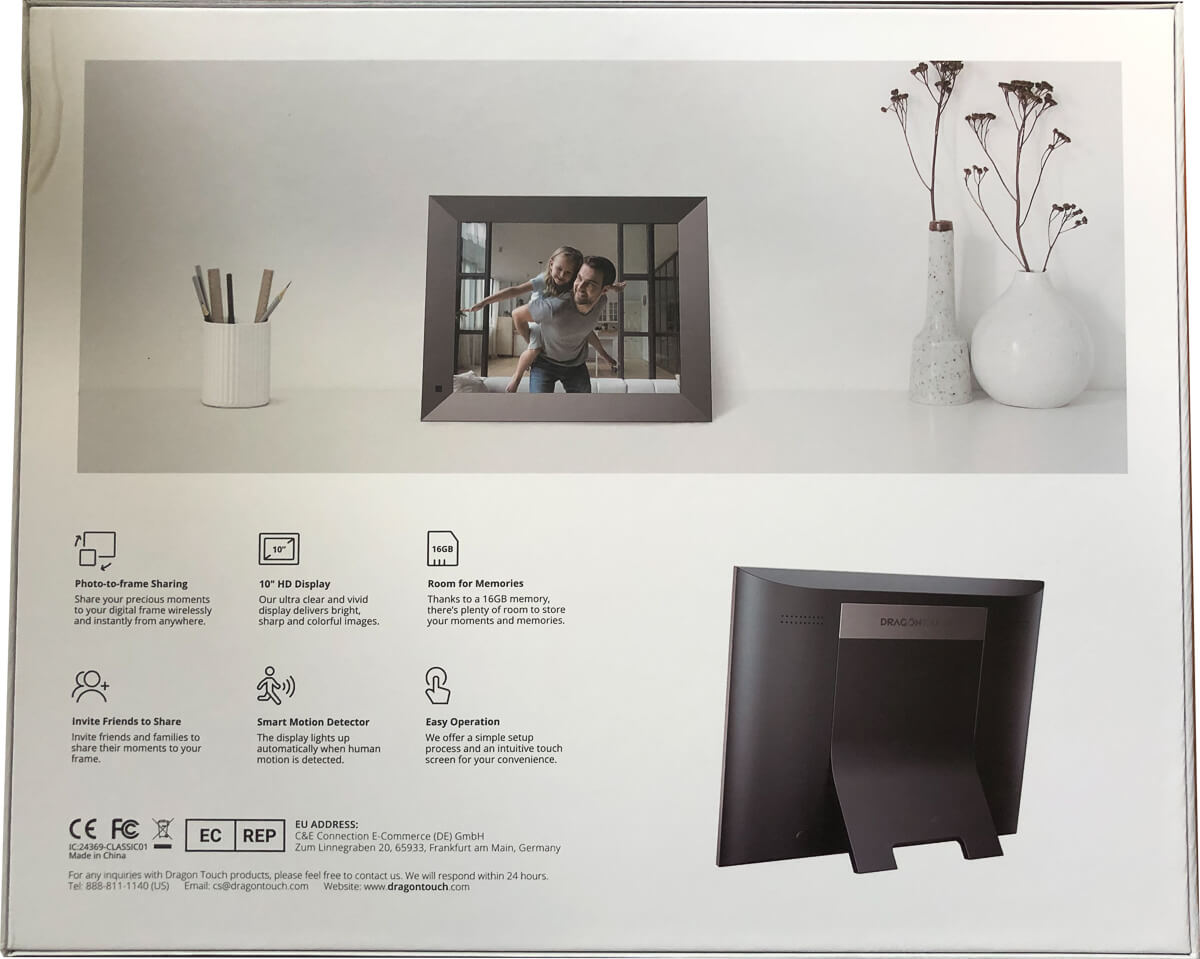
Unlike the older model Dragon Touch Classic 10, the Elite model follows the general trend and does not have a USB card slot anymore. However, it did come with a Motion sensor to turn the screen off if nobody is around.
There are many advantages to using WiFi, and since it has become somewhat ubiquitous, there isn’t much demand for SD-Card digital frames anymore. It also removes a component that is most likely to break after a few years.
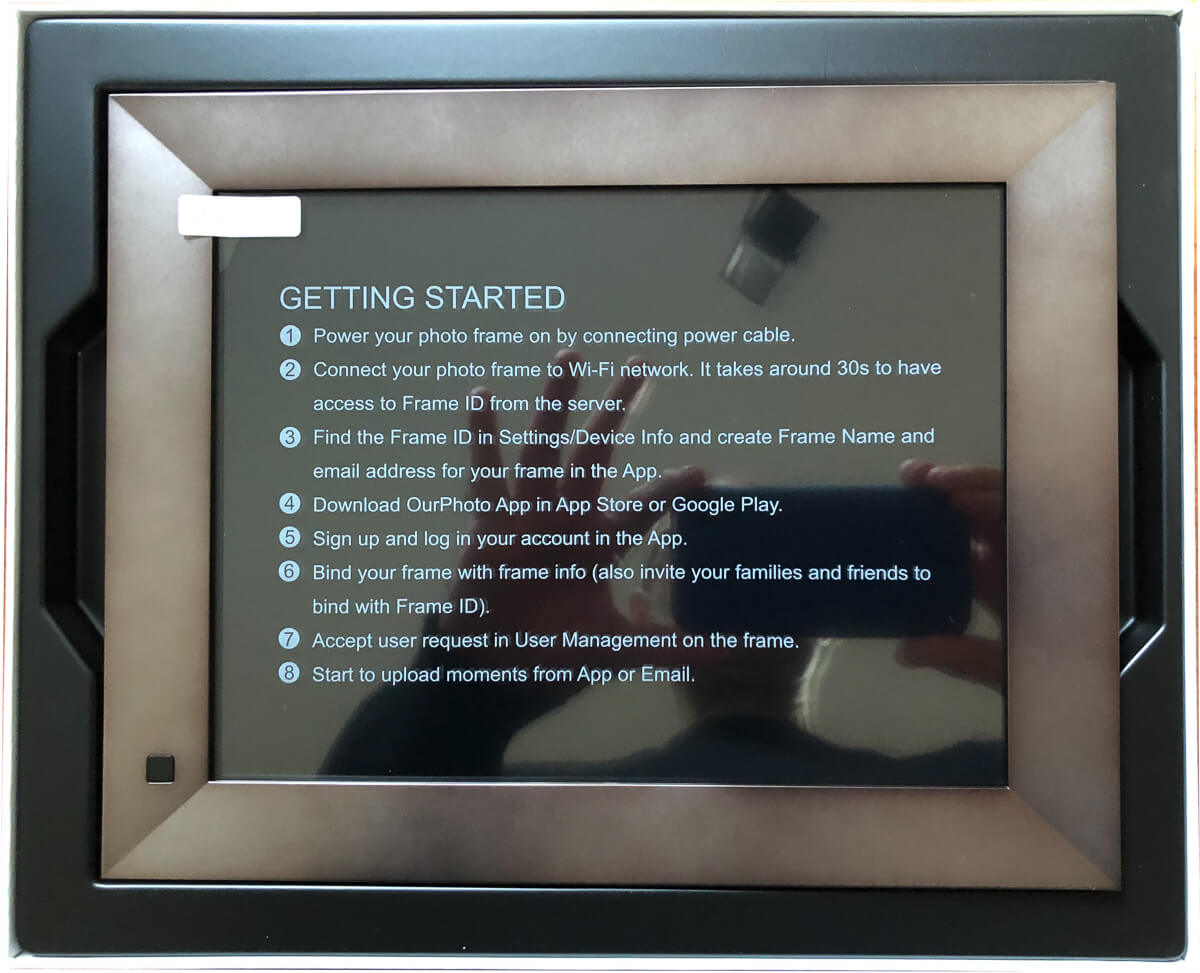
I read through the “Getting Started” page on the frame, looked at the enclosed manual, and went to work.
Initial Set-up
The first agenda item is the connection to your local WiFi network. As it is a touchscreen, there is no need to use a remote control with up and down buttons. You type your password on the frame display.
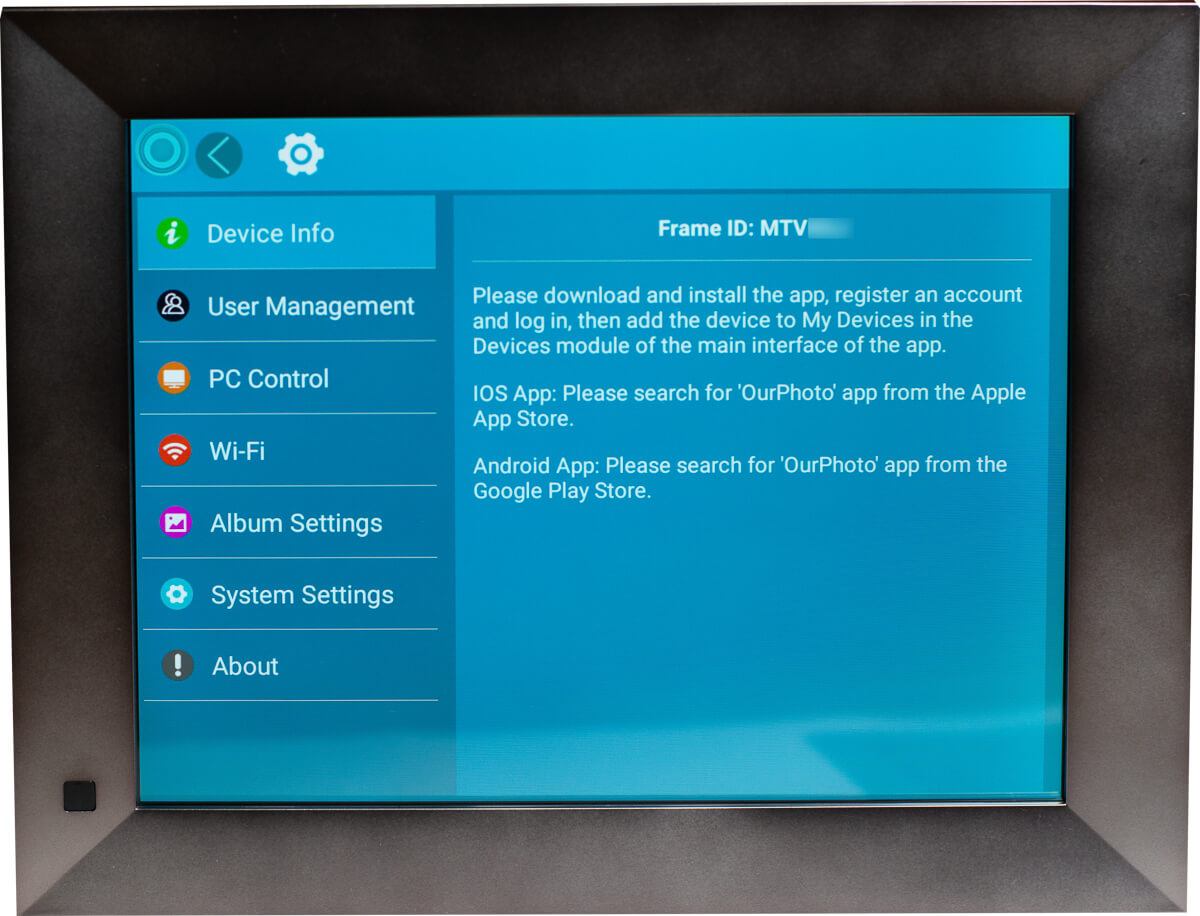
Next, you enter your language, time zone, and city. Then, you’ll get to a page with the FRAME ID.
At this point, download the iOS or Android app searching for “ourphoto”.
The last time I tested the Dragon Touch frame, the app was on version 1.1.7 and had quite a few bugs. For this test, I downloaded version 1.4.1, which included many bug fixes and even support for HEIC formatted images – important for iPhone owners.
In the mobile app, fill in your username, password, and your email.


Now click on the yellow tab “Devices” and add your frame with “+” under “My Devices”.
Give your frame a name and enter the Frame ID in the field and use the same for the email prefix.
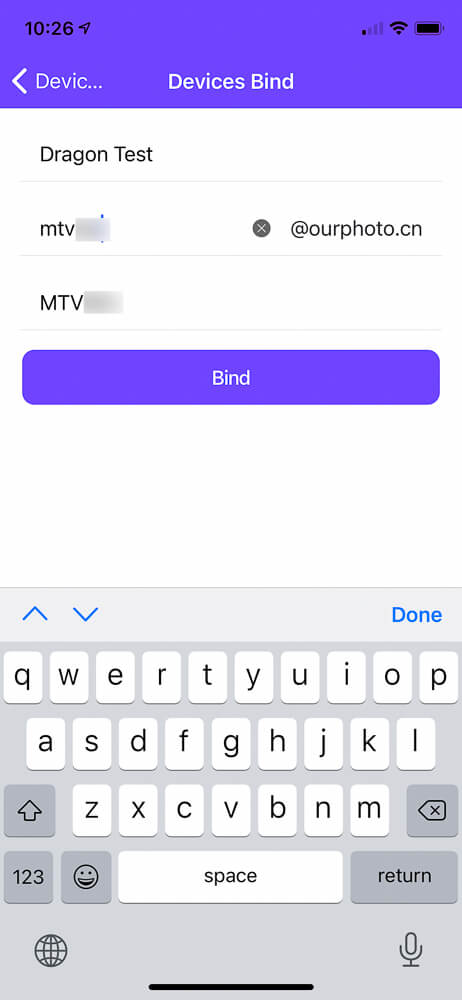
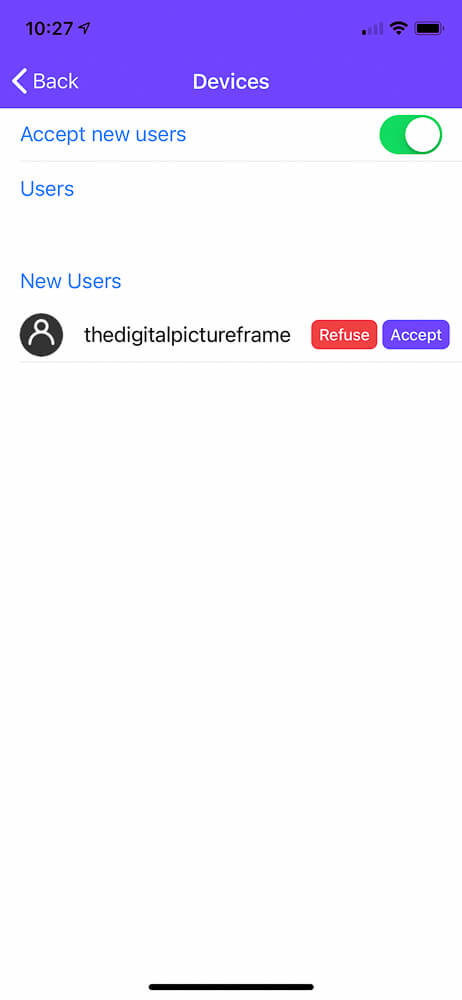
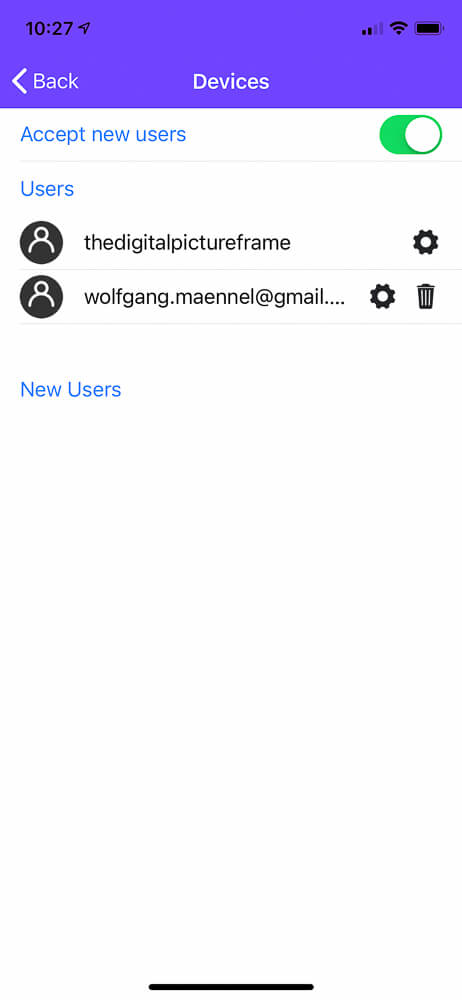
Click on “Bind” and go back to your frame under Settings and accept the pending user request.
Add friends and family
To allow friends & family to send images to your frame, they also need to download the “ourphoto” app on their iOS or Android phone and create an account.
Give them your Frame ID, which they enter under “Bound Devices” under both Frame Name and Frame ID.
Alternatively, they can send images to the email that you specified earlier.
Adding images
Most people will add photos from their mobile phones, which is easy enough. Tap on “Media” and browse your photo catalog. Add images by tapping on the tick.
You can also add a caption for each photo. This is useful when you want to send an image to other people. Adding a caption puts the photo into context for a new viewer.


Once uploaded from your photo album, select the frame that you want to send it to and tap on the send icon in the upper right corner.
When I did it the first time, my phone asked for permission to detect devices in the network, went back to the main screen, and I had to add the images again. However, this only happened once. It was fine every time after that.
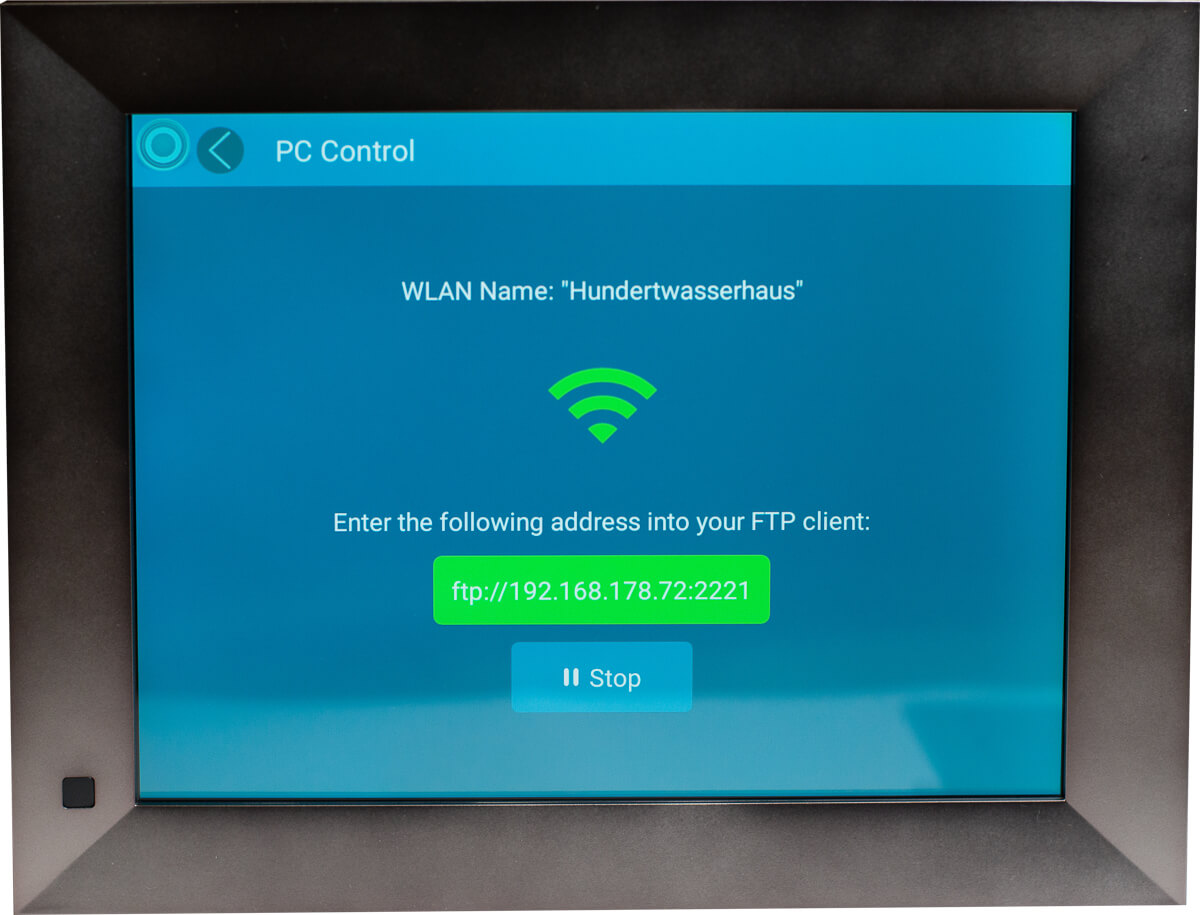
If you have many images on your computer, you may want to add photos on your computer by connecting to the server via FTP.
To do this, activate PC control (works as well on a Mac) on the frame in Settings and enter the ftp address on the screen.
The internal storage capacity if 16GB, which is fine for thousands of images.
You will now see the photos on the home screen. Tap once to get to the photo subsection, and tap again on one of the images which will start the slideshow.
By the way, you can get rid of the button in the upper left corner, which takes you back to the home screen and allows for the setting of the speaker volume for videos. It took me a while to figure that out. It’s called “suspended ball” in the Display Settings.
The app is much improved, and I didn’t have any crashes. It still does not feel as elegantly designed, but it’s more than ok. The menu settings on the frame itself could be somewhat easier to understand, which may be a translation issue.
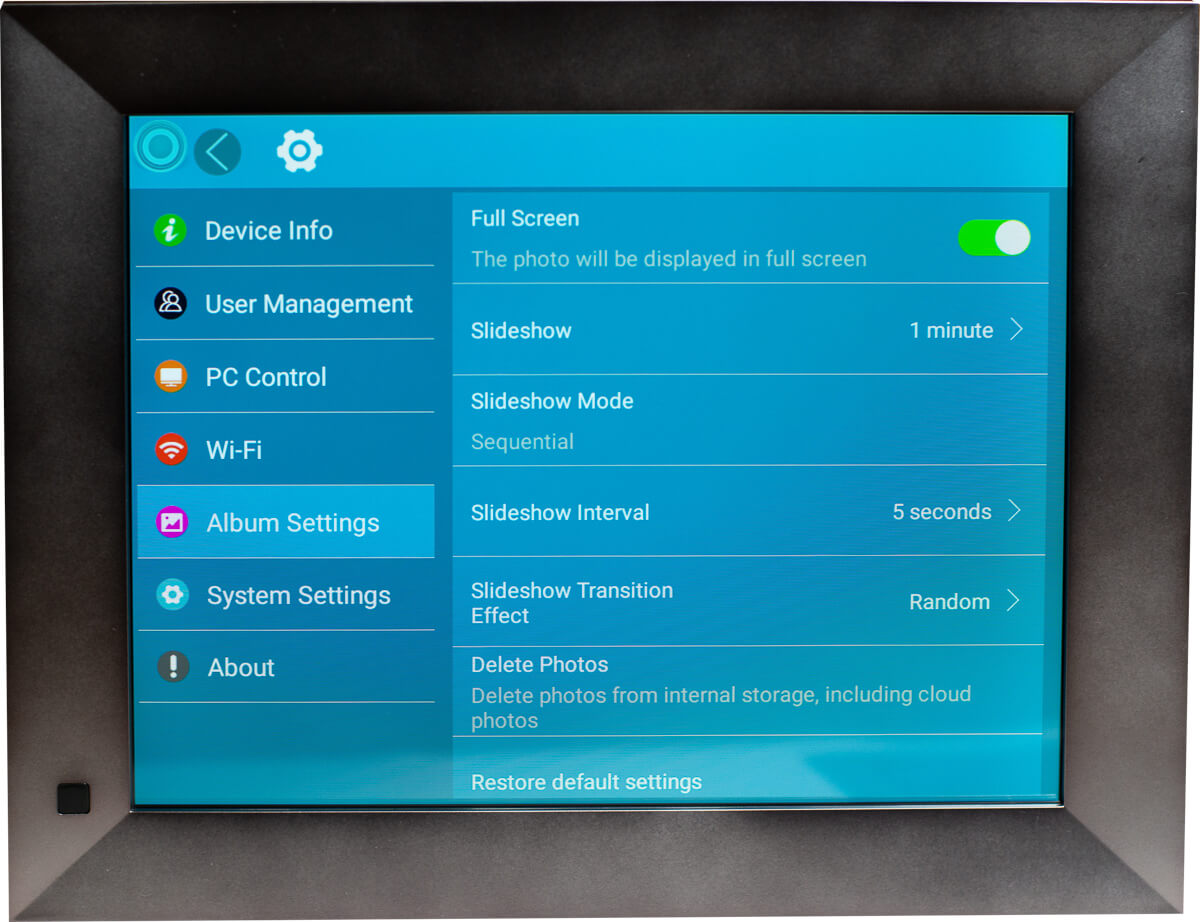
For example, I was wondering at first what the difference between “Slideshow” and “Slideshow Interval” was. This turns out to be the mini slideshow you see on the home screen when not in full image mode.
I never understood why you would not use the full image mode, but I guess if you want to see the date and weather forecast, this may be useful.
There are only four image transitions to choose from, and smooth crossfading is not among them.
Videos will play with sound, and you can even set an alarm. The display quality is excellent, and it adjusts automatically from portrait to landscape mode.
The frame is for tabletop only; there is no wall mount.
Conclusion
The Dragon Touch Classic 10 Elite frame is a significant upgrade from the older model. Not only is the software much more reliable, but also the frame has a higher quality touch to it.
My only wish is that it had smooth crossfading transitions, but since would be just a software update, maybe that’s already in the works in the Dragon Labs.
(Photos: Wolfgang Männel)
Was this article helpful?
Thank you for your support and motivation.
Related Articles
- My impression of the Dragon Touch Digital Picture Frame Classic 10 with touch screen, WiFi, and SD/USB
- Your personal online shopping consultant to find the best digital picture frame
- How well does the Google Chromecast really work as a digital picture frame?
- My hands-on review of the Aeezo 9-inch WiFi Touchscreen Digital Photo Frame